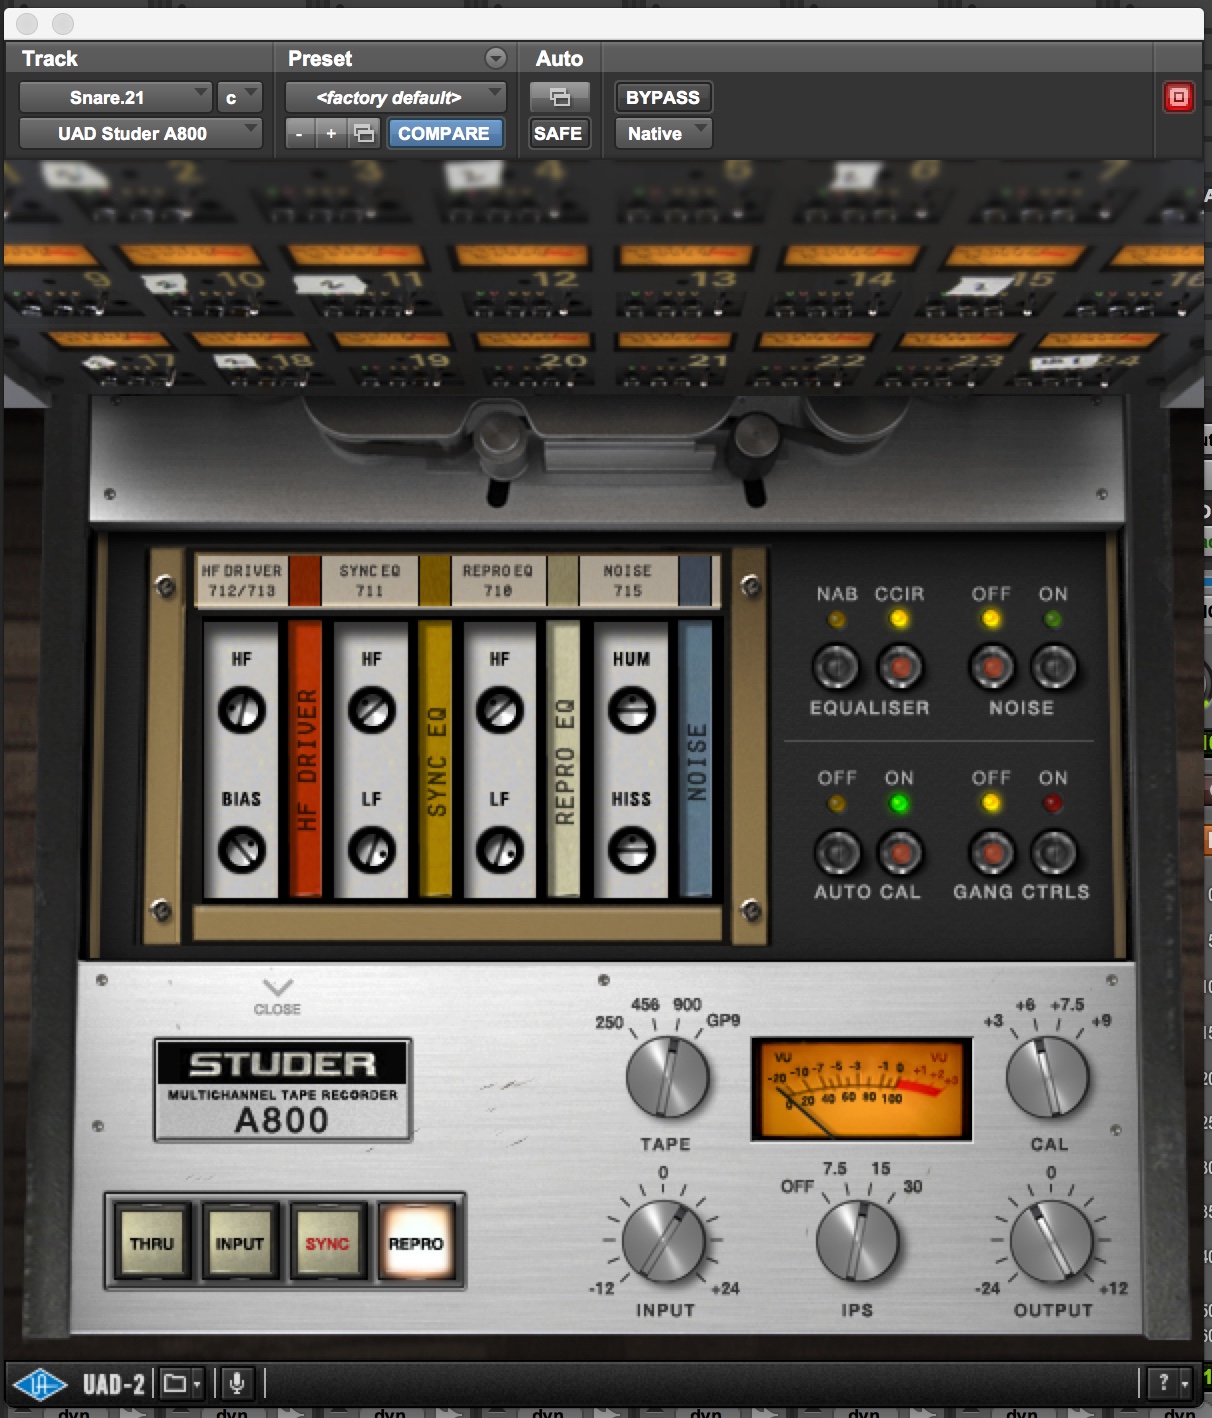
3 Techniques: Universal Audio Studer A800 Multichannel Tape Recorder — with Mixer Jacquire King
What is the holiest of Holy Grails for mixing in the box?
Many mixers would say that its achieving the characteristics of magnetic tape, not only for the desirability of its analog sound, but for bypassing the massive inconvenience and expense that comes with having the real thing in the studio. The solution that’s emerged for getting tape sound into the bits and bytes is plugins, of course.
The most time-and labor-intensive approach for achieving ITB magnetic tape sounds are true emulations, and Universal Audio’s Studer A800 Multichannel Tape Recorder has proven to be among the most popular of the genre. It’s a faithful reproduction of the 900-pound original, which brought something extra lovely to the world of tape when it debuted in 1978. The beauty of that big machine set its own standard with its sound, one that’s made it a benchmark for subsequent generations of audio engineers.
UA’s plugin version emulates the A800’s beloved magnetic tape characteristics ITB starting with its input and output controls, which allows users to drive saturation and harmonic distortion to their heart’s content. From there, an array of features that could only be possible inside a computer, like UA’s “gang control” for fast global adjustment across all instances, make this particular plugin much more than just an emulation, but an original all its own.
For this latest “3 Techniques,” none other than GRAMMY-award winning producer/engineer/mixer Jacquire King doth lend his considerable expertise. A man who once disassembled and modified his 40-channel console to convert it into two identical 16-channel/32-input boards, King is a man who can navigate analog signal paths blindfolded. A discography that includes Kings Of Leon, James Bay, Tom Waits, Norah Jones, and Niall Horan – along with a host of top radio hits at any one time – confirms his sonic prowess.
From his studio, The LBT in Nashville, TN, King reveals three ways to take his decades of hard-won tape mastery inside the box. Re-enact his reel-to-reel knowledge here, then put a new spin on it to make these tape emulation plugin techniques your own.
Me as a Mixer: My mix approach is to create dynamic energy in the finished balance to engage the listener, taking them on the journey of the song and production.
It means creating a stereo image that has symmetry of rhythmic and spectral elements. It means having a cohesive and present focus to the low end. To identify the things at any given time in the arrangement that are leading the way musically. The vocal is the icing on the cake and must be connected in spirit and vibe to the instrumentation to bring out the right feeling for the record.
If it is not something I’ve produced and recorded, then the creators have included all the elements that express their vision and not left decisions to be made about what is to be included.
It’s not always possible to know everything before it’s time to mix but it should always be the goal to have the production defined. At this point the goal of the mixer can be to elevate and add energy to the production with performance of touch and sonic placement.
My Go-To Plugin: The reason that I like using tape emulation plugins is NOT because they sound exactly like tape, it’s because they behave like audio recorded to tape. The way I look at tape emulations is that they make it easy to change the sonic character things in ways other processors can’t… You can modify EQ curves, operating levels for saturation effects, and change the tape formula and speed for different frequency responses. Because of this flexibility, tape emulation plugins can become really fantastic tone boxes.
Tape saturation and the way analog tape treats transients are jobs we can’t do in the box (ITB) with compressors and EQ. Tape emulation plugins can give us the transients and tonal shape that analog recordings have, so a lot of times I approach using them in those ways.
One of my go-to plugins for these approaches is the UA Studer 800 plugin. It’s simple to experiment with quickly and can be as subtle or colored as you might desire. I would suggest for those of you who have not had the opportunity to align a tape machine or to use one in a practical setting to read up on them in technical terms, to understand the parameters you have available to you in any tape emulation you might use.
The two best aspects of a tape machine plugins are the transformation of transient information and the addition of harmonic content. There is no compressor that will absorb and tame transients in the way that an analog recording will. We have many options that yield a similar result in the digital world and the many advances in converters, but no single plugin can do what a tape emulation provides.
I’m not an analog vs digital, one is better than the other type… They are both great, and really at the end of the day it’s now just a different way to work. You can get equal results with slightly different paths at this point.
3 Techniques:
Check out this song, “You Got It Easy,” by the band Current Swell that all the following techniques were used in:
Technique #1 Vocal Tracks
Let’s say I have a lead vocal with an aggressive midrange to it, and I can’t really get it controlled with a compressor in a way that I want to hear it — I can’t get the transients compressed in a way that doesn’t over-compress my vocal track… I don’t necessarily want to speed the compressor up to where it will grab those transients and control that part of the sound because it would over-compress my vocal. You can’t really treat that with EQ either, because if you try to dial it back with EQ you’ll lose some valuable information in those frequencies that make the vocal cut through a mix.
You can use a tape emulation to achieve some of that transient saturation you’re looking for — the tape absorbs some of the transient energy, and from there it preserves harmonic content. That’s why people say tape sounds “fat” or “warm,” because of the way it’s treating the transients and harmonic content.
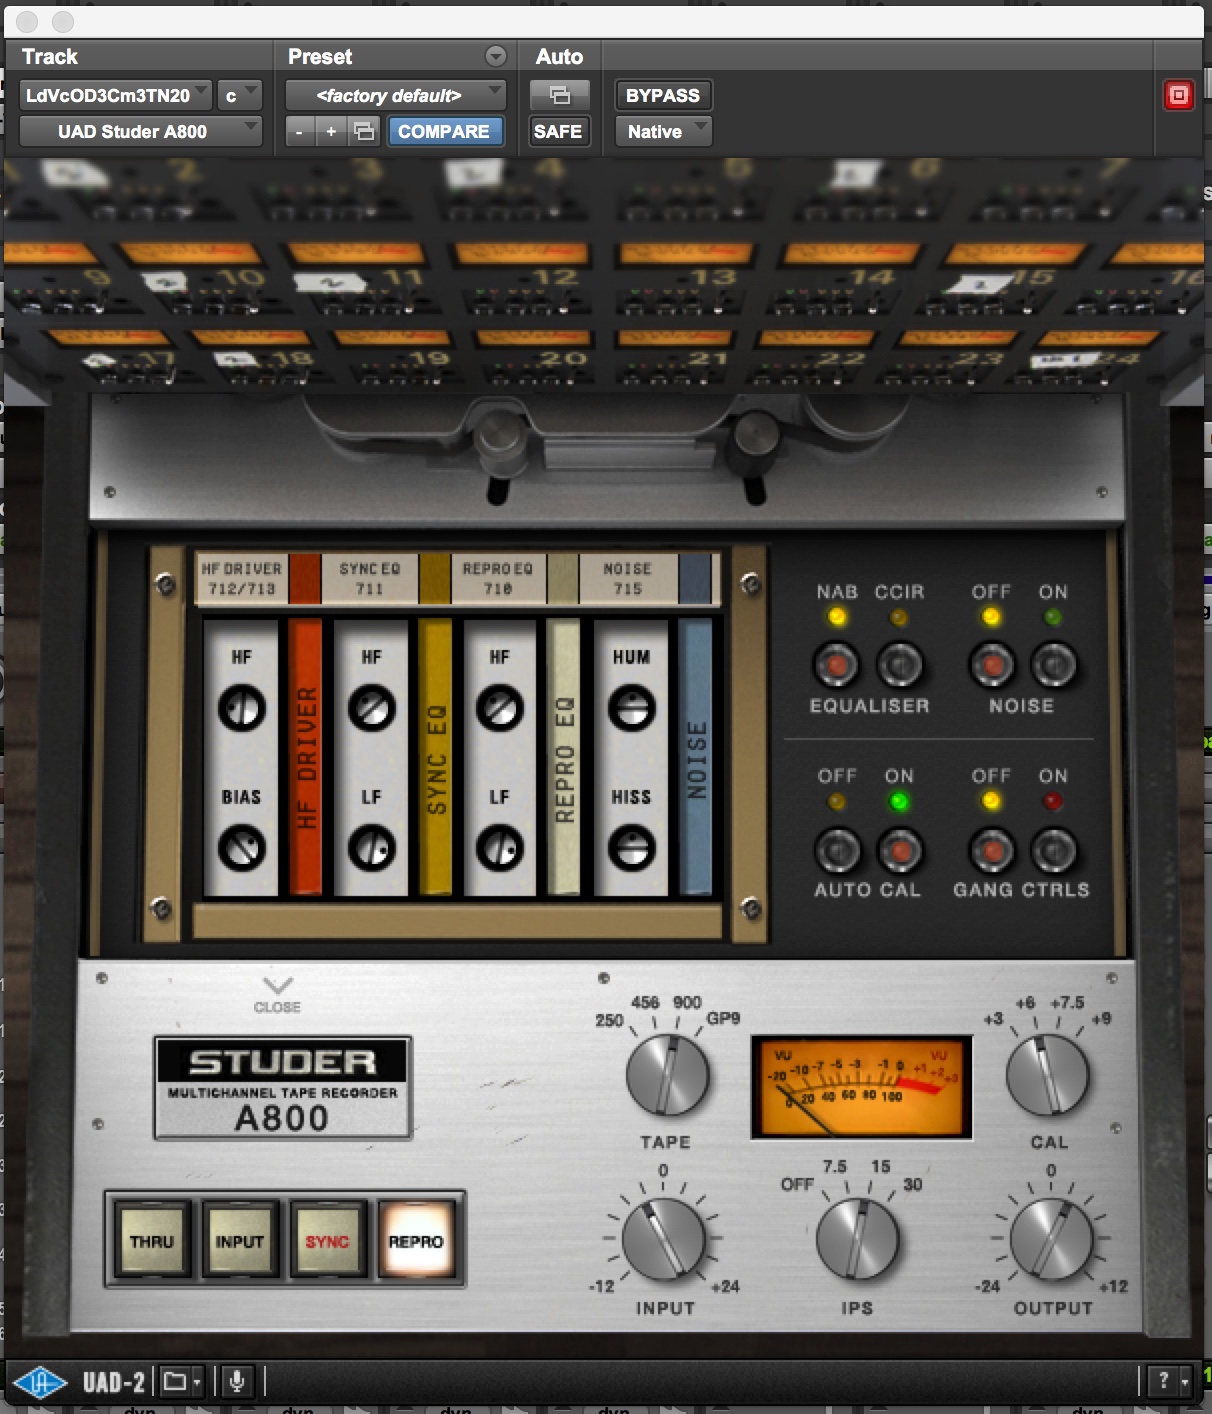
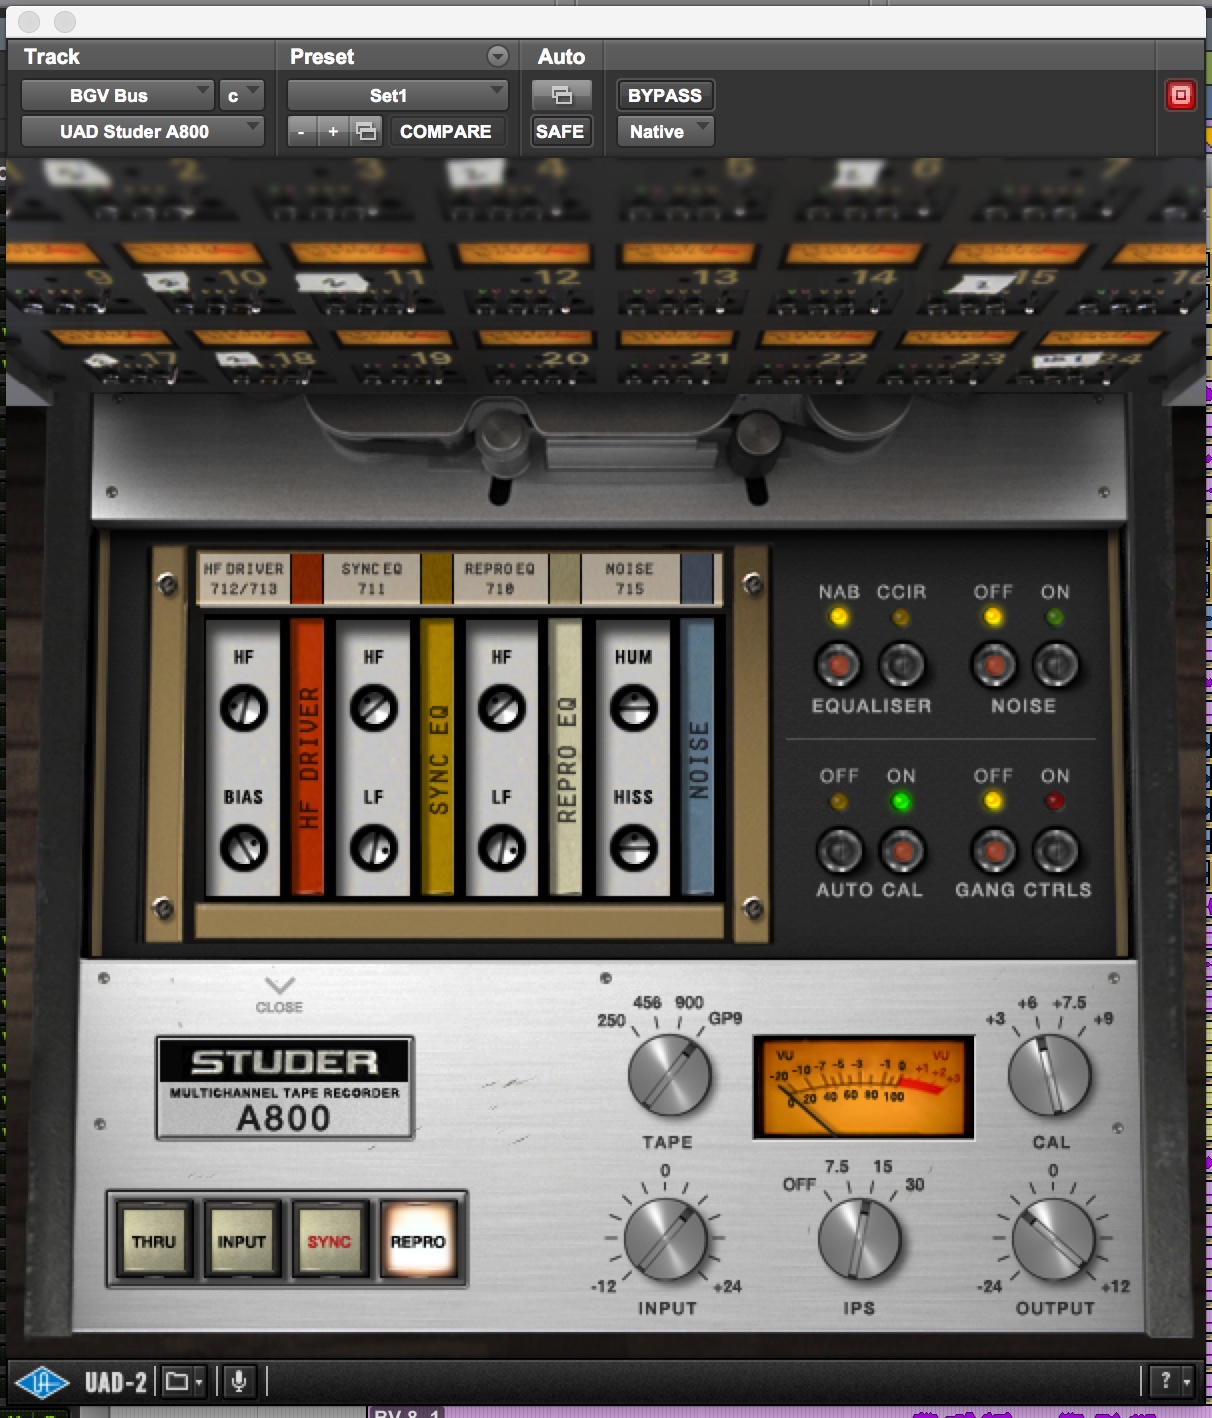
When I’m mixing with the UA Studer A800 plugin, I almost always put it on my background vocal bus before compression, so that rather than making my compressor overwork I’m using my tape emulator to control some of the initial dynamics. You can play with the tape speed (the A800 offers choices between IPS Speed/Emphasis Curve chooses between 7.5 NAB, 7.5 CCIR, 15 NAB, 15 CCIR, and 30 AES), which affects the high frequency response/fidelity — you can brighten or darken the sound by changing the tape speed. You can turn the noise on and off, adjust the bias, and more. Also depending on how hard you push the input level you will get a combining/gluing effect as the tape reaches different levels of saturation.
Lead vocal:
Background vocal:
Technique #2 Mix Bus
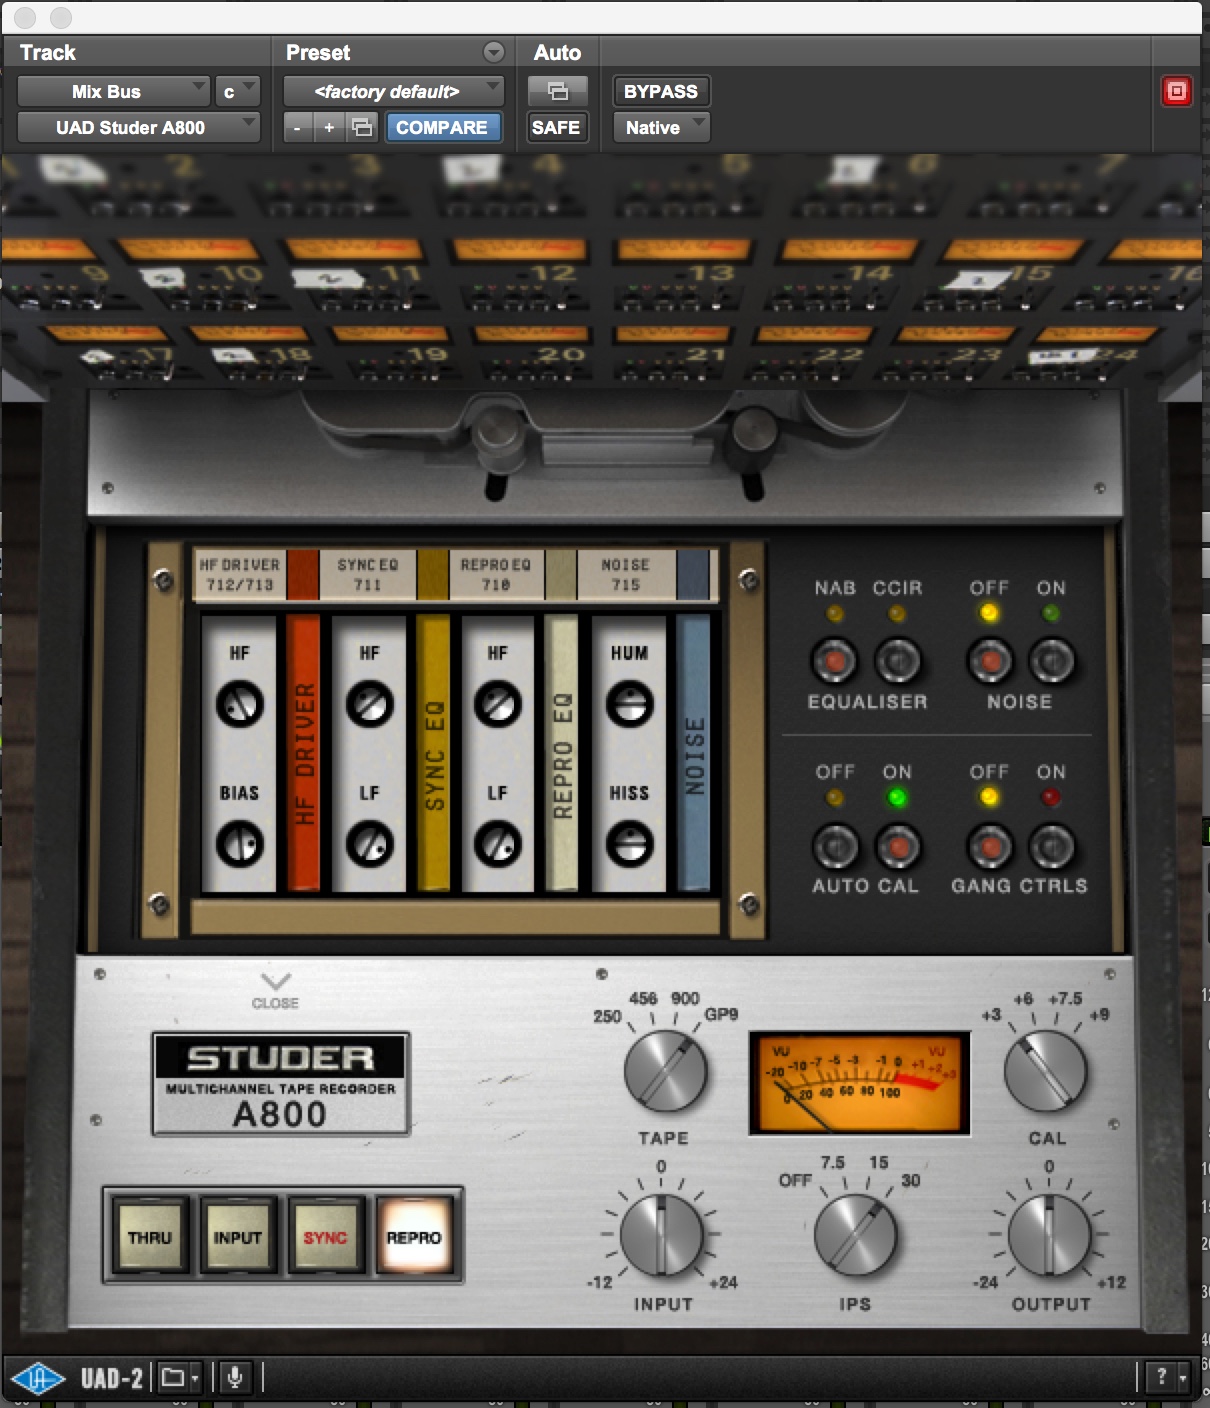
Sometimes I’ll use the Studer A800 plugin if I can’t get my mix bus to glue together. I’ll do EQ and compression first, then add in the tape emulation and use it very gently. I don’t use an aggressive setting in this case, because I’m looking for a tape formula that’s going to accentuate things.
I’m also looking for an EQ curve that will help me. When you consider the available emphasis curves of AES vs. NAB vs. CCIR, there’s a totally different shape to their EQ curves, because they all have their own way of adjusting the way the information is put on tape and then played back. NAB really accentuates the low frequencies, CCIR really accentuates the highs, and AES
is the most high fidelity response curve. The AES curve is the most transparent mainly because it’s calibrated for the fastest tape speed setting where less correction is needed for response and noise floor. AES has the most passive effect and can be used in this applications as the most subtle approach to adding the effects of tape.
Mix bus:
Technique #3 Kick and Snare tracks
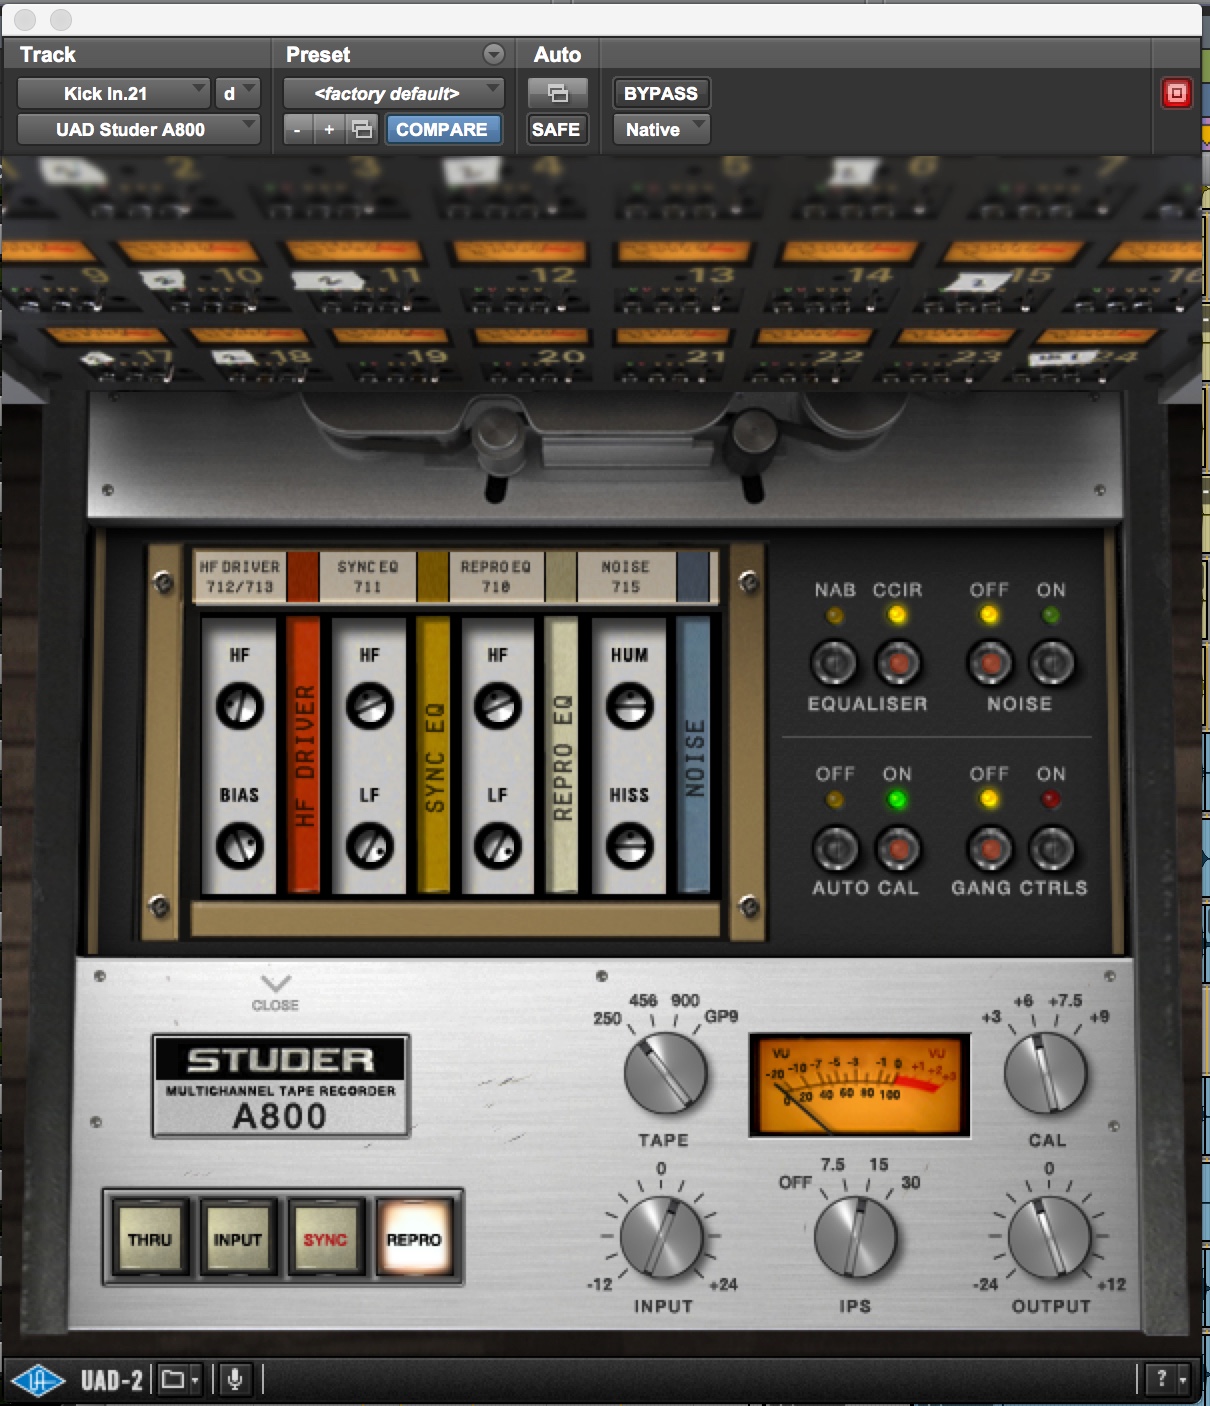
If you’re finding that your kick is high-frequency centric, and that’s it’s lacking a little bit of harmonic overtones and weight, tape can really help in changing those particular elements. The same holds true for a snare drum that’s really aggressive and sharp.
With drums in general, when you put a tape emulation on these sources you can soak up some of the transient energy while getting some of the harmonic content expanded on. By changing the tape speed, tape formula, EQ curve, and playing with the amount of bias current you can get the effects of compression, equalization, and harmonic color all in one plugin.
Kick:
Snare:
Final W.O.W. (Words of Wisdom)
All plugins have a sound and tone even when you aren’t doing anything with them. First learn the basic characteristics of all your available choices in the same way you would in choosing what analog preamp you might want to use for a specific source or outcome. Experiment with the order in which you chain processes and plugins together. Observe the change in result without changing any parameters inside the plugins. Consider that some plugins do not really sound or function as their analog equivalents do and that they are useful as unique tools.
The amazing thing about tape emulation plugins is that they can be individually set with different settings across a whole drum kit to optimize each sound or you could just put one version across the drum bus and call it done that way.
Take the time and read up on how tape machines work. Understand how you would calibrate one in the analog world so you have an understanding of the intention of the parameters in the plugin version. Then you can go about making use of this very flexible processor to craft your sounds in new and unique ways.
— Jacquire King
Please note: When you buy products through links on this page, we may earn an affiliate commission.


