The Ultimate DAW Roundup: All of the Best DAWs for Music Production, Compared!
There’s no end to the number of professional-quality audio programs today. From Pro Tools to Ableton to Reaper to Cubase to Logic, Digital Performer, Bitwig, FL Studio and Studio One, picking one for your work can be daunting.
So which is the “best” DAW out there? Or at least, which will make the most sense for your needs and workflow?
While any of the major DAWs is going to be very good at what it does, and can likely get you through most kinds of projects without issue, each has its own advantages and disadvantages, which we’ll explore more deeply in this list.
We identified more than 10 of the most popular DAWs, which I tried out in depth to find where each excelled. I’ve listed these in alphabetical order from Ableton to Studio One, so let’s dive right in!
Ableton Live
As the name implies, Ableton Live is an incredible DAW originally designed for use in live performances. But it has also become an incredibly popular music production platform for the studio.
Used by producers including Illenium, Grey, Ludwig Göransson, and Lauv, it has proven to be a very fast and intuitive DAW for quickly getting your ideas recorded and sequenced.
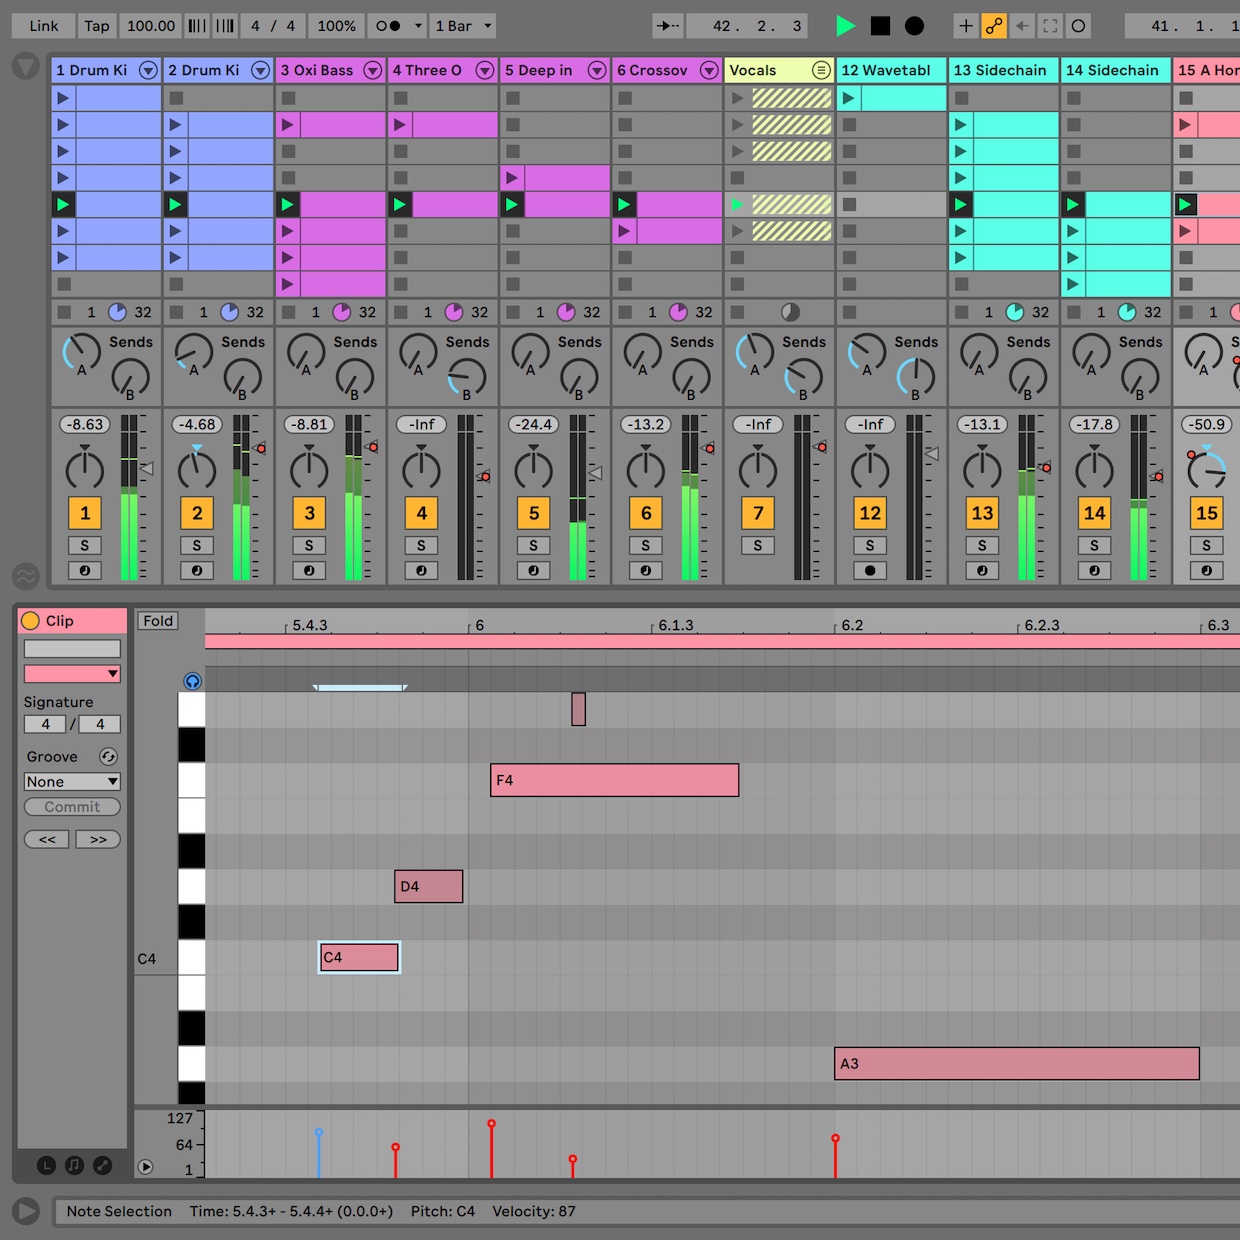
Ableton Live features a unique Arrangement View and Session View, with a layout that is unlike any of the other major DAWs. Session View allows you to quickly make or select musical loops that you can drag and drop into full song arrangements in the Arrangement view. It is also common to use Session View to load up audio files for playback of backing tracks in a live scenario, or to economize on screen real estate when mixing.
Pros:
As a live performance tool, nothing compares to Ableton.
You can select a knob in a softsynth or effect plugin, press Command+M to activate Midi Map mode, and then move a knob on a MIDI Controller and it’s instantly assigned—allowing you to map your MIDI Controller to your favorite synths for a live show or quickly map a fader bank to physical faders for individual tracks.
This also makes it a phenomenal DAW for producers who like to be hands on in their mixing. I constantly find myself MIDI-mapping the mod wheel on my keyboard to a parameter like the cutoff frequency of a synth filter and then performing my filter sweeps live, allowing me to lay down my automation super quickly and organically.
The MIDI editing in Ableton is very fast, and while it lacks some of the advanced features that Logic and Cubase have (such as switch chord inversion) you can achieve great results and figure out how to make it do what you want quickly.
The drum rack implementation is also among the best options for contemporary beat-making and for quickly creating exciting-sounding drum performances. On top of that, Live 10 introduced “Collections” which allow you to quickly organize your favorite sounds, presets, MIDI files, etc so you can have your sonic toolkit easily available for your next project!
Since it first came out, Ableton has also had one of the best audio warping algorithms around, and many users still find it to be one of the fastest options for quantizing audio loops. While it does impart a bit of a sound on your productions if abused, it’s still pretty transparent.
Cons:
While Ableton has some very advanced functions, especially its seamless integration with Max For Live, it still lacks some features.
While you can assign custom key commands to the metronome, playback buttons—or virtually any on/off button in any plugin or in the DAW itself—it would be nice if you could assign custom key commands globally for all of your sessions.
For audio editors, it may not be ideal either as there are no easy ways to “Go To Next Transient”, or to batch the adding or removal of fades for multiple audio files, and there’s no built in timecode protocol, making it more difficult to sync to picture for working on media projects like scoring or sound design for film and TV.
There’s also no comping or takes feature built-in making it much less seamless to edit vocal takes or multi-mic’d instrument recordings than on some other DAWs.
In Summary:
Ableton has been growing constantly in popularity and is the most forward-thinking DAW for live performances.
It can be an incredibly quick and inspiring tool for producers to get ideas down on, thanks in part to the amazing options for saving and recalling your favorite plugins and sounds.
If you’re a producer, or a musician wanting to add electronic components to your live set, you absolutely need to try it!
But if you’re recording or editing a lot of live musicians and singers, or creating more sophisticated film scores, you’ll probably want to couple it with an additional solution for those purposes.
Bitwig Studio
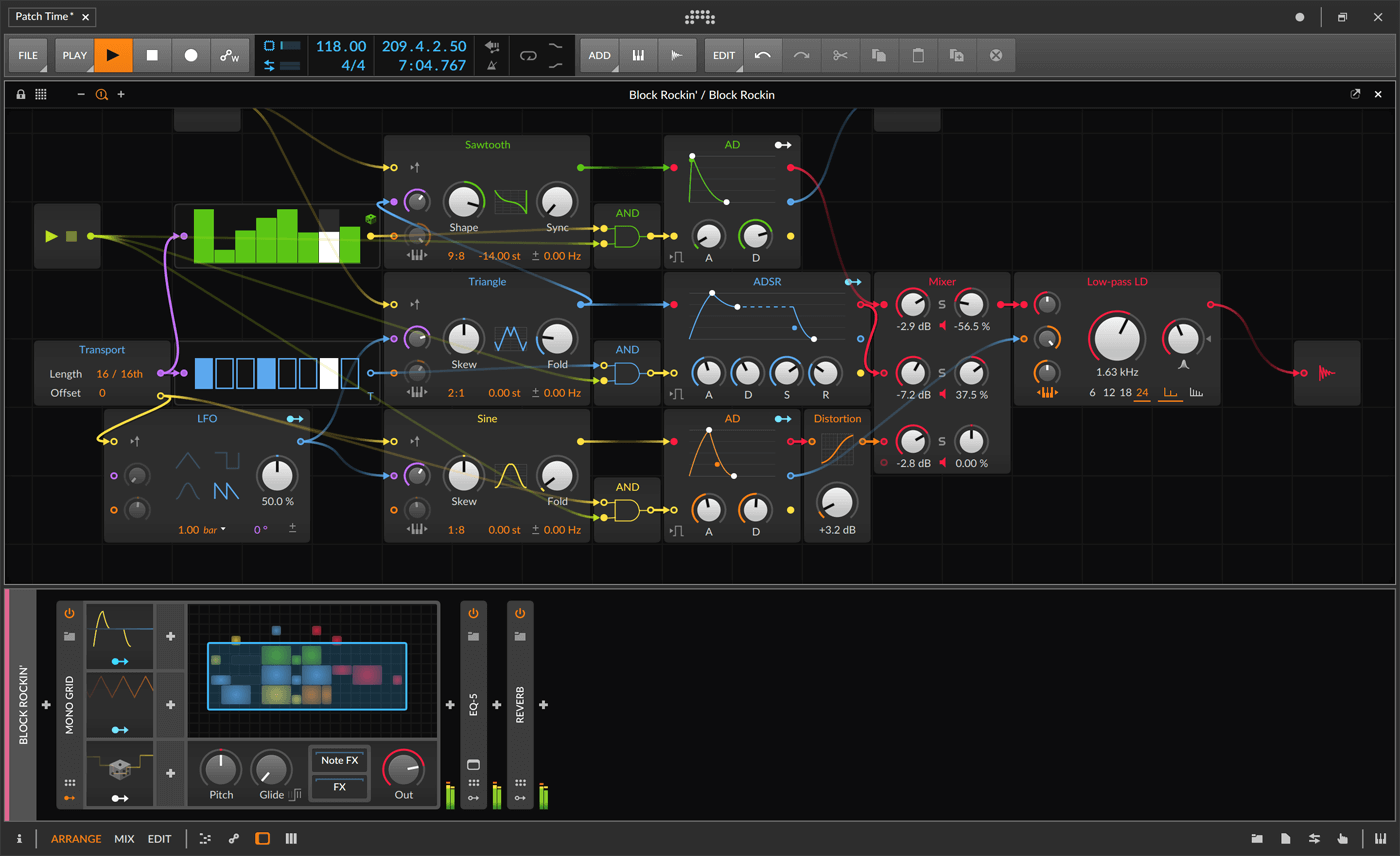
BitWig’s modular approach to DAWs offers an inspiring approach to music creation and sound design in particular.
Bitwig is a relatively new DAW that was created by former Ableton employees, and therefore has a lot of similar DNA while still adding on new features and offering a different way of working.
Pros:
I first heard about Bitwig through a friend at ROLI and I have to say, Bitwig might have the best MIDI Polyphonic Expression (MPE) editing features of any DAW I’ve used.
If you use a ROLI Seabord or Block, a Continuum, or a Roger Linn Linnstrument, you owe it to yourself to to try Bitwig as it’s MPE support might make your life easier allowing you to visualize your MPE MIDI data’s pitch and CC’s in an easily digestible way.
Bitwig has a modular feel that allows for some complex manipulation of effects and instrument settings that can be wonderful for those who like to get hands on with sound design. Devices can be nested in one another, there are loads of modulators, and pretty much anything can be dragged anywhere!
The Grid in Bitwig offers over 150 modules so you can build all sorts of unique devices from scratch, from a poly synthesizer to a custom audio-level dependent FX chain. There are also hundreds of Poly Grid (Instrument) and FX Grid (Audio) Presets to use as a starting point.
The modularity of Bitwig goes so far that if you have a Eurorack synth and audio interface with DC-coupled outputs, you can actually send Control Voltage to your modular synth and vice versa. This could save hundreds if not thousands of dollars if you want to introduce some extra VCAs, LFOs, Oscillators, or whatever else into your euro rack rig!
Cons:
Bitwig is still a little bit buggy compared to older and more established DAWs, and I found it crashed on me more than I expected on sessions with high track counts. It’s also not as well known as some of the other DAWs on this list, meaning you may not be as directly compatible with other producers or engineers if you use it. It is geared toward electronic music production, and therefore, like Ableton, doesn’t have some of the more advanced audio editing workflows that users of some older and even more established DAWs expect.
In Summary:
Bitwig May be a bit of a niche DAW, but it has some truly incredible modulation control, unrivaled by any other piece of software on this list. For sound design and really creative mixing, there is nothing else that competes with what you can do with the grids in Bitwig and you should really check them out especially if you come from any type of background in modular synthesis.
Steinberg’s Cubase
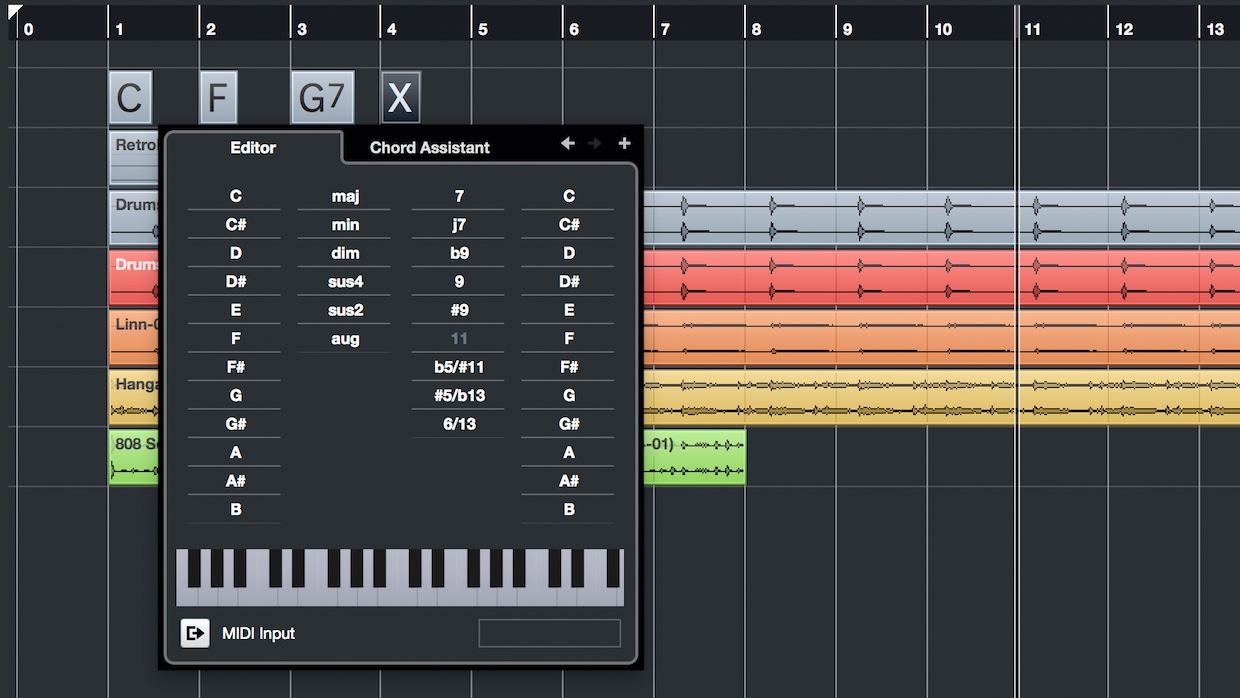
In addition to powerful tools for audio recording, editing and mixing, Cubase offers extremely well-developed tools for composition and MIDI manipulation.
Arguably the best DAW for film scoring, Cubase has been a favorite of composers including Hans Zimmer, John Paesano, Christophe Beck, and Junkie XL.
In recent years, producers including Ian Kirkpatrick and Lido have also been using it. As more than half od our readers are American, it’s also important to note that Cubase sees heavy and widespread use for all sorts of audio work in Asia and Europe—specifically Germany.
Pros:
Now in version 10.5, Cubase is an incredible platform for creating a workflow that is truly customized to your needs. For instance, many film composers have their own composer templates that will have thousands of organized tracks pre-routed to quickly stem out their music. They’ll use key commands to navigate sessions, find the tracks they need, and just get to work faster. Cubase is built with exactly this kind of customization in mind.
The Logical Editor and Project Logical Editors are two standout features, unique to Steinberg The Project Logical Editor can save hours of having to repeat tasks in your DAW. I could write a whole article—if not a book—about it, but I’d rather just give some examples of how I use it in my everyday tasks. One of my favorites uses is to create a color track preset which simply detects whether the track name contains the word “Strings”. If it does, Cubase can automatically set the track color to yellow for me, immediately making my session way easier to navigate.
The Logical Editor can be used to make custom MIDI editing commands. For example, imagine that you programmed 4-on-the-floor drum pattern that goes on for 128 bars, and wanted to make the kick on the first quarter note in every bar louder. In other DAW’s, you’d have to hold Shift and click on each and every kick on the first quarter note of a bar and then make them louder. But thanks to the Logical Editor, you could make a preset that automatically selects the first quarter note in every bar in a selected region, taking care of all of them with one click!
Granted, both of these editors can take time to set up and are definitely features for the nerdiest of producers and engineers, but they can save a lot of time on menial tasks—time you can instead spend trying to write a great tune instead! It’s also very easy to assign custom key commands in Cubase. And, you can also assign them to your custom made Logical Editor and Project Logical Editor Presets, speeding up their use further still!
MIDI Editing in Cubase feels extremely natural and fast and the multiclip editing is amazing for seeing the notes on multiple instrument tracks. It arguably has some of the best MIDI functionality available, making it a big hit with composers.
Cons:
Steinberg have opted to give users access to basically any and all control in Cubase. Because of this, it might not be the ideal DAW for sharing on a central workstation in a studio with multiple users, as every user’s setup can be more uniquely customized than with any other DAW.
It may also contain too many features and can potentially be intimidating for beginners who just want to quickly get their ideas recorded and not have to deal with setting up their own unique key commands and all of the options in the menus.
Some mobile producers and mixers also dislike the need for a physical USB eLicenser which is needed to authorize and run the software. Historically, Cubase runs more smoothly on PC’s than Mac systems too, though this has changed dramatically with version 10, and will most likely improve with each coming upgrade.
In Summary:
Cubase is an extremely customizable DAW that allows you to create a unique environment when it comes to your templates, key commands, macros, and so one. It’s a DAW that many users treat like their own individual custom instrument, tailored for their own needs. It’s used by some of the top composers for film and TV, along with some of the most unique music producers, and it can be quite an incredibly inspiring program for capturing creativity, and making complexity easier to handle.
Steinberg’s Nuendo
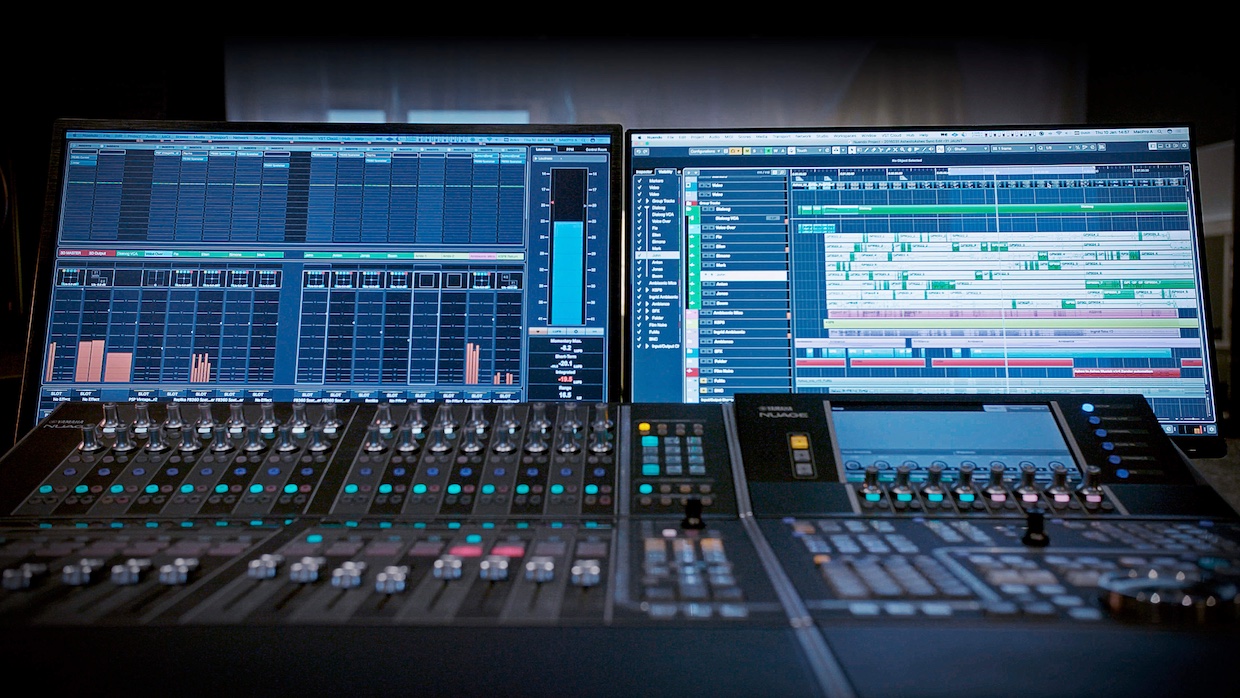
Nuendo takes what makes Cubase so powerful and adds more, especially for those who work in audio post production and sound for games and film.
We’ll break from the alphabetical order here for a minute to talk a little bit about Nuendo, which is often thought of as the big brother of Cubase.
Also made by Steinberg, Nuendo has all the features of Cubase and even allows you to open Cubase files all with the added benefits of some additional features for audio editing, game audio, video, and broadcast.
Pros:
Nuendo has some of the best integration available for game audio and can be connected to the dearVR program for virtual reality audio mixing. You can edit spatial data using the stock Nuendo MultiPanner or the dearVR Spacial Panner plugin and when the two are connected, tracks from Nuendo will be fed into dearVR.
The new Doppler and VoiceDesigner introduced in Nuendo 10 allow you to mangle and warp a vocal (or really and sound) allowing for some really unique and inspired sound design.
In terms of writing or working to picture, Nuendo includes “Video Cut Detection” which allows you to automatically add markers to every cut in a scene so that you can quickly visualize hitpoints in your video. Other features not included in Cubase include Dolby Atmos, Anymix Pro, MXF (audio), AES31, and Auro-3D support along with Cue Sheet export.
Cons:
There really isn’t anything I found lacking in Nuendo. I just wish that you could use the Video Cut Detection feature in the new Cubase 10.5! It is a bit pricey, and is among the most expensive DAWs on this list at $972.
In Conclusion:
Although its price is higher than average, Nuendo has so many features not found in any other DAW’s and I think that price is justified. Having said that, a majority of the features in Nuendo are also found in Cubase which may be fine for your needs. At least, that seems to be the case for most A-List film composers, who still use Cubase instead of Nuendo. But if you need a powerhouse of a DAW for game audio, multi-channel Dolby work, audio post and broadcast work, then look no further!
Digital Performer
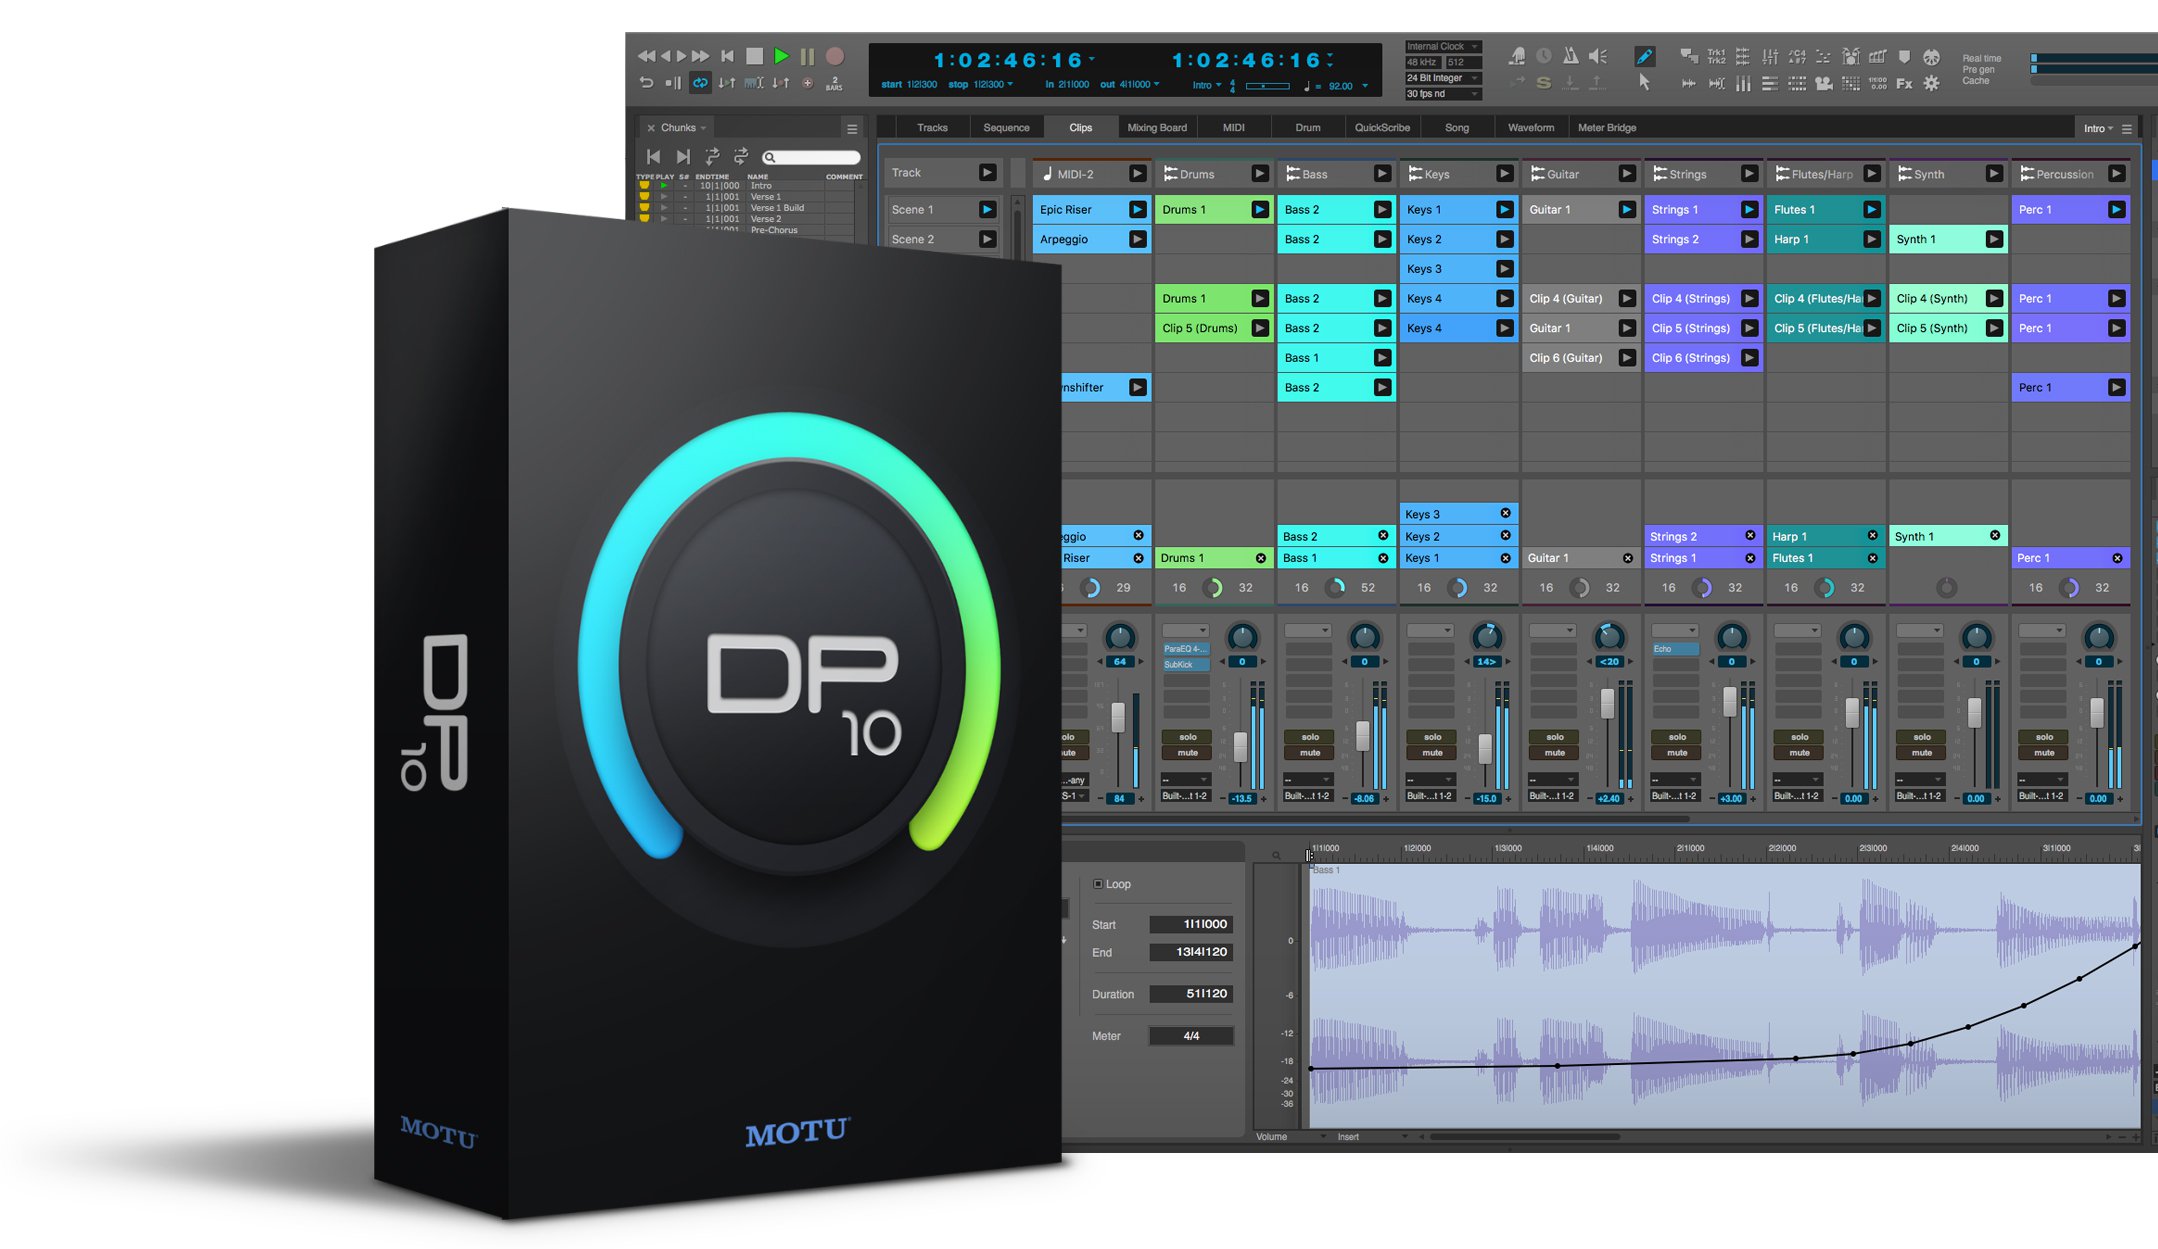
Digital Performer is one of the longest-standing DAWs out there, with plenty of loyal fans in the music composition and film scoring worlds.
One of the longest standing DAW’s on this list, Digital Performer has been widely used by film composers including Danny Elfman, Marco Beltrami, and Alexandre Desplat.
It is a software that has become loved by film composers and many of its features are specialized for those who work in scoring to picture.
Pros:
The score editor in DP is surprisingly good at what it does, and does a great job of taking your MIDI mockups and immediately converting them into readable scores for live musicians.
A “Chunks” feature allow you to have many individual sequences within one project file, which can be incredibly handy for media composers who need to create many individual cues for a movie or TV show.
With Chunks, you can load your video into a project and have a different “Chunk” for each cue, complete with its own mixer, audio and MIDI tracks. Additionally, the Chunks feature is amazing for trying out multiple revisions of the same production and then quickly switching between them.
A Clips window was introduced in DP10 that allows users to move around audio and MIDI clips and arrange songs similarly to how you would in Ableton, but with the added benefit of a queue that allows you to organize the order in which clips are played back. I liked this new environment for quick mix fixes in terms of adjusting volume, pan and so on.
Another great aspect of mixing in DP is the incredible Waveform Editor that includes a spectrogram view that allows you to easily see potential issues with your audio files.
In terms of advanced features for composers, DP has a pretty unique set of tools allowing you to superimpose streamers, punchers, and flutters over the movie so you can visually cue musicians when to play.
Cons:
Although DP started as a MIDI sequencing software, it seems to be behind the times compared to other DAW’s in terms of more advanced MIDI editing features that many find essential these days for electronic music production. MIDI CC editing can be a bit cumbersome and there aren’t as many advanced MIDI Transform features like there are in some other DAWs on this list.
In Conclusion:
Digital Performer has long been used by film composers who love the features such as Chunks. While some criticize the Clips window as being a bit too similar to that of a German DAW developer also on this list, the queue implementation makes it unique and it will be great to see how composers utilize it in their workflows, or if it persuades more producers in the pop domain to use DP!
FL Studio
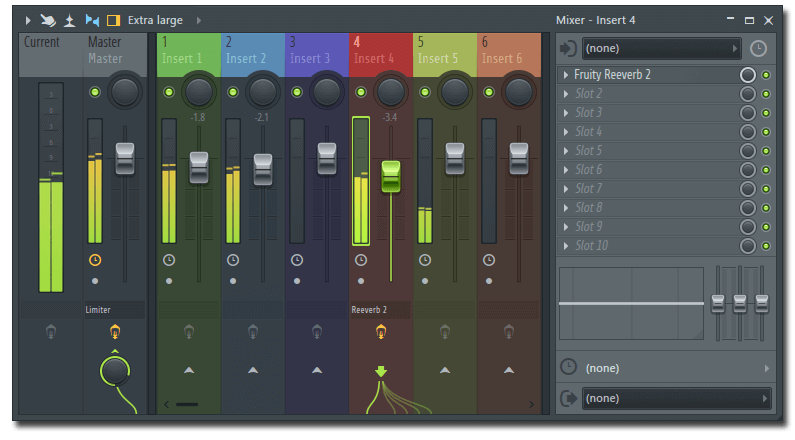
FL Studio is an incredibly fun and easy to use platform for creating electronic music in particular.
Based only on tutorial videos on the internet, it may seem that Image-Line’s FL Studio is the best for making trap beats… but it is also a surprisingly powerful DAW that is used by pop producers, game composers, and everyone in between.
In addition to passionate hobbyists and new music makers, FL Studio is used by some of the top electronic and hip hop producers in the world including Alan Walker, Martin Garrix, BOI-1DA, YoungKio, and Nick Mira.
Pros:
The workflow of FL is quite unique and getting used to the idea of making patterns that you can paint in your session can be really inspiring! I also love the drum editor as it really reminds me of the intuitive TR-808 layout.
A lot of the stock plugins found in FL Studio have become prevalent in modern music production styles, and it’s almost comical how often the “Gross Beat” feature is used on trap beats—so much so that I can think of at least two 3rd party plugin developers who have essentially ripped off the half speed features for use in other DAWs.
In terms of pricing, FL Studio runs the gamut ranging from $99 for the Fruity Edition (basic) to $299 for the Signature Edition (advanced) up to the $899 version that comes with all of Image-Line’s plugins. The greatest thing about FL’s pricing is that whatever version you buy comes with lifetime free updates! You don’t get all the new software synthesizers and effects however, but this is still a really nice pricing scheme that longtime users will appreciate.
Cons:
FL Studio lacks some essential timecode features for scoring and is not the best DAW for recording engineers or audio editors. The biggest workflow complaint among FL users is the number of screens you have to jump around to switch between mixing, sequencing and arranging, which can be a bit cumbersome. On top of that, FL was only recently introduced to the Mac platform and is still more stable on Windows computers.
In Summary
For fast beat and music making in contemporary genres, FL is a very usable DAW that many pop/trap producers rely on regularly. The free updates in its pricing scheme has helped establish a long term user base that has a deep loyalty to Image-Line. Additionally, most of the stock instruments and audio effects are very good, and you may want to consider buying it just for Gross Beat and its for repetition, stutter and scratch effects alone!
Logic Pro X
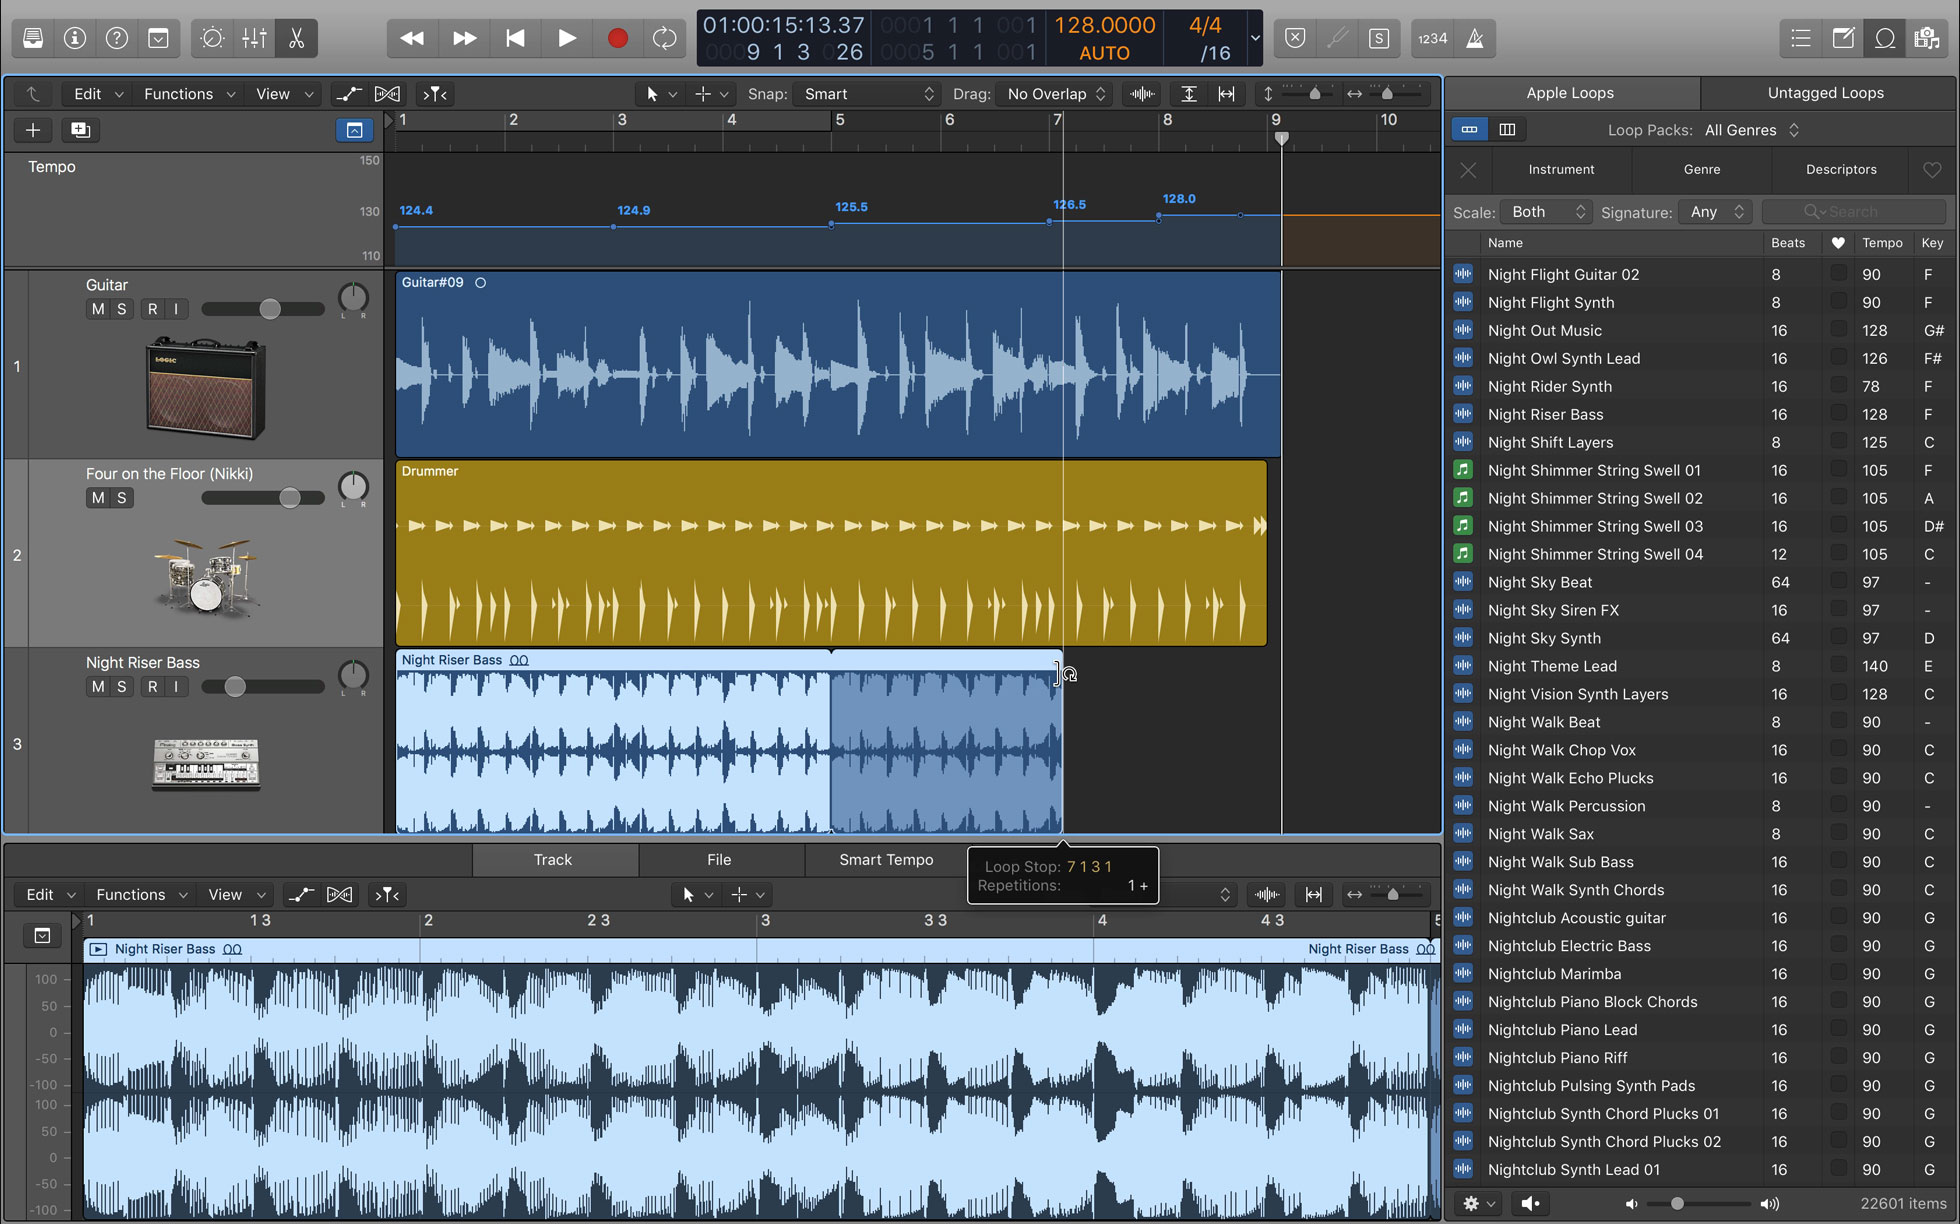
Logic Pro is inexpensive, powerful, fun and easy to use for capturing live music or making it electronically. While not quite as powerful in some areas as Cubase or Pro Tools, it gives either a run for their money maybe easier to learn.
This is one of the less expensive DAWs on this list, as it’s stayed consistently at $200 for the past 8 years. It’s the official DAW of Apple is sure to be very stable on your Mac.
Logic Pro has an amazingly vast user base and is employed by producers such as Take a Daytrip, Candace Sosa, Ebonie Smith, and Greg Kurstin as well as by composers including Ramin Djawadi, John Powell, Kris Bowers, and Jacob Shea.
Pros:
The MIDI Editing and audio manipulation in Logic is very straightforward. There are also a lot of great features for composers and even the most nerdy of MIDI enthusiasts, including Articulations for virtual instruments and a MIDI Transform menu where you can make custom MIDI editing commands. The built-in sounds and effects are quite good, and the included Apple Loops have been featured on hit songs by artists ranging from Rihanna to Jon Bellion.
Track presets are very easy to create and recall so you can have your favorite sounds or mix settings at the ready when inspiration strikes. Logic may have some of the best default presets as it comes with very usable synth, piano, drums, and bass presets right out of the box. It also includes the Alchemy softsynth which is an incredibly flexible instrument for producers. The drum machine designer also makes it easy to import your own sounds and start programming quickly.
Since version 10.4 there have been some huge advancements including a true “Disable Instrument Track” feature and support for up to 1000 instrument tracks and 1000 audio tracks, making it is a very usable tool for composers and producers who like to have all their favorite sounds up and waiting, just ready to use.
As far as audio in Logic goes, the Takes feature and Quick Swipe comping are amazing for quickly crafting the perfect vocal production. With Flex Editing, you can also adjust pitch and timing of recorded audio with minimal artifacts. Logic now has ARA integration, you can use Melodyne very easily in the DAW! For engineers, it is really easy to set up custom configurations in track presets for recording ensembles or drum kit configurations where your favorite inserts and sends are pre-configured.
Cons:
Logic can only be run on Mac or Hackintosh systems (the latter of which is not recommended) and currently only supports Audio Unit plugins.
Although you can customize the naming of your I/O globally for all your sessions, it is not possible to save custom I/O settings for each session like you can in Pro Tools.
Some people don’t like the way Logic automatically creates buses when you add a send. Logic has a Capture Recording to retroactively record MIDI performances, but unlike Cubase and Ableton’s versions of this feature, Logic needs to still be in playback for this to work, which some users gripe about.
In Summary:
Logic Pro X is an incredible DAW that is a very natural transition for Mac users who already have access to the free GarageBand software. It is great for engineers, producers, composers, and mixers and is a greatly intuitive DAW for those who don’t want to have to read the manual and forums to make music, and would rather just dive right in and start figuring it out.
Pro Tools
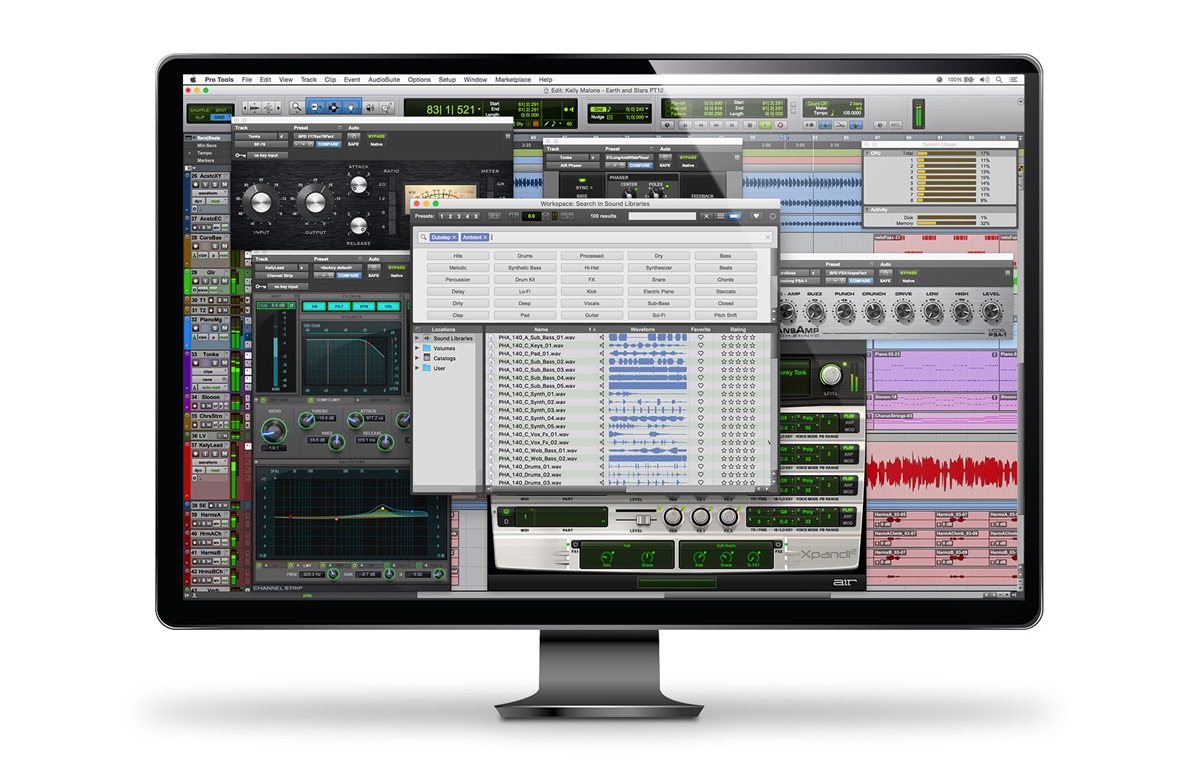
Pro Tools is still the industry standard—especially in the U.S.—and can be found in most major commercial studios. It is still arguably the most powerful DAW for recording, editing and mixing audio.
The industry standard in digital audio, Pro Tools is still arguably the best DAW for post production and mixing—and not only because pretty much every commercial recording studio has it on their computers!
While I initially found it to be the least intuitive DAW, once you get used to the way it works it can be incredibly fast for chopping up audio and arranging ideas on the grid quickly.
Pros:
As virtually every pro recording studio—especially in the United States—has a copy of Pro Tools, it’s a great DAW to know. I will agree with their marketing team that it is the industry standard and is arguably still the best DAW for recording and editing audio.
The MIDI editor has had major improvements in the past couple of years and while it’s not the “best”, it is certainly usable for professional purposes—plus it’s easy to commit virtual instruments to audio and easily manipulate audio clips.
Pro Tools also has, in my opinion, some of the most intuitive key commands for editing audio clips, making it extraordinary for audio engineers and producers who mostly work in recording, rather than in-the-box sound generation. Additionally, the built-in elastic time and pitch functions can be fairly transparent and allow for some amazing editing of recorded material.
If you’re a composer or producer, it’s also very convenient that a majority of pro mixers use Pro Tools, so if you created your music in the same application, you can commit all your audio and immediately send your session away for mixing, saving lots of time in having to export individual tracks if you were using a different DAW than your mixer.
Cons:
The MIDI editor in Pro Tools is consistently getting better, but it still has a long way to go before it will match the amazing capabilities of those in Logic and Cubase.
While Pro Tools allows you to hide all the tracks you don’t need to constantly see, a track folder addition to Pro Tools would make it much easier to navigate all those hidden and essential tracks, especially on 100+ track sessions.*
[*Update: January 16, 2020: Pro Tools has JUST announced track folders as of this NAMM show, making this critique obsolete.]
Some PT users still complain about the need for an iLok to run the software (yes we know you can run it via the cloud now, but that doesn’t work well for all setups) and that it seems Avid is starting to push users toward the subscription model to pay for PT.
In Summary:
If you write and record using physical instruments, work with lots of audio files, or if you produce or record bands and other live ensembles, Pro Tools may be the perfect DAW for you. There’s also a reason the best mixers in the world like Eddie Kramer, Bob Power, and Tom Lord Alge still use it everyday.
Reaper
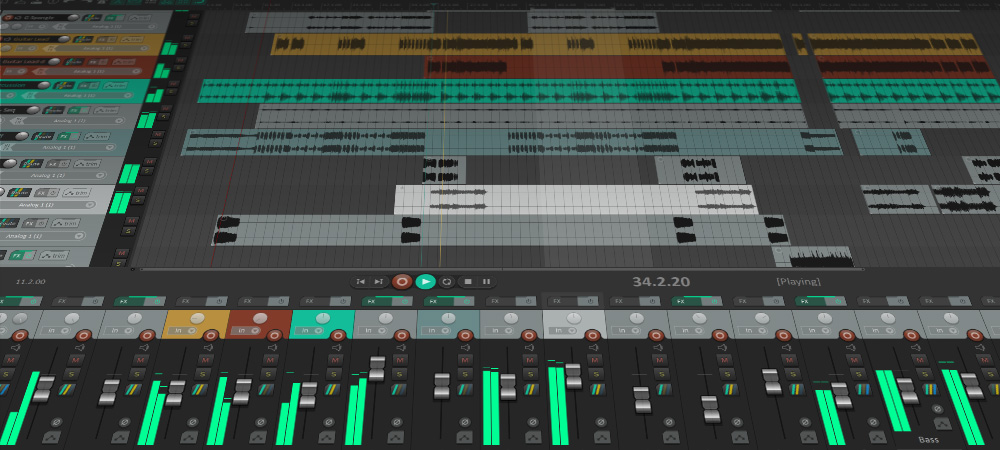
Reaper has a community of users that is extremely supportive, and I can’t think of a thing you can’t do in Reaper.
Having said that, it tends to be a better tool for engineers and really tech-focused music makers as there can be a lot to setup involved in customizing the platform and getting it working ideally for your individual setup.
Pros:
Reaper is the DAW that I truly believe can do anything.
The open architecture of this DAW has made it possible for the user community to customize it so much so that you can download Cubase or Pro Tools-esque skins. At $225 for a full license and $60 for non-commercial use, Reaper is quite affordable.
It’s a very small download size too weighing in at less than 20MB….That’s Megabytes! It opens in less than 5 seconds on my MacBook Pro, which is faster than any other DAW on this list, and seems quite resistant to crashes.
There is a “anticipative FX processing” feature that lets Reaper adapt to your computer’s processing power, making it very stable. Many people refer to it as “the Crowdsourced DAW”, as the developers are very much in tune with the needs and wants of its users, and constantly add features and fixes based on what the community asks for.
Some other standout features include Tabbed projects that allows you to open multiple projects at once within tabs, and also allow you to drag and drop content including instruments amd plugins from one project to the next.
The simplicity of tracks not having any distinctions such as a MIDI, Instrument, Mono, Stereo, and instead just being a track that you can place anything onto makes Reaper very intuitive.
Cons:
As much as I love the limitless possibilities with Reaper, I also find that it can be a bit too feature-packed at times.
In Summary:
If you want to join a community of dedicated and avid tech geeks who love customizing their workstations, Reaper may be the DAW for you. It’s incredibly powerful and runs very efficiently, and is almost endlessly tweakable.
Reason
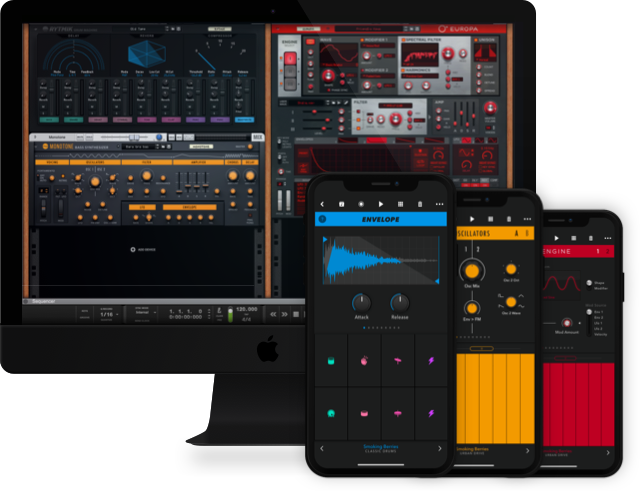
Reason is an incredibly fun and intuitive DAW that is jam packed with amazing sounds and sound manglers right out of the box. The number of plugins and modules available is astounding, it integrates with mobile devices as well.
The newly released Reason 11 is the only DAW on the list that you’ll be able to use either standalone or within other DAW’s as a plugin!
Propellerhead, recently renamed as Reason Studios, created the Rewire protocol years ago to allow its software to run within and alongside other DAWs.
The new version 11 comes with new devices too: the Quartet Chorus Ensemble, Sweeper Modulation Effect, Master Bus Compressor, and Channel EQ.
Pros
Used by producers and artists including Marian Hill, Nana Rogues, and Justin Williams, Reason is an incredibly fun software for crafting beats and sounds.
Reason has a unique cable patching workflow where you can take virtual cables and connect effects or synths via audio or CV connections. This allows for some very complex sound shaping where you can adjust parameters on synths based off of incoming audio (like a sidechain) or based on the parameters of another synth.
Reason has one of the best audio warping algorithms I’ve heard and the included samples and presets sound great! The NN-XT sampler in Reason is also really cool for quickly making your own custom sounds and features an amazing automatic pitch detection function that automatically maps your samples to the right keys!
Cons:
The MIDI editing features in Reason are not too advanced and the audio recording and editing features don’t really stand out either. Aside from that, there’s not too much “wrong” with Reason, it’s a very intuitive DAW that allows the user to be incredibly creative in the music making process.
In Summary:
If you’re looking for a DAW that is extremely easy to learn and fun to use on its own, and that can add additional sound creation capabilities to other DAWs, Reason may be worth getting for your studio.
Studio One
Created by developers who worked on Logic, Pro Tools, Cubase, Studio One incorporates some of the best features of other DAWs making it incredibly versatile and easy to learn.
It is also the first DAW to use a rent-to-own system where you pay for it in small monthly payments, and after a number of months where you’ve spent the amount the software costs, you then own it!
Pros:
I think the coolest thing about Studio One is that it’s native pitch editor is Melodyne, one of the industry standards for pitch correction. I found that the incredibly easy access and deep integration with Melodyne makes Studio One a great platform for sound design and for doing heavy vocal production and editing sessions.
The dedicated Mastering Page is also very unique, and the Loudness metering integrated in this section is fantastic for checking to make sure your mixes are competitive.
Studio One feels like the perfect blend between Logic and Cubase in the way the main workspace is set up, and in the similarity with key commands to both DAWs. The MIDI editor will look very familiar to Cubase users but in actual performance it reminds me more of Logic’s MIDI editing workflow. There’s also a Macros features similar to Cubase’s Project Logical Editor.
One huge standout is that bouncing MIDI doesn’t automatically delete the MIDI info, replacing it with an audio clip like in most DAW’s. You can transform MIDI to Audio almost like a freeze MIDI function, but you can still edit the blocks and then revert back to MIDI if you need to adjust your progression or melodies!
Another really cool thing is hitting Caps Lock activates the QWERTY Musical Typing mode in Studio One and marks the first time I’ve ever seen a DAW developer find a worthwhile use for the Caps Lock key! You can also rent to own Studio One via Splice, and while other DAW’s have subscription plans, rent to own is great in that after you pay the cost of the software in monthly installments, you own it and don’t need to pay any further.
Cons:
One of the only disadvantages I can think of is that because Studio One’s user base is still growing, you may not be quite as DAW compatible with potential collaborators compared to using one of the older and more established DAWs.
With that said, Studio One is easily among the fastest-growing DAWs around, and PreSonus boasts that it is the #2 or #3 selling DAW in most of the major markets in the world.
More DAW’s like Logic and Cubase are introducing ARA support as well, so using Melodyne as the built-in pitch editor in your workstation is becoming more and more common and not as exclusive to Studio One.
In Summary:
If I were hired to edit vocals or instrument takes exclusively, I would switch to Studio One in a heartbeat thanks to its built-in Melodyne editing. It’s a versatile musical workstation that is very affordable thanks to Splice’s rent to own program and is sure to be growing in popularity.
DAW Conclusions
Any of the DAWs in this list would easily be suitable for professional work in audio and music production. But each of them stands out in a certain area.
For live performance, no surprise, Ableton LIVE wins because of its incredible MIDI mapping features and session view approach for launching clips.
For film composers, Cubase wins for me. The MIDI CC editing, surround support, and Logical Editor and Project Logical Editor make it a very advanced DAW that can tackle even the most brutal of conforms or writing tasks to picture. (Though some users may prefer the added features in Nuendo, or the scoring and chunks features in DP.)
For audio engineers, Pro Tools and Reaper both win. If you are planning on working at a commercial studio, use Pro Tools because it is still the standard, but if you want to customize your DAW, perform a lot of audio editing tasks quickly or want to try a new DAW environment, Reaper is incredible.
Finally, if you are looking for a fun and intuitive music creation platform that comes with a ton of built in sounds and is easy and inspiring to use right out of the box, then Reason, FL Studio and Logic are all worth a look.
Well there you have it, our comprehensive roundup of the major DAWs. What DAW do you use and why do you love it? Let us know in the comments below!
Please note: When you buy products through links on this page, we may earn an affiliate commission.


