How to Record Every Type of Kick Drum
Whether you call it a bass drum, kick drum, or just “the kick,” this instrument is the anchor of the rhythm section in most styles of popular music.
Since nearly everything else revolves around this central element in some way, the sound of the bass drum can shape a song at a fundamental level. And, when you consider all the variables at play—including shell size, drum heads, beater styles, and more—there’s a staggering range of possible drum sounds, which makes getting the right tone critically important.
However, in many recording situations, little thought is given to the bass drum beyond “is there a hole in the head I can stick my mic in?”. While this set-and-forget tactic may work passably well much of the time, what happens when a drummer shows up with something you weren’t expecting?
What’s the best way to approach a wide, shallow drum with no front head at all? How about a small, boxy kick tuned extra high? Before your next session, consider the factors below (presented roughly in order of importance) and you’ll be ready for whatever kind of session comes through the door.
Drum Physics 101
Sure, you can get a good kick drum sound without knowing the “why”s, by using off-the-shelf recording techniques, or simple trial and error. But taking the time to understand how drums work and the physical factors at play will make a huge difference in the sounds you’re able to get.
It all starts with the shell of the drum. Its dimensions and the material it’s made from will determine its fundamental pitch, resonance, and tone. And since these aspects can’t be altered, it’s especially important to understand what you’re working with and what you can get out of it.
The fundamental frequency of a drum—as well as its resonance characteristics—are determined by the diameter and depth of the shell. In general, diameter has a major effect on pitch, and depth contributes to resonance and sustain. But both factors influence each other in a complex way. In fact, two drums could have different diameter-to-depth ratios, resulting in the same fundamental pitch, while still sounding wildly different.
Smaller bass drums, like those used in jazz kits, tend to have more of a defined pitch, while the larger sizes popular in rock music produce so much subsonic information that the sound becomes more of a broad “thump” than any particular note. Drums with equal depth and diameter will resonate strongly at one particular frequency (similar to the poor acoustics of a cubic room), so many drums are purposely built a bit off from a 1:1 ratio.
The material and construction of a drum also play a critical role but have more impact on timbre than on pitch. Without going into drum-nerd levels of detail, here are the main points: Most bass drums are made of wood, with softer woods, like mahogany, producing a darker timbre and harder woods, like maple, sounding brighter. Acrylic drums like Ludwig’s Vistalites absorb very little sound, making them louder and punchier than any wood. Metal bass drums are rare, and have less resonance and slightly more brightness than acrylic. (Not to mention a lot more weight). No matter the material, thinner shells enhance sustain while thicker shells project more.
Tension and Tuning
Sorry non-musician engineers, it’s true: To get a good sound out of any drum you come across you’ll have to learn a bit about tuning. Of course, if you’re lucky, the drummer will have already tuned their kit for the session. That’s not always the case, however, and different songs often call for different tunings anyway. While a step-by-step tuning guide is outside the scope of this article, a working knowledge of the subject can be indispensable when it’s time to break out the drum key.
Start by tuning the batter head (the one the pedal hits), making sure it’s at least tight enough to respond well to the drummer’s footwork. Too loose and it won’t have any bounce to it, making it harder to play. You’ll also get more of a “papery” slap sound. (But hey, maybe that’s what you’re going for.) Too tight and you might introduce a basketball-like “boing”—and you may even risk breaking the head. The resonant head on the opposite side (if there is one) is all about fine-tuning the pitch and sustain.
In general, looser heads, on either side, equals a lower pitch, but this is only true to a certain point. The head needs to have a certain amount of tension to produce any pitch at all. Start by turning the lugs just until you feel some resistance, and from there you can tune up and hone in on a pitch that works. You can also fine-tune the drum’s sustain by purposely matching (or avoiding matching) the tuning of the two heads.
Depending on the role the bass drum needs to play in a track, you may find yourself tuning for maximum thump, trying to match the key of the song, or skillfully aiming for complex overtones. Often a drum will have a tuning “sweet spot,” and it’s best to either work with that, or switch to a different drum that can do what you need it to. Always use your ears as the final test, making sure the bass drum is complementing the rest of the kit and any other instruments.
A Hole in the Head
The type of resonant head on a bass drum (or lack thereof) can greatly influence your mic placement options. In the rock and pop world, most drummers opt for a port hole on the resonant head.
These holes, usually 4-6″ wide and located off-center, reduce resonance and emphasize beater attack for a punchier sound. But port holes also have an added benefit for recording engineers: The ability to stick a mic inside the drum. While certainly not a “natural” sound, this approach can be heard on countless recordings and remains many engineers’ go-to strategy for kick drum recording.
There are many variations on this technique, adding to its versatility: You can stick the mic all the way in to emphasize the click of the beater, back it off to blend in some resonance, or park it just outside the hole for maximum thump. Having the mic more on center or off center will also effect the proportion of attack to sustain, with the most “click” toward the center, and the most resonance toward the rim.
Many engineers choose an “in/out” method, placing one mic near the beater and another on the head itself and blending to taste. Compared to the options a port hole presents, a fully intact head may seem rather limiting. But what unported heads lack in recording flexibility, they more than make up for in tone and sustain.
The most useful way to approach this type of head is to think of it like a speaker cone. The tone can be shaped by moving the microphone closer to the center or out to the rim, and angling it on- or off-axis. If you’re still in need of more attack, try mic’ing the beater side itself with a supercardioid mic, perhaps dangled over the top of the kick drum, or on a small stand tucked under the drum throne.
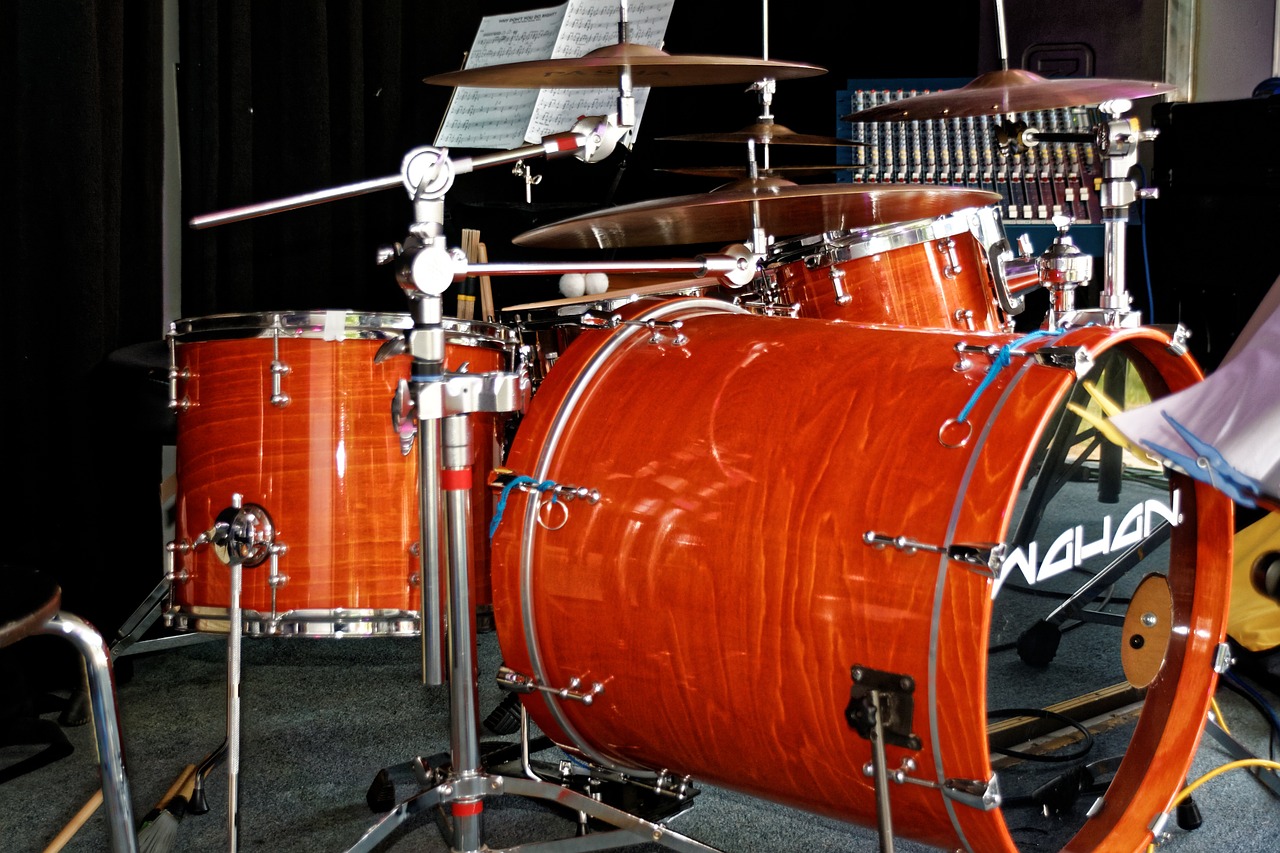
Sometimes, you’ll encounter a kick drum with no resonant head at all. While you will be stuck with a lot of attack and very little sustain, having nothing in the way of your mic placement can open up some interesting options. With so much room, you can use three or more mics for more flexibility. You can even mic the shell directly for a unique texture. However, the simplest way to get a great sound from a no-head kick is with a single mic just outside the shell. As long as the drum sounds good in the room, less is more.
Microphone Selection
When choosing a microphone for the bass drum, most people will reach for a big, bulky dynamic mic. This is often a great choice, but not for the reason you might think. There’s a misconception that bigger mics capture more of the lower frequencies, but this is not necessarily the case. (Even very small microphones can be designed to capture the full spectrum.) A bigger diaphragm does, however, let a mic absorb more sonic energy, which allows it to survive the extreme sound pressure levels (SPL) of bass drum and reproduce the full force of the sound.
Most microphones marketed as “kick drum mics” also have a built-in EQ curve to highlight the low and high frequencies. This stock sound does the trick for most applications, but sometimes you need a little more flexibility, or just a different flavor. Try supplementing that beefy sound with a more mid-focused mic like an SM57 to highlight the attack, or just use any two mics that complement each other and blend them in the mix.
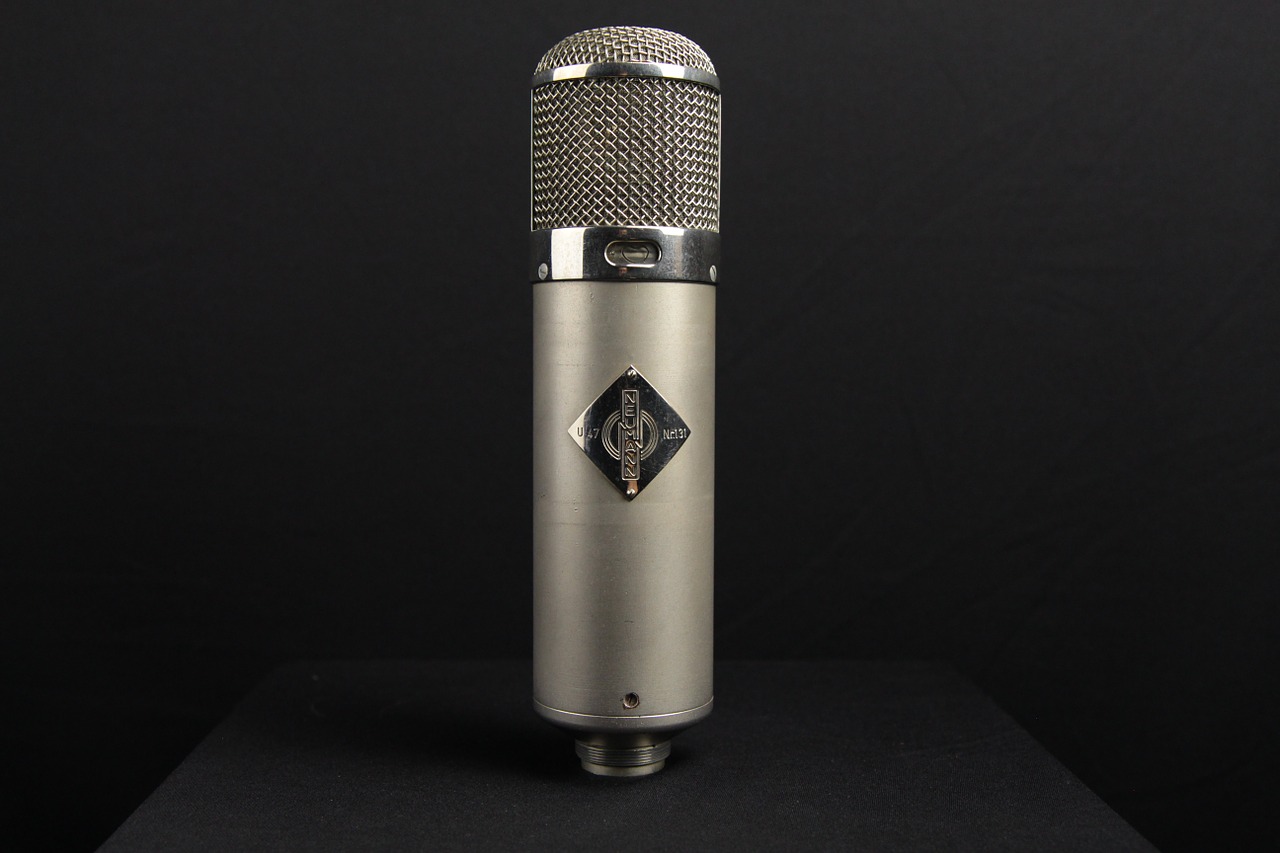
Nearly any dynamic mic can work on a bass drum, but don’t let that stop you from trying other types as well. Condenser mics are a fantastic choice for certain situations, offering a natural, open sound with increased sensitivity. However, since high SPL levels can distort (and even damage) some of them, condensers aren’t always effective inside a drum or in front of a port hole like dynamic mics are. The increased sensitivity also invites bleed from other instruments, but in an isolated drum room, a large-diaphragm vocal condenser in front of the kick or a small-diaphragm pencil condenser on the beater side can be very useful sounds.
Some less-traditional choices might also be worth a try. For example, a ribbon mic may not be your first choice on kick, but their natural body and mellow high end are well-suited to brighter kits.
Boundary mics like the Crown PZM are another unique choice, and can be placed on a pillow inside the drum for excellent “attack”, or can be placed on the floor in front of the drum for an extended low-end response (due to the extra surface area of the floor).
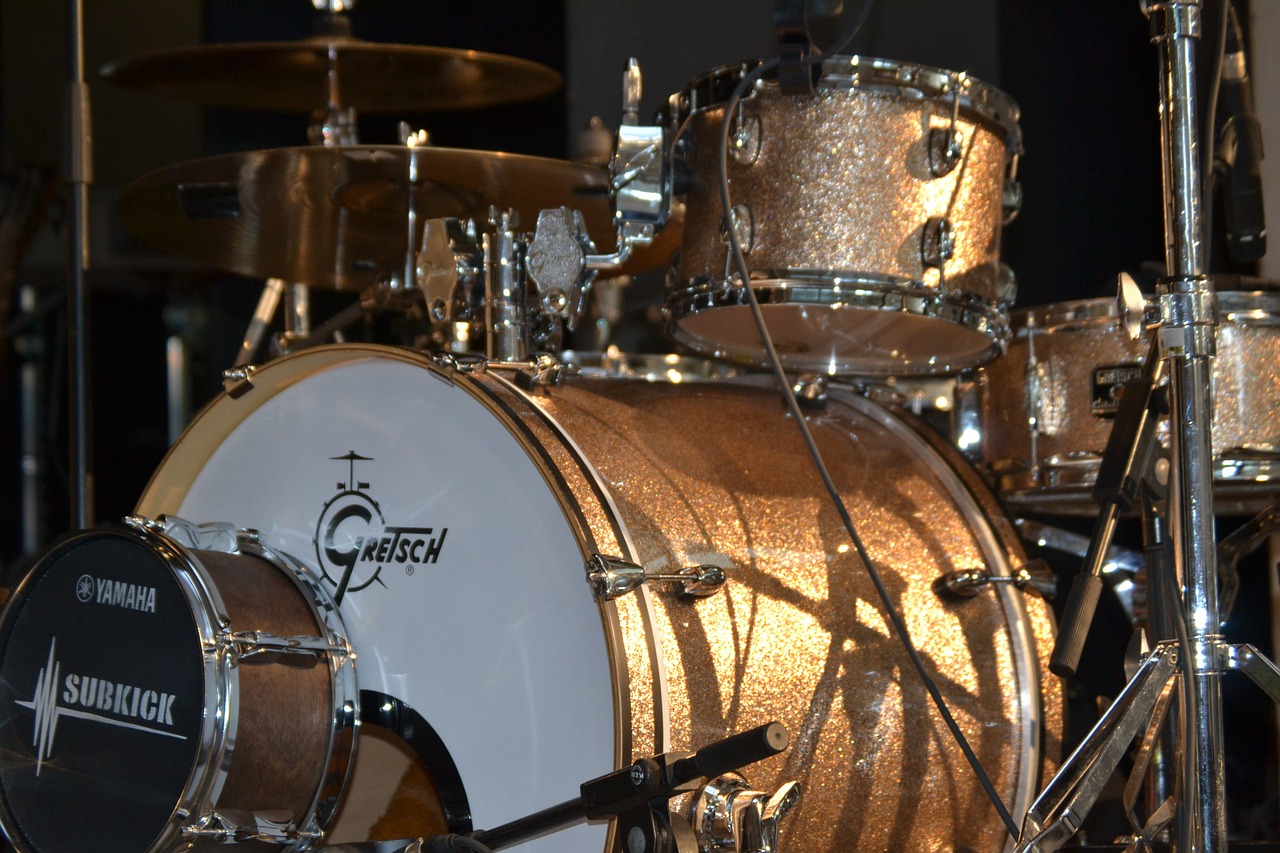
A device like the Yamaha Subkick, or a simple speaker wired up into a high-gain microphone preamp can be used to capture tremendous low frequency energy to blend with your other microphones. And even contact mics can enhance your kick sound when stuck on the shell or the resonant head and blended in with a regular mic.
DIY Dampening and Hardware Hacks
So, you’ve got your heads tuned up and your mics in place but something’s still not quite right. Maybe there’s a strange overtone ringing out, the slap of the beater is a little too aggressive, or perhaps there’s a strange rattle coming from the hardware. Now’s the time to roll up your sleeves and work out the final kinks to dial in that perfect kick sound.
To fix a ringy drum, most people reach for “the pillow trick”: The quick-n-dirty method of shoving a large, soft object inside and hoping for the best. But this method is pretty heavy-handed and has a way of sucking the life out of a drum—so why not try a more targeted approach? If only one of the heads is the problem, make sure that the pillow’s only touching that side.
To avoid killing the tone of the shell, dampen from the outside of the kit. If you only want to absorb reflections inside the drum without affecting the heads, carefully tape a folded blanket to the inside of the shell.
Often, a drum will sound great overall, but the attack of the beater won’t be quite right. Beaters come in many materials with different sounds, but since few drummers bring alternate beaters along, you may need to get creative. When the attack is too sharp, taping on a strip of fabric can take the edge off. With a too-soft beater, a layer of duct tape can add a bit of snap. For a soft, mallet-like tone, try folding a sock over the beater.
Note that all of these modifications will impact the feel of the kick pedal, affecting the drummer’s response. Sometimes, even after you’ve got everything dialed in perfectly, the hardware on the drum can present its own challenges. Lugs can rattle loose, mounted toms can resonate annoyingly, and loose legs can let the drum slowly scoot away. Unless you’re going for an intentional John Bonham-style pedal squeak, a supply of tape, cotton balls, and lubricant can be the final ingredients to that perfect kick drum sound.
Handy Field Guide
Armed with a basic knowledge of drum physics, tuning, mic choice and placement, and DIY trickery, you should be able to adapt to any type of bass drum and tailor its sound to fit the song. While every combination of drums, drummer, and genre will call for a different approach, here are some useful starting points:
• Tight pop/rock kit with a medium-sized shell and ported head: Try a single dynamic mic inside the kick, adjusted for amount of beater sound.
• Boomy rock kit with a large shell, ported or unported head: Try one or two dynamic mics, and muffle gently with a pillow if necessary.
• Jazz kit with a small shell, unported head, tuned high: Try a large-diaphragm condenser or ribbon mic in front of kit.
• Metal kit with a double pedal and clicky beaters: Try one mic inside for attack and another outside for body, or use sample replacement.
• Folk kit with a soft beater and mellow sound: Try a large-diaphragm condenser in front of kit, or rely on overheads and room mics.
Dante Fumo is an audio engineer working locally and remotely out of Milwaukee, WI.
Please note: When you buy products through links on this page, we may earn an affiliate commission.


