Studio Design (Part 2): How To Build Cost-Effective DIY Bass Traps
DIY Bass Traps, a How-To Guide
Success in recording and mixing requires using the most accurate speakers and acoustically unambiguous rooms you can get access to.
This means that to get great results at every stage, we have to either strive to work in rooms that do not adversely color the sound, or learn how our rooms and speakers are colored so that we can compensate in some way.
A “perfect” environment isn’t really the goal, however. Why? First, because there is no such thing, and secondly, because so much great music has been made in imperfect rooms.
We just need the environment to be under control and predictable enough to get the job done. That means you have plenty of options to make the most of your space, regardless of your budget.
Buddy Holly’s first recordings for instance, were made in a garage with egg crates on the walls and a cricket chirping in the background. Still, the environment worked because it was under reasonable control, and they knew what would sound good on the radio for that time in music.
Of course, not as much bass was used back then when compared to today. For more contemporary recordings, where getting the low end right is key, the acoustics of the non-ideal environments so many of us work in can be easily improved by installing properly built and placed bass traps.
Today, we’ll look at some detailed plans for building effective bass traps at a surprisingly low price. For more info on making additional kinds of cost-effective acoustic panels, see the first post in this series here.
Can You “Trap” Bass Frequencies?
If you want to get technical about it, the truth is that you can’t really “trap” bass.
So what are bass traps? They are devices designed to slow down or absorb the energy of vibrating air molecules.
That sound energy is converted to heat, with much of it reflected back at a different time and angle than the original vibration, thereby scattering the return.
The three most popular porous materials that provide excellent results for bass traps—really “acoustic absorption” in the lower mid and upper bass ranges are fiberglass, rock wool and foam, just as with acoustic panels. All three are completely safe when used properly, though foam is not nearly as effective as the other two.
All three material types source from several dealers under a variety of brand names. One of the best-functioning and best-known is the fiberglass Owens Corning 700 series.
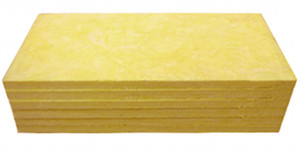
Owens-Corning 703 rigid fiberglass is one of the most popular and effective materials for building bass traps.
OC 703 is most commonly used of this variety, and its typical thicknesses of 2” can be extended to 4”, 6”, and even 8” thickness by using multiple panels in one unit. OC 703 is also available at 4” thick at a higher price.
Fiberglass and rock wool bass traps are stiffer, easier to place and handle than foam. And in every case of the above, placement and distance from the wall determine the amount and lowest frequency of the absorption you can achieve.
To be truly effective, broadband bass traps should be mounted floor to ceiling in the two corners directly opposite or behind your monitors. The more corners you cover the greater the effect.
Fortunately, nice-looking, extremely functional DIY bass traps can save you a bunch of money and are not that complicated to build. Shop around to get the best prices, as these commodities can vary from dealer to dealer.
Factory seconds, surplus and remnants keep the costs really low, but even sourcing premium components can keep costs very low in comparison to ready-made traps.
The Theory Behind the Practice
The amount of space, or wavelength that a low frequency sound wave takes up in the air is essential to know when tuning your room, and very easy to estimate. Simply take the speed of sound (roughly 1,126 feet per second) and divide it by the frequency.
For instance, a 200 Hz sound wave traveling at 1,126 ft/sec has a wave length of 5.6 feet and a 100Hz sound wave has a wavelength of about 11.1 feet.
Very few people can afford the extra space and build a chamber to handle even these low frequency waves properly. Luckily for us, acoustic absorbers in front of chambers that are just 1/4th the wavelength in depth will work nearly as well as ones that span the full size of the problem wave .
1/4th of a 200 Hz wave is 1.4 feet long or 16”. A 100 Hz sound ¼ wavelength is 2.8 feet long or 32”. The front of a 24” wide bass trap mounted diagonally in a corner is approximately 18” from the corner. Therefore, it can attenuate down to a frequency with an actual wavelength of about 6 feet long (~187 Hz, F# two octaves above the low E on electric bass).
Happily, because the bass sound is attenuated in many angles, including vertical, as well as going in and out of the bass trap, there is added lower frequency effect too. That means that the effective absorption goes lower than this, but with less attenuation as we go down in frequency.
The 4” fiberglass bass traps with a 2” wood extension in this post can absorb down to the 50-100 Hz range. Adding additional 2” OC703 panels will take you down even further.
Bass traps are available pre-fabricated from manufacturers as acoustic panels 2’x4’x4” that can cost around $90.00 each including shipping. The cost per panel of these 6” extended DIY bass traps was just $45.00 each, and took about 45 minutes to assemble.
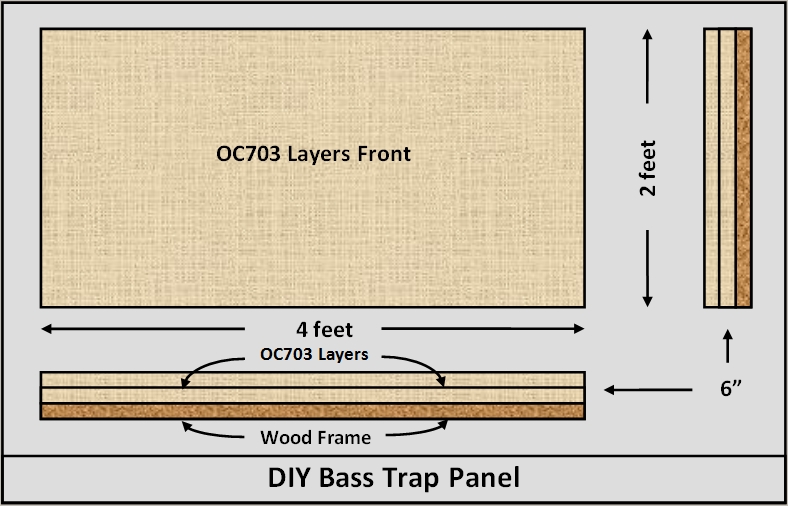
To build DIY bass traps as shown in the pictures below, you make a simple frame, cover the opening with fabric, and then place it on top of two 2” OC703 panels, finishing the stack with a fabric covering.
I prefer to use this method because it provides a rigid mounting frame that is essentially invisible.
Alternatively, you could use Armstrong fiberglass ceiling tiles stripped of vinyl and stacked to 4” thick in place of the OC703 for even more savings.
Acoustic panels can be crafted very cheaply using the following materials:
- Wood to build the frames for two panels: 3 pieces of 1”x2”x8’ pine for $3.00 ea. (Total cost: Just under $5 per panel.)
- One 6-pack of 2’x4’x2” OC703 panels. (At least two are required for one bass trap.) With shipping, I paid just under $100, or about $33.00 per 4” bass trap.
- Fabric that is breathable for covering the front and sides. For the front and sides, you will need fabric about 66”x42”, and for the back, about 48”x24”. In total, this requires approximately 3 yards of fabric per panel. Decent remnant fabric can be found for about $3 per yard, or just under $10 per panel.
- Cheap drywall screws and a staple gun: Free, if you have them lying around like I do.
Detailed Assembly
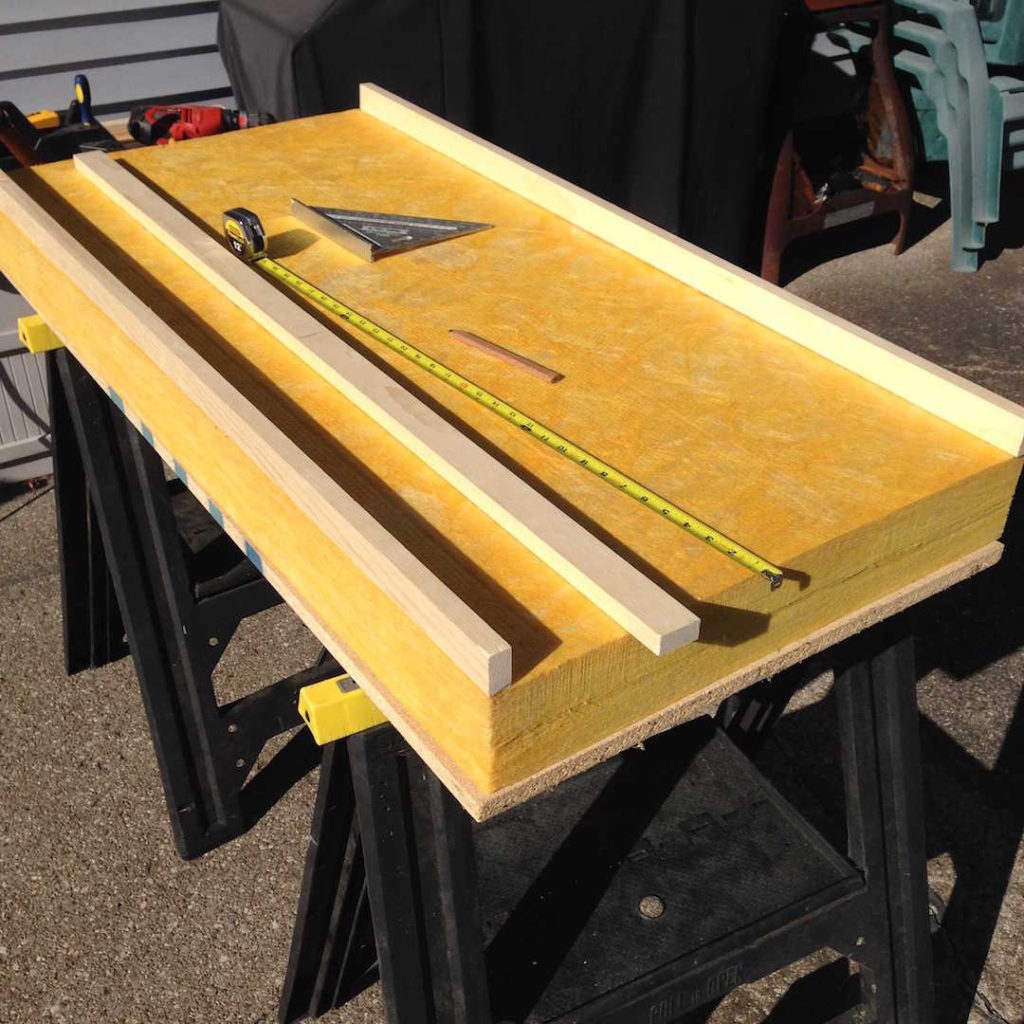
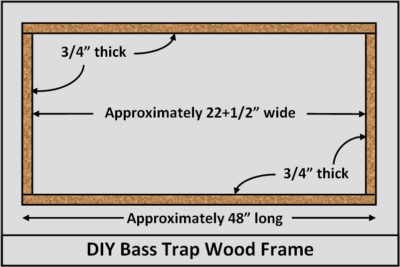
First, lay two pieces of OC703 fiberglass face down on a flat, level table. Then, lay rough-cut pieces of 1”x2” pine strips on top of the OC703 pile. Make careful measurements of the length and width of the panels.
This step is necessary because they could be slightly more or less than 48”x24”.
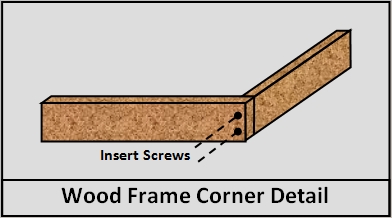
Cut as necessary to fit the perimeter exactly, with the shorter side fitting inside the longer one, as shown in the diagram below.
Measure diagonally from one corner to its opposite corner and adjust until these measurements are equal.
Be sure to clamp the pieces you are screwing together, holding all of them down in a perfect rectangle. Then, pre-drill pilot holes and screw through the long side of the panel into the edge of the short side of the panel at all four corners.
Covering the Frame
Next, cover one side of the frame with an oversize cut of fabric (50”x26”). Place the cut fabric on top of the frame evenly, letting 1” overhang each side.
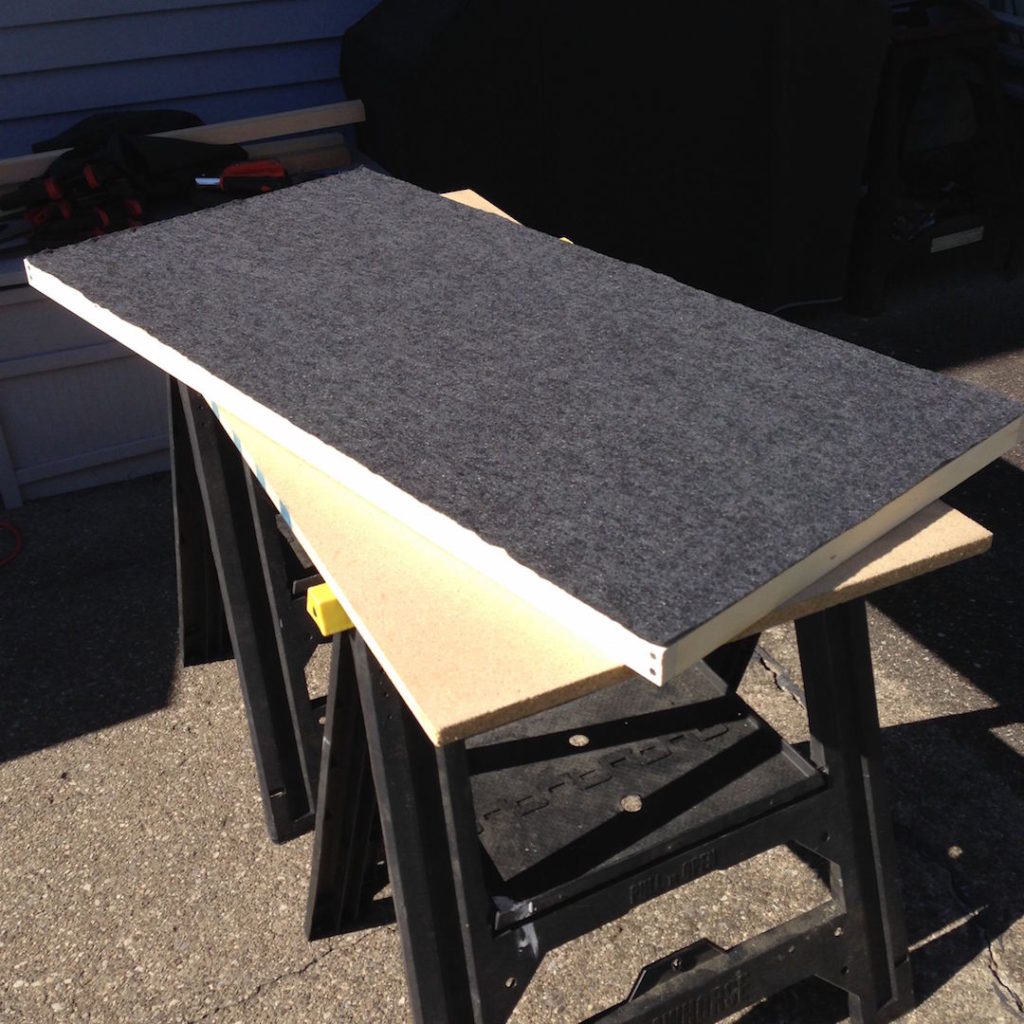
While stretching the fabric taught, staple your corners first, being careful not to distort the shape or create a warp. Then, finish stapling across all four sides and producing a covered frame as seen in the photo.
Covering the Rest of the Trap
To cover the rest of your bass trap, cut one piece of fabric larger than your 2’x4′ surface. (About 66” long x42” wide should do.)
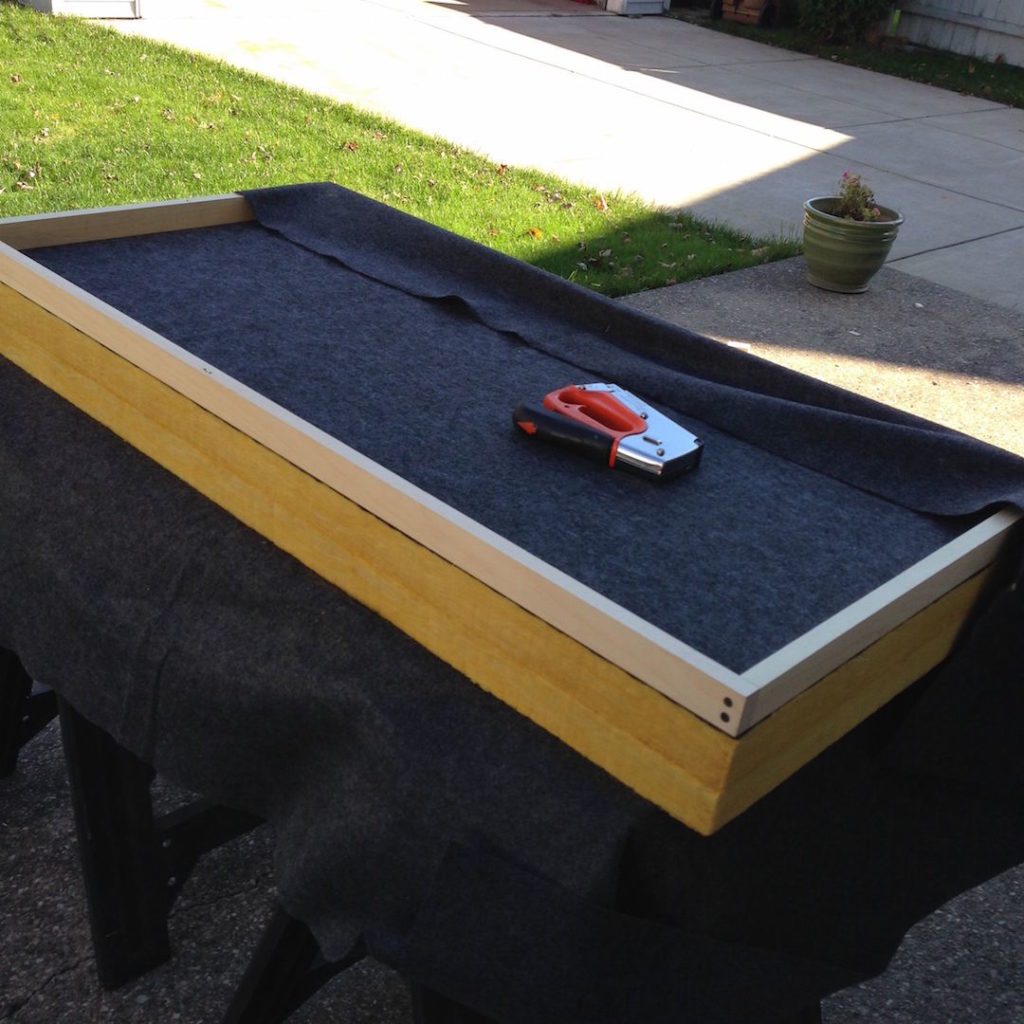 Lay the fabric on a flat surface, with its best side facing down. Then, stack your two OC703 panels on top of it, centered on the fabric.
Now, place the frame’s covered side on top making a stack 6” high: 4” of fiberglass, 2” of wood frame. You are now ready to start stapling the overlapping edges.
To cover the front and sides, start by stapling along the fabric to the inside of the frame, starting from the middle of one of the longer sides. Be sure to pull the fabric taught—but not too tight on the opposite side as you staple.
It’s best to start off by placing your staples about 6” apart, alternating between long sides of the frame. Finally, fill in the gaps with staples about 1” apart, stopping just short of the end of the frame. Trim your fabric around the corners as needed.
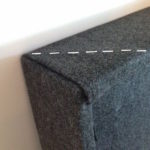
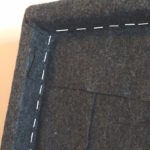
To finish the remaining sides, first fold each of the long side’s corners as if you were making a bed. Overlap the short side fabric while tucking under as indicated in image 1 below by the 45 degree dashed line.
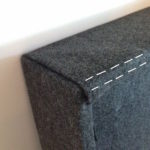
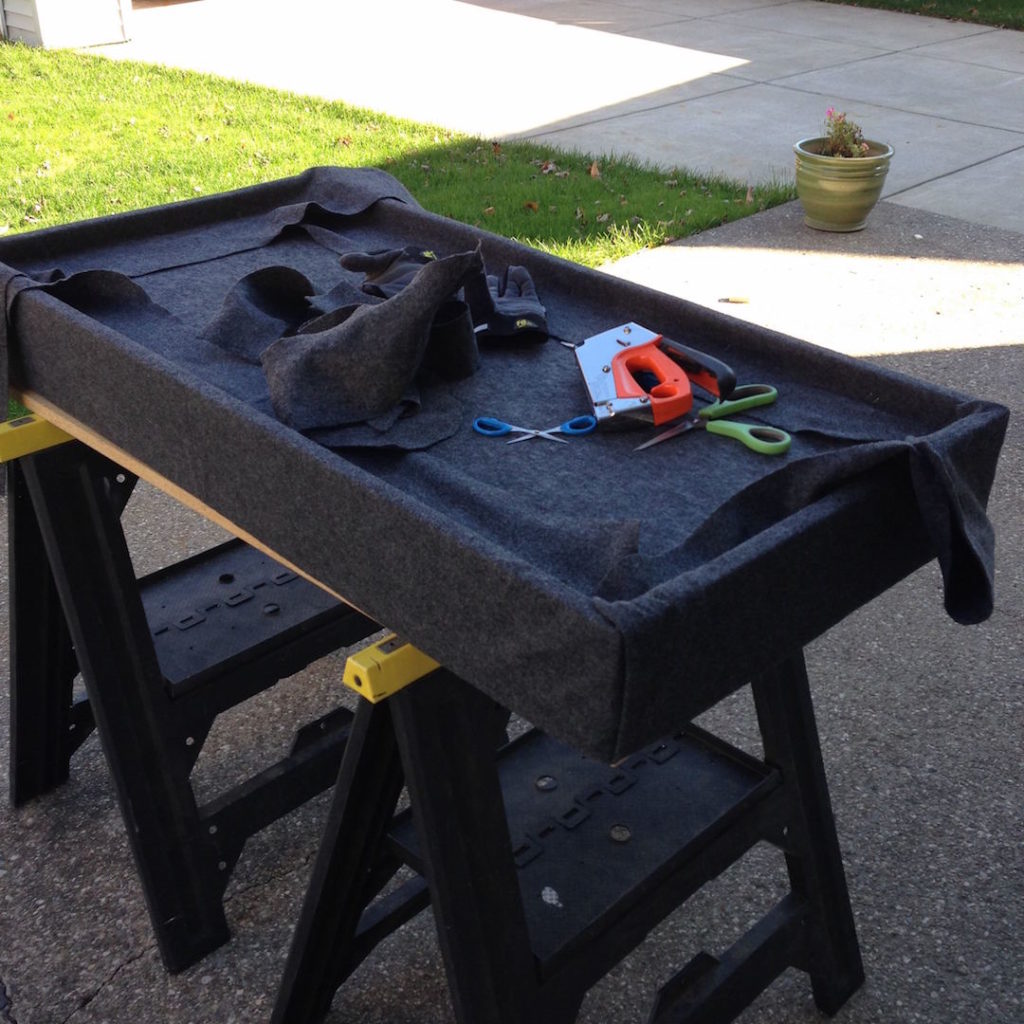
Staple the fold first along the vertical edge of the frame as indicated in image 2 above by the two dashed lines. You will have to make a vertical cut about 2” from the corner and diagonally at the inside of the frame bottom edge.
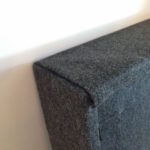
After you do two adjacent corners, pull the covering up and over the frame short side as indicated by image 3 and staple on the inside of the frame short side bottom edge as indicated by image 4.
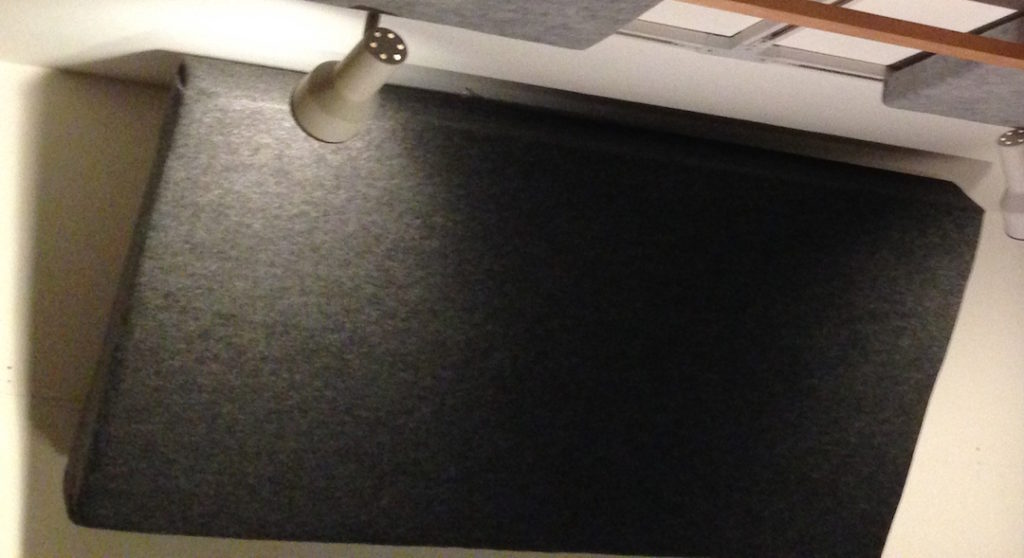
Adjust and trim as needed so as not to have a lot of bulk and you are done. The picture below shows an almost finished, covered bass trap:
Hanging Bass Traps on a Wall
Option 1: Build and Hang a Frame
As previously described in Part 1 on acoustic panels, installing a wooden frame is a fairly easy and effective way to mount these panels. Refer back to mounting option #4 in that story for details.
Option 2: Mount a Ledger Board on Your Wall
This option involves placing two horizontal strips of wood on your wall, and nailing your finished bass traps to them.
First, cut two pieces of 1”x2” plywood to be just shorter than the inside width of your bass trap.
Measure carefully and, using a level, screw these “ledger boards” to your wall horizontally so that the horizontal sides of your bass trap frame will rest on top of them.
Then, place the bass trap on the wall over the ledger boards and attach with finishing nails.
Option 3: Mount using Clips, Cleats or Angle Brackets
This option makes un-mounting and remounting your bass traps especially easy.
First, mount the female side of your clips on the wall at the desired location of the top inside edge of the bass trap.
Then, attach the male side of the clips to the inside top edge of the bass trap. Place the bass trap on the wall and slide it down, locking into the clips.
If desired, attach the bottom of the frame to the wall with finishing nails or Velcro.
Corner-Mounting Bass Traps
To mount exactly from floor to ceiling the top panel must be adjusted in length during build.
Attach using mini bungee cords
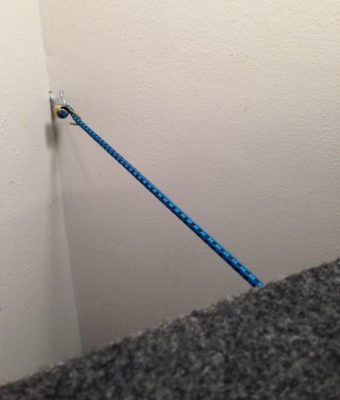
Drive a small screw hook into the corner of your wall at the same height you want the upper inside of your bass trap frame to mount as shown in image 1.
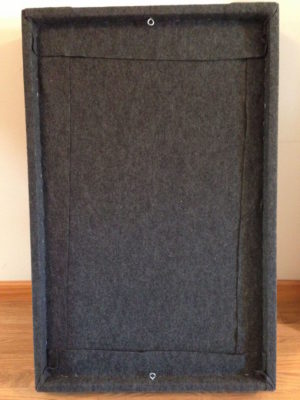
Screw an eyelet inside the center of the upper edge of the inside of the frame of the bass trap as shown in image 2.
Do the exact same thing at the bottom edge also shown in image 2. Screw in another hook in the corner of the wall at that same height as the bottom inside edge.
Stand the bass trap in the corner at a 45 degree angle and attach the mini bungee cords to the top and bottom respectively.
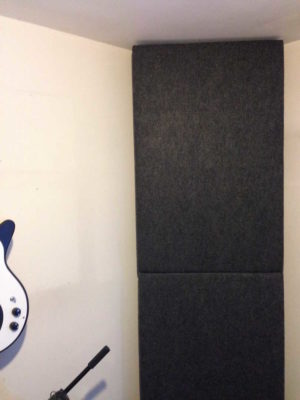
For floor to ceiling use, mount the second bass trap in the same way, placing it on top of the first as shown in the image at the beginning of this article. You can secure the two bass traps together at the middle with a small clamp or screws if you feel the need.
I hope I have inspired you to take the plunge into the DIY building of acoustic panels and bass traps.
Remember to take your time during the assembly and I am sure they can look as good as or even better than mine. It is well worth the effort, and they last a long time.
Rob Dominiak is a musician, writer and engineer who lives in Upstate New York.
Please note: When you buy products through links on this page, we may earn an affiliate commission.


Jesse Klapholz
November 18, 2016 at 2:57 pm (8 years ago)without getting into any of the science such as: at room boundaries pressure and velocity are at zero hence least efficient point to have vibration in glass fibers rubbing to convert motion energy to heat energy. During the 70s when much was written on the subject, Owens-Corning was the most common material in use. Today that is only true out of habit. Since studio owners, especially project studios, will not be using acoustical contractors that have ready access to Owens Commercial products, I would respectfully submit that most readers do, however, have ready access to Home Depot. These days at HD one will find an ample supply of an excellent Canadian mineral wool fiber (NO ITCHING!) by Roxul in a Sound Attenuating Batt. BIG BANG for the buck.
Dylan Hughes
March 21, 2017 at 5:47 am (8 years ago)hmm. it goes down to 50 hz does it ?
Aiden Lautt
January 15, 2018 at 7:25 pm (7 years ago)does it have a similar frequency range as the material talked about above?