How to Ace the “Static Mix”: Get Levels & Panning Right the 1st Time
In this article, I’m going to show you how to nail the most important step in mixing. If you want high-quality mixes, getting the volume balance right (also known as the “static mix”) is crucial.
The static mix is where you set the volume and panning of the instruments. All of this happens before EQing, compressing, or adding any other effect processing.
This guide will show you why the static mix is so important. Plus, there’s a few tips and tricks you can use to nail your volume balance and panning.
Introduction: Why the Static Mix Is So Important
When working on a mix, it’s easy to feel like you should spend the most time on EQ, compression, and fancy effects. But many of the issues you might find in a mix can be solved without using any plugins at all.
Getting a great balance with volume and panning is the foundation of your entire mix.
Creating a solid foundation will save you tons of time in the long run. If you do a good job with your leveling, a lot of the problems you’d use plugins for disappear.
For example, if your vocals are getting buried under the drums, you may be tempted to reach for an EQ. But before you add or subtract any frequencies, try to address it in the static mix. Sometimes, volume is the best EQ.
Turning the volume of the drums down and panning out the overheads and toms might just fix your vocal problem for you. No need to waste more of your time or computer processing on a problem that faders can fix!
As you get ready to work on the mix balance, feel free to use headphones or speakers.
A lot of people argue against mixing with headphones. However, with some practice, you can make great mixes on headphones, just like you can make great mixes on less than ideal speakers.
In my opinion, the most important thing is that you like and understand whatever you’re using.
Part 1: Looping the Loudest Section of the Song
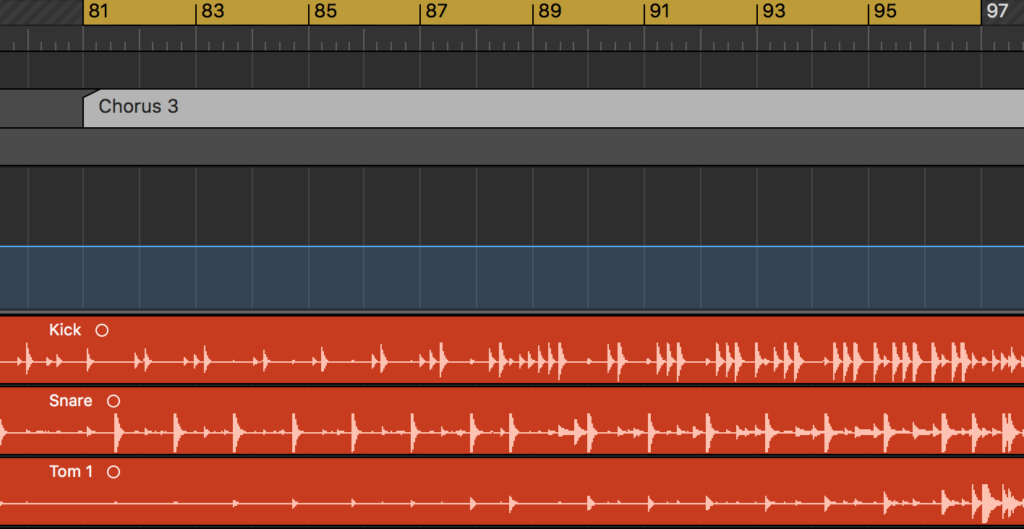
Before you start touching faders or knobs, identify which section of the song you’ll be listening to while you set up your static mix.
Dynamics usually change over the course of the song. The vocals may be the perfect volume in the verse but get buried during the chorus.
If you don’t pick out one section to focus on at first, you’ll probably waste a lot of time undoing each decision you make.
Save yourself some time and a headache by honing in on the loudest part of the song. This is usually the last chorus.
Focus on getting the balance right for that section first. Then, you can automate any necessary changes later!
Part 2: Volume Balancing
This is the first thing I do once my mixing session is set up and the last chorus is looping: Select every fader and turn them all the way down.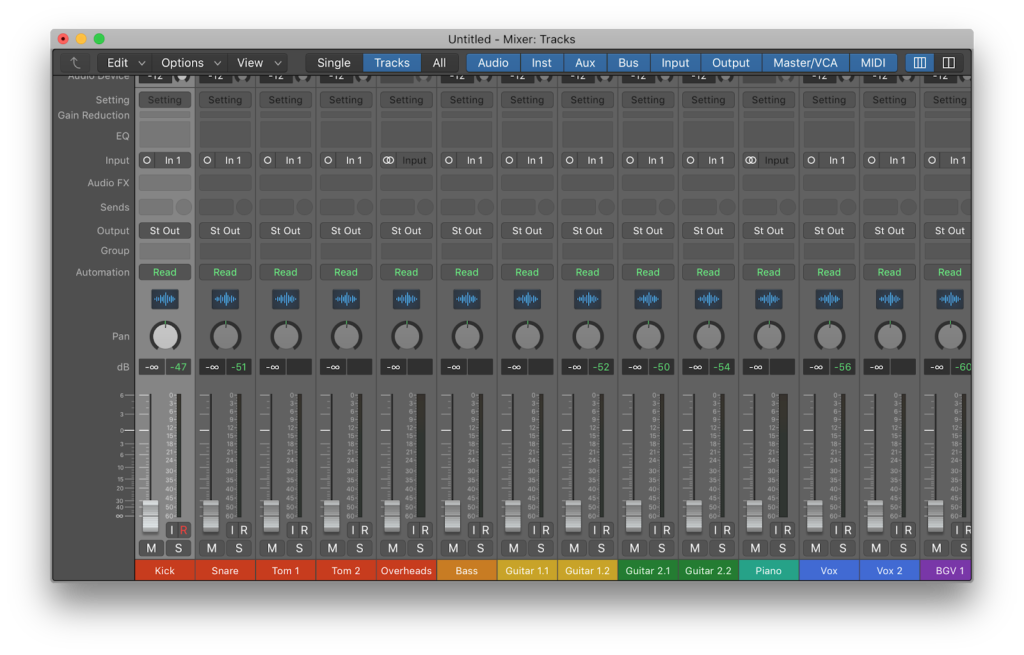 It’s harder to get a good volume balance when all of your tracks are playing in the background. You’re starting out with a wall of sound, so it’s hard to figure out what balance sounds like.
So before I do anything else, I turn everything down. Then, I reintroduce the instruments one at a time, starting with the vocals.
The vocals are usually meant to be the loudest part of the mix. So I start with them and work my way back, bringing in instruments in order of loudest to quietest. Then, I can make sure I’m not making any decisions that’ll cover up the vocal.
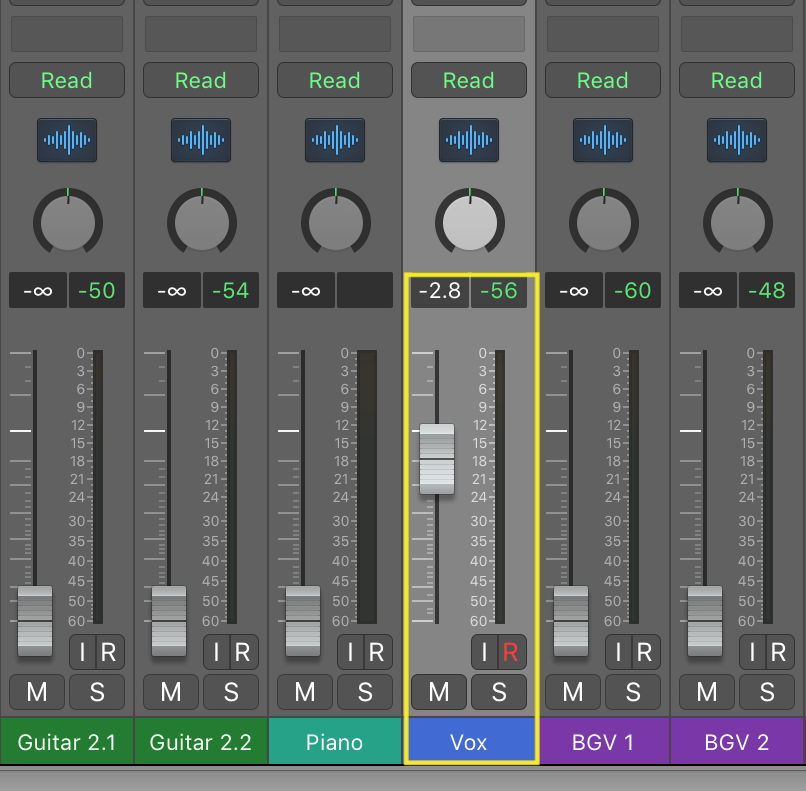 Some call this “balancing in height order.” First, you turn up the instrument you want to be the loudest, then the second loudest, and so on.
The vocals aren’t always the most important part of the mix though. If you’re making dance music, the kick might be more important—or the guitar in a rock song might be crucial.
Whatever you decide, think about which instrument should be the loudest, and build your mix around it.
The rhythm is super important for the mix I’m working on. I want the drums to be the second most prominent instrument, so I’ll bring them in next.
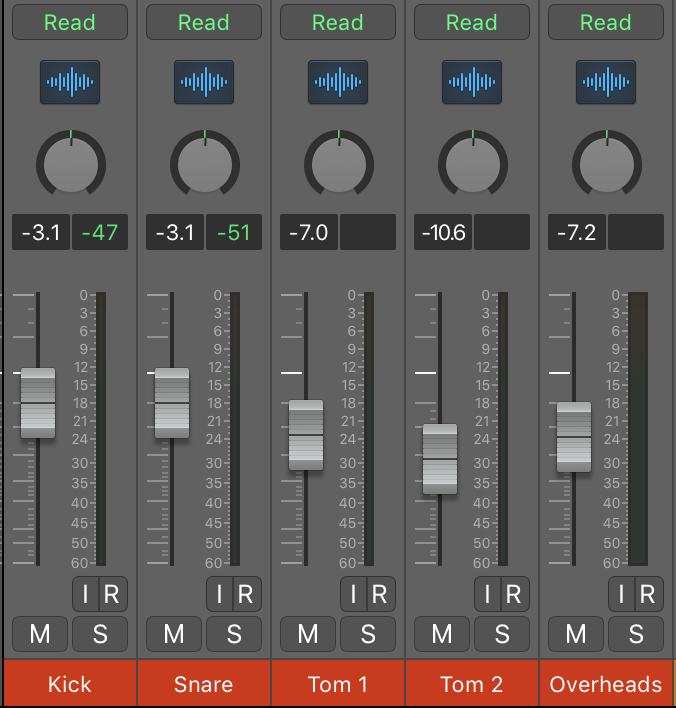
Working with an instrument made up of multiple channels? It’s ok to solo those channels to make sure the balance between them sounds good.
Here, I’ve spent some time listening to the drum kit by itself and found a balance that I like.
Now I can unsolo the kit and mix it in under the vocals.
Some people do the opposite and start with the quietest instruments, building up from there. If that method works for you, go for it.
It’s definitely worth trying out if you don’t know what you prefer. But I personally like to set the levels of the lead instrument first, and it is probably the more common approach among major mixers.
Don’t spend too much time setting the balance of one instrument before bringing in another.
The goal here is to get a good overall balance. You might spend ages getting one instrument to the right volume. Then, you realize it needs to be quieter once you turn up something else.
Don’t agonize over getting the volume perfect on each instrument. Set everything to a decent volume, bring in something else, and adjust as you go.
Pro Tip #1: Volume Automation
Knocking out any necessary volume automation on the front end, before you even start your static balance, can save you some time while setting your balance.
If you know that a vocal track is too dynamic, open up your volume automation and smooth it out early on. That way you don’t have to worry about huge dips in volume while mixing.
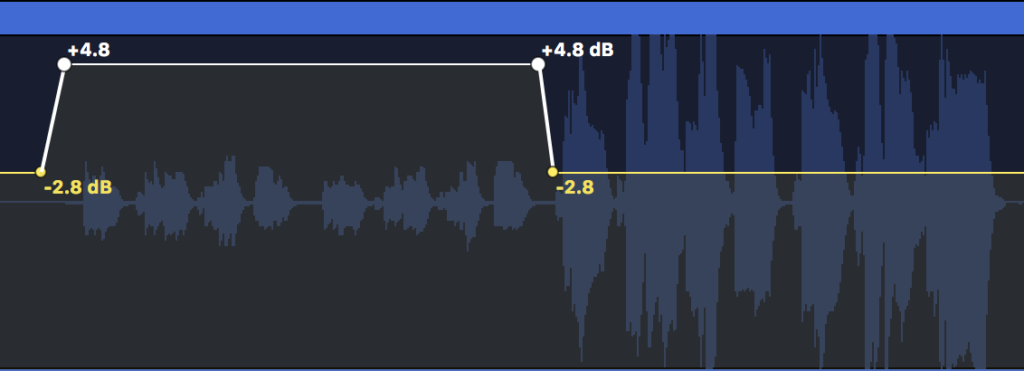
Take this track, for example: The vocalist was whispery at first but ratcheted up the energy halfway through the chorus.
We can get a solid volume balance without agonizing over this section too much. Just use automation to either turn the verse up or bring the chorus down. Pro Tools users might apply this processing directly to the audio clip itself, using “clip gain”.
Pro Tip #2: Use Group Buses
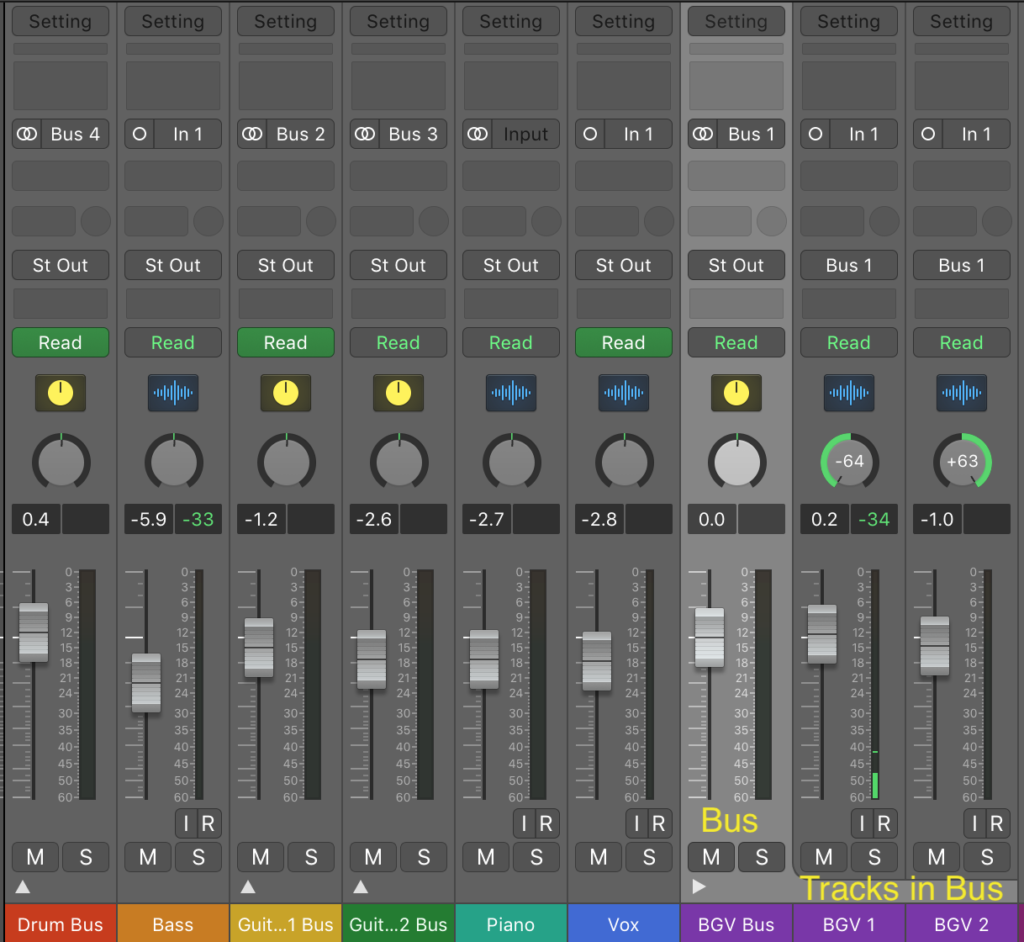
Group buses can make mixing multi-source instruments and instrument groups much easier by combining their outputs to a single channel.
You can set these up at any point in the mix. I usually set up my group channels at the very beginning, when I’m preparing the session. I then use these buses to route the output from individual channels to this new group channel.
Setting up your mix in this way not only means getting balances more quickly, but it means you can add plugin effects to multiple signals at once.
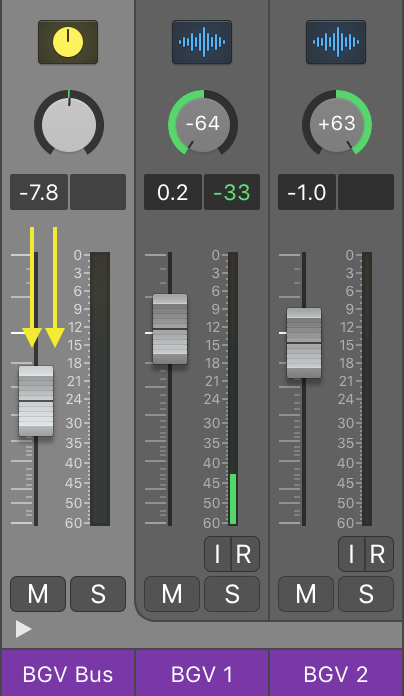
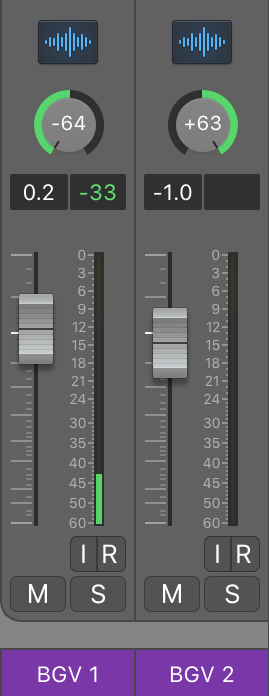
If I want to turn down every background vocal in the song, I can set up a BGV (background vocal) bus. Then, instead of turning down a bunch of different faders, you can just turn down one.
In Logic Pro X, this is especially easy. To create a group bus, highlight every channel you want the group channel to affect.
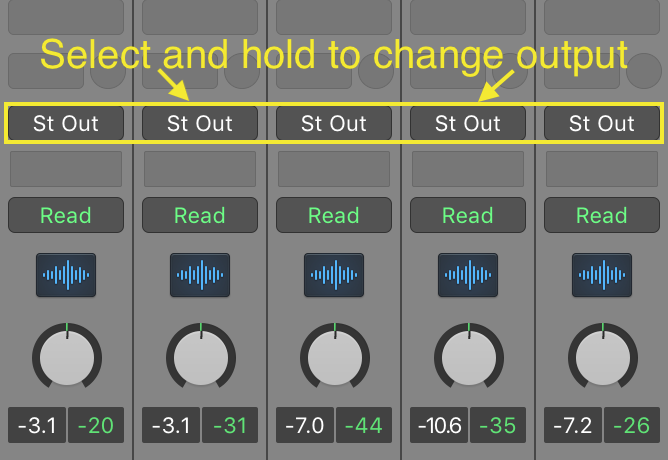
Then, click on the button above the pan knob that says “Stereo Out.” This should open up a list of busses you can use.
Clicking on one of the empty busses should create a new track and make it the output for every channel you selected.
Each DAW has its own workflow and keystrokes for creating buses, but the general concept remains the same.
Busses are also a huge help once you’re done with the static mix. When you’re ready for EQ, you can EQ the groups instead of putting tons of EQs on each track. This is faster, saves CPU power, and can be much more effective.
Part 3: Panning
Once you’ve got a good volume balance going, you can start to pan things to the left and right.
A lot of mixers wait to volume-balance every instrument before doing any panning. But for things I know I’ll pan all the way to the left and right—like certain types of background vocals—I usually do it right away.
In a big mix with a lot of instruments, you may want to start panning earlier on.
My general rule is once things start to sound “messy”, despite having a good volume balance, I’ll start throwing things over to the left and the right.
Oftentimes, the lead vocal, kick drum, and bass are left in the center. Everything else is fair game for placing elsewhere.
There are no right or wrong answers, but make sure you’re making choices that help the mix balance.
As with anything in mixing, the key is to be intentional with your panning. Before you start making any decisions, think about where everything should sit in the mix relative to other instruments.
You may initially think a particular guitar part sounds cool and deserves a lot of focus. But if it’s fighting with the vocal, you might want to pan it somewhere other than center.
Pro Tip #3: Hard Panning
Don’t be afraid to pan things all the way to the left or the right. A lot of mixers feel like hard panning is too much.
Throw down the shackles of fear. It’s time to live dangerously!
Got a cool guitar part? Maybe it would sound extra cool if you push it all the way to the left.
I usually offset anything I hard-pan. So I’ll pan something else with a similar frequency range in the opposite direction.
This approach is often called the “LCR Method” and can go a long way in widening your mix and making space for other instruments.
Lightly panning things can definitely be helpful in filling out a mix. But if you find that you avoid the far left and right altogether, try pushing the envelope.
Part 4: Fine-Tuning
Once you’ve set the volume and panning of every instrument, give the song another listen. Pay attention to any tweaks you could make to the levels and panning.
This is the most important step in the mixing process. You don’t want to leave it half-baked. That’s why you should make a point to go back and fine-tune your leveling and panning choices once you’ve done your first pass at the static mix.
It doesn’t have to be perfect. But by the time you’re done with the static mix, each instrument should be sitting pretty much where you want them.
Listening to reference tracks is a great way to figure out if your static mix needs tweaking.
A reference track is a professionally mixed song that has a similar vibe to the one you’re working on. By using a reference track, you can easily compare the balance of your mix with another. This will make it much easier to find out if your vocals are too quiet, if there are too many things panned to the right, and so on.
The key in most genres is to really focus on the lead vocal. Listen to how loud each instrument is in relation to the vocal in the reference tracks, and compare it to your mix.
You may find that the bass in your mix is almost as loud as the vocal. But in your reference tracks, the bass may be way quieter. That’s a good sign that you need to turn it down.
The same goes for every other instrument: Are the drums in your reference track much wider in comparison to the vocals? You may want to pan more of your drum tracks.
On occasion, there might be a different instrument that’s even more important than the vocal in your mix. Use that main instrument as your reference point when judging the balance of everything.
I also recommend taking a short break before doing any fine-tuning.
Once the general balance is done, stretch your muscles. Enjoy some tea, and for heaven’s sake get out of the mixing room.
Give your ears and your brain some time to reset. Once you’ve cleared your head, come back to knock out the fine-tuning.
Trust me, you’ll be much more effective if you take a short break. Don’t steamroll through the fine-tuning.
Part 5: Adding Volume Automation to the Other Sections
I actually do this step after I’ve finished the rest of the mix. But it’s still part of the mix balance, so I want to cover it here.
Just so you know where this step falls in my workflow, and the workflow of many others, here’s a short list of my process. It has worked for a lot of mixers:
Step 1. Complete the static mix while looping the loudest section.
Step 2. Switch to listening in mono and add my main mixing plugins (like compression and EQ).
Step 3. Add effects (e.g., delay, reverb, and saturation).
Step 4. Add volume automation. (This is the step we’re talking about right now.)
In this step, the primary goal is to take the mix balance you finalized while fine-tuning and apply it to the rest of your mix by automating your faders.
The good news is that now you’ve got a strong idea of how everything should sound. So it shouldn’t take as long to get everything else in order.
Start by rolling back to the section right before the climax and checking if anything is out of place. Once again, focus on the vocals and where everything sits in relation to them.
You may find that the drums in the verse are too loud in comparison to the vocals, while the guitar is too quiet. With volume automation, you can fix any of these balance issues in the verse—all without messing up your chorus. In Logic, just open up the automation window and turn up anything that’s too quiet. In Pro Tools, switch from waveform to volume view and apply your changes there.
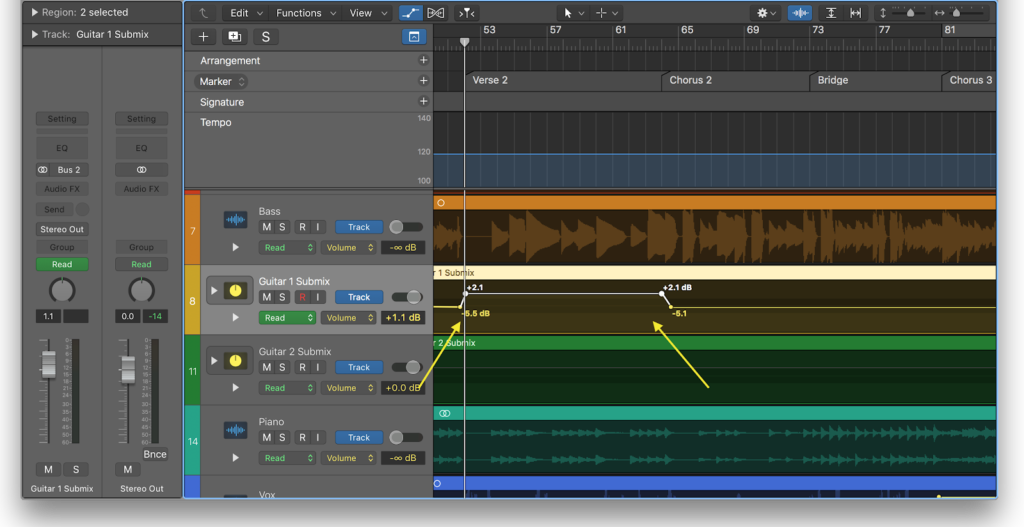 If there’s anything that’s too loud, go ahead and pop it down.
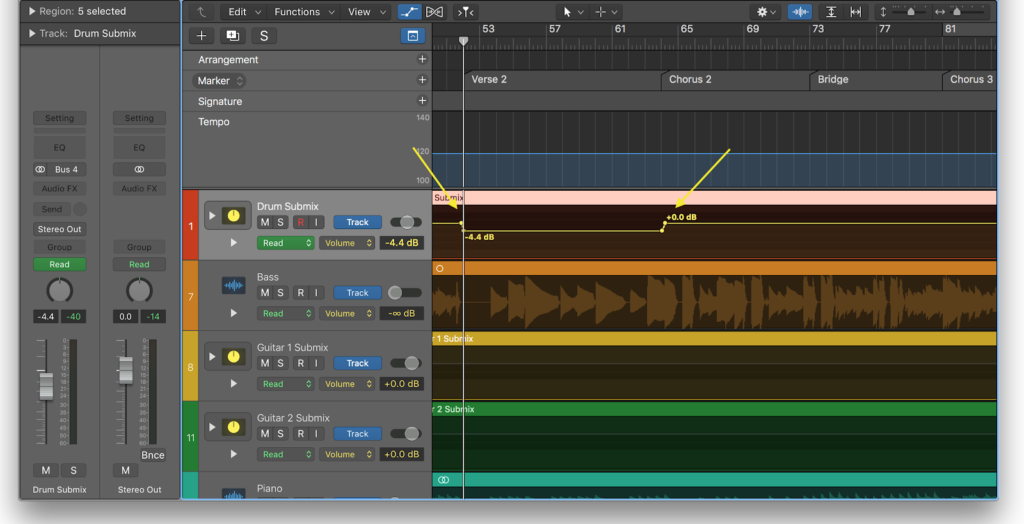 Once again, busses are a huge time saver here. You can change the volume of a whole multisource instrument, or a whole group of instruments at once.
Once you feel good about the balance in the verse, repeat this step for each section. Soon, the full song will be balanced.
Conclusion
And that’s it!
The static mix is absolutely crucial to getting your music ready for the radio, or to stand up next to other tracks in a playlist. If you’re struggling to get the balance just right, reviewing these steps and implementing them in your mixes should help get you to the finish line:
1. Loop the loudest section of the song.
2. Start balancing the levels after finding the most important instrument.
3. Set the panning balance.
4. Use a reference track to fine-tune the balance.
5. Add volume automation to balance all of the other sections.
Please note: When you buy products through links on this page, we may earn an affiliate commission.





[…] How to Ace the “Static Mix”: Get Levels & Panning Right the 1st Time — SonicScoop: […]