5 Tips for Making Lush Cinematic Pads and Textures
 One of the easiest sounds to make on a synthesizer is a pad, and pretty much every hardware and plug-in synthesizer that has presets has at least a handful of decent stock pad sounds immediately available.
Even if you’re using a totally manual analog polysynth with no presets at all, it’s fairly easy enough to set a slow attack time and a long release and immediately have some pad-like material to work with.
Today, we are going to go far beyond these basics however and explore how to add intrigue and dimension to your pads, and how to synthesize lush textures out of pre-existing audio to introduce a more cinematic experience into your productions.
1. Use LFOs
A lot of the challenge with cinematic synthesis for pads comes down to figuring out how best to add a sense of “movement by incorporating slight variations in sound over time, so you never have a static sound, and instead craft tones that are always subtly evolving.
For all the sound examples below, we will be using xFer Records’ Serum synth, but the concepts should apply to all other types of hardware and software synths.
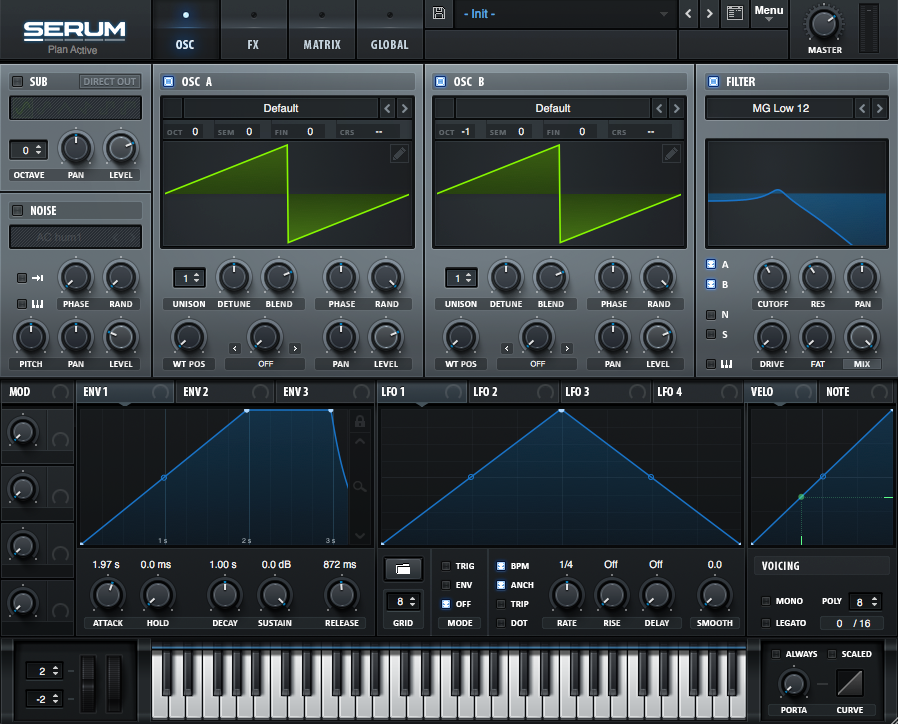
Let’s start with a basic two oscillator synth with a slow attack, long release, and a bit of filter cutoff to take away the harsh brightness:
Pretty boring, right? This is where we can use LFOs to make this boring synth sound come alive.
If you aren’t familiar with LFOs and how they can be used, an LFO is a “low frequency oscillator”, which is constantly producing a very deep, low-pitched waveform that can be used to modulate and move certain parameters on your synths.
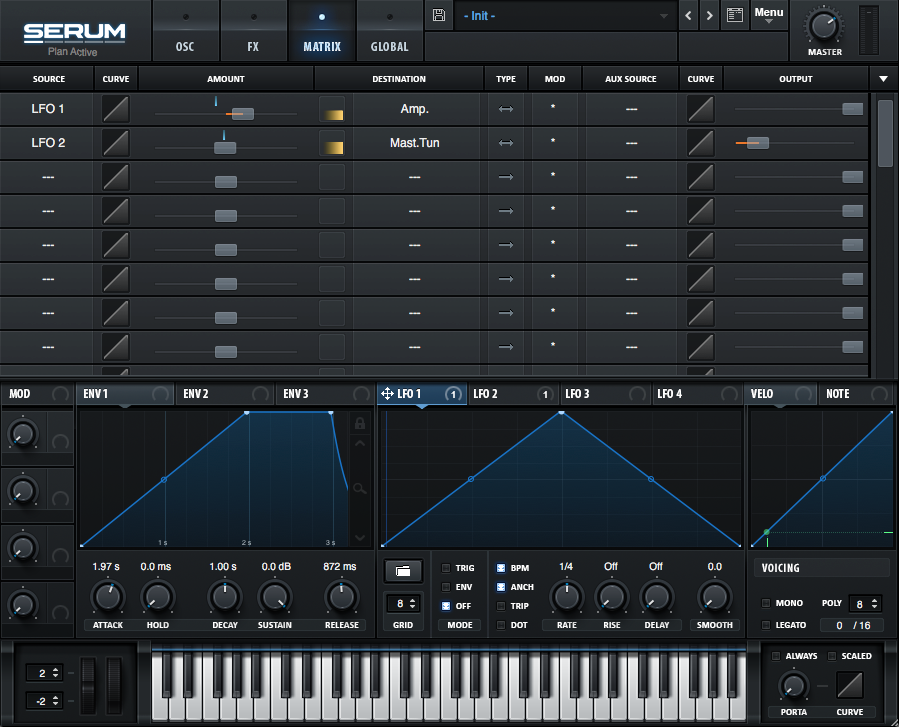
Let’s start by using LFO 1 to modulate the amplitude (this is a bit like adding a tremolo effect) and LFO 2 to modulate pitch so that the sound has a bit of a warble to it.
Much more interesting!
If you’re using a plug-in synth like Native Instruments Massive or xFer Records Serum, LFOs may be a critical tool in adding a bit of analog character, as the digital waveforms and overall nature of these more modern types of synths will tend to be more precise by default and have no chance of subtly shifting in and out of tune on their own.
Part of the beauty of old analog synths is that they fluctuate ever so slowly in tuning and sometimes amplitude, so using LFOs to recreate these occurrences in analog circuitry may help to bring life to your digital synth plugins.
2. Use Chorus and Modulation Effects
A very common tip to add dimension to your sound is to add more oscillators. Slight variations in tuning between each of them will fatten up the sound and create a wider image.
I find that using a chorus effect can replicate this kind of fatness—or augment it even further.
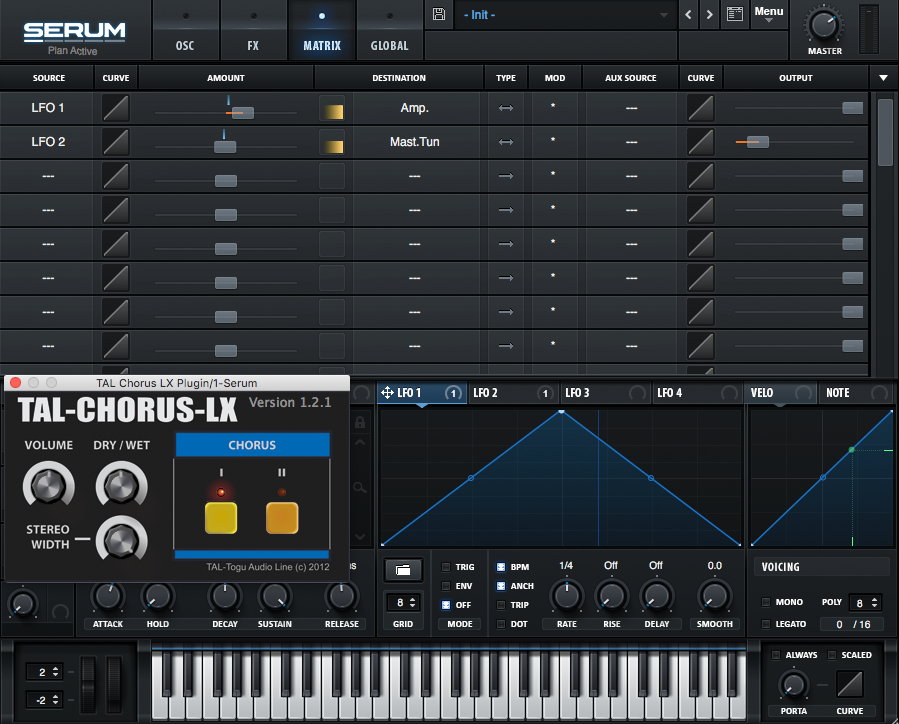
Check out the TAL Chorus LX which is a free emulation of the classic Roland chorus found in the Juno synthesizers. Adding this great free plugin onto pads just makes them more interesting and increases the perceived size of the sound.
In Serum, I like that you can use the LFOs to modulate effect parameters, and I find that using them to add movement to the depth of the built-in chorus can do wonders in adding another dimension to your pads.
Here’s the same pad from earlier, run through the TAL Chorus with the default preset:
3. Use Time Stretching
Do you remember this video of Justin Bieber stretched out 800%?
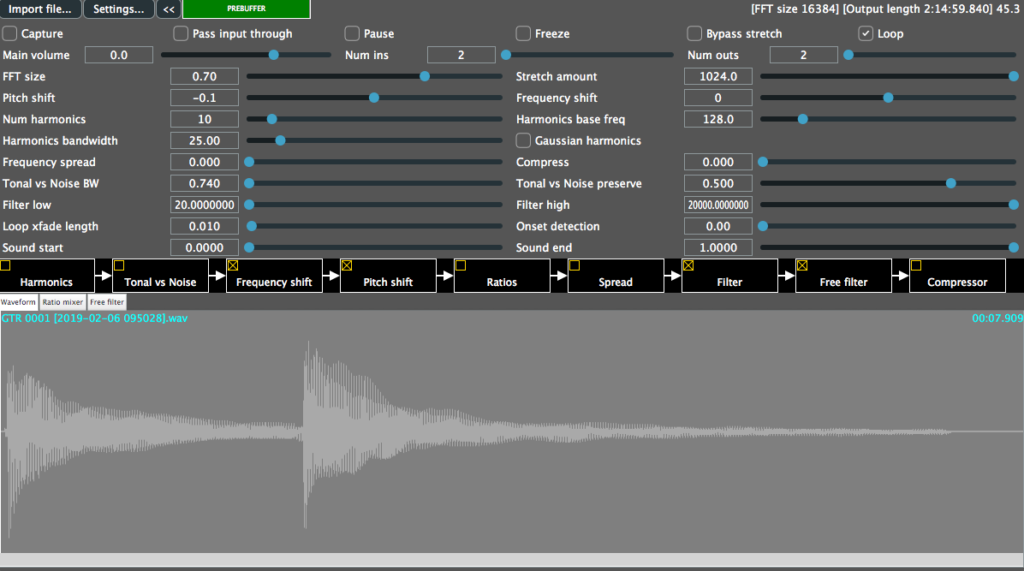
This was accomplished using the free PaulStretch algorithm which has become a secret tool for many a sound designer to create rich pads out of already existing audio.
I love taking songs out of my catalogue, or even single tracks of guitars, pianos, brass—anything really—and time-stretching them to create unique textures.
This is very fast and easy to do in Pro Tools using TCE (time compression expansion). You can use the TCE trimmer tool to stretch out audio over a longer period of time, making it seem slower. Logic Pro X, Ableton, Cubase and most other DAWs have time-stretching options, but we’ll focus on using Paul Stretch as it’s free and it has a very unique stretching algorithm that sounds really nice.
If you do want to try stretching audio, I recommend bouncing your source with a dense reverb such as Eventide Blackhole or Valhalla Shimmer before importing it into PaulStretch or time-stretching in your DAW. This can help combat some of the graininess that these algorithms may add, and make the resulting pad much more lush.
Here, I take one power chord on guitar and turn it into a pad by putting it into PaulStretch! You’ll first hear the original D.I. power chord. Then, you’ll hear it run into PaulStretch playing back at the normal speed. (Even at normal speed, the PaulStretch algorithm adds a granular texture to the sound.) And finally, you’ll hear the power chord slowed down 1024 times, creating a nice lush texture.
4. Use Reverb to Smooth Everything Out
The first pad we heard above was pretty boring and lacked any character. But what happens if we drench it in reverb?
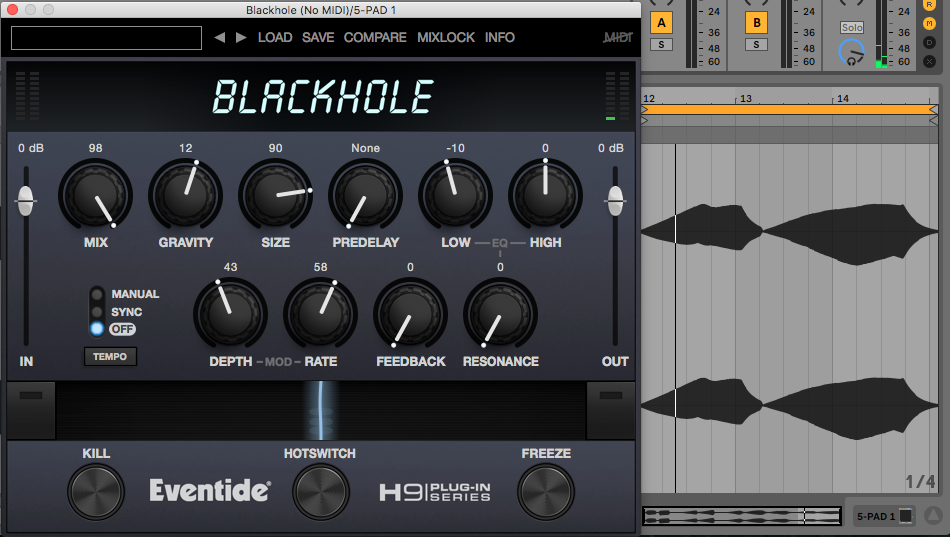
Here’s the same opening pad with Eventide’s Blackhole on it:
Notice how keeping the reverb more than 50% wet as an insert smoothes out the overall quality of the sound. And, because Blackhole has modulation built in via its “warble” knob, I find the sound seems bigger now.
In its default state, I find the release can be a bit long, so I might take the size and decay of the verb down a bit and then add some excessive compression. This way, the sound seems massive while you’re holding down a key, but when you release it, the verb isn’t leaking over excessively into the next part of your production.
5. Make It Weird
As a sound designer, I try my very best to make sure to stay away from dull textures like the first pad we heard here, and my number one bit of advice to keep things interesting is to be adventurously weird with it.
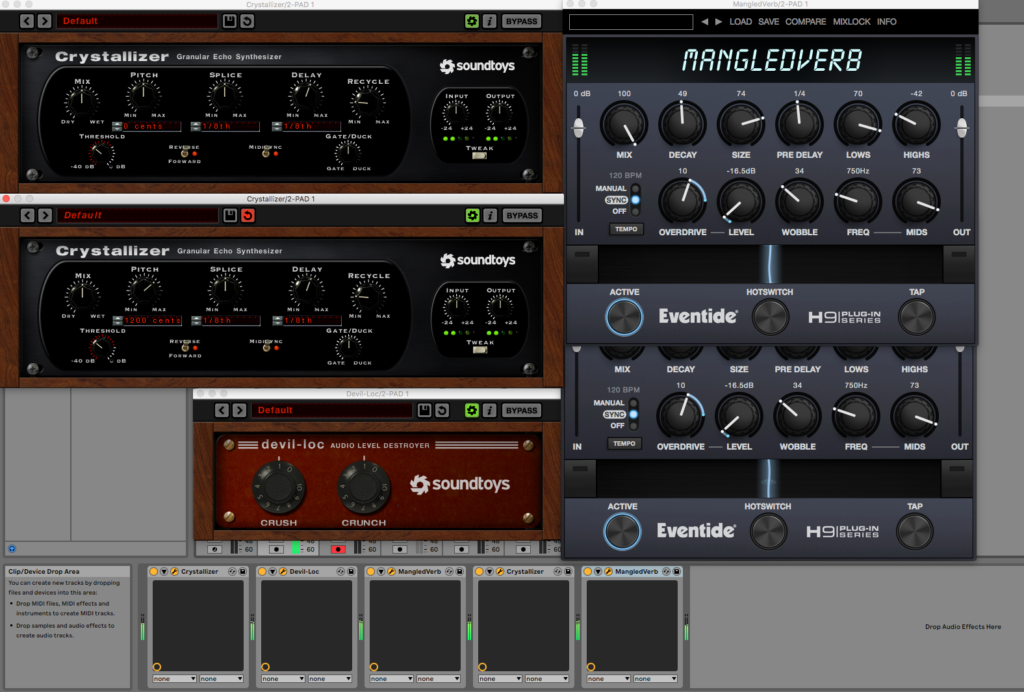
As an example, let’s see what happens if I take that initial sound and run it through Soundtoys Crystallizer, into a Soundtoys Devil-Loc, into an Eventide MangledVerb, into another Crystallizer, and then into another MangledVerb!
At this point, you may think I’ve been spending too much mucking about with pads and that I’ve become seriously sleep-deprived and, possibly, delirious (which may be true) but I think this kind of wild signal chain makes the pad way more interesting and unique.
Now that we have this kind of horribly mangled sound, I can tame it a bit by taking off a Mangled Verb, a Devil Loc, and EQ’ing it, While the sound is more tame and arguably less fun that way, it might become more usable and still stay quite unique. I may take this type of signal chain and save it as a preset to use on future projects. But remember not to become too comfortable with presets—otherwise you may rely on routine more than experimentation. Feel free to come up with whacky combination of plug-ins and just see and, more importantly, hear what happens!
Summing it Up
Well, there you have it. I hope you enjoyed these tips on making lush cinematic pads and soundscapes. If you have your own tips for making giant cinematic soundscapes, let us know in the comments below. Till then, have fun trying out a plethora of combinations of plug-ins and processing to create some cool new pad textures.
Please note: When you buy products through links on this page, we may earn an affiliate commission.


