Inventor Insights: Dave Derr’s Tips & Tricks for The Empirical Labs Distressor
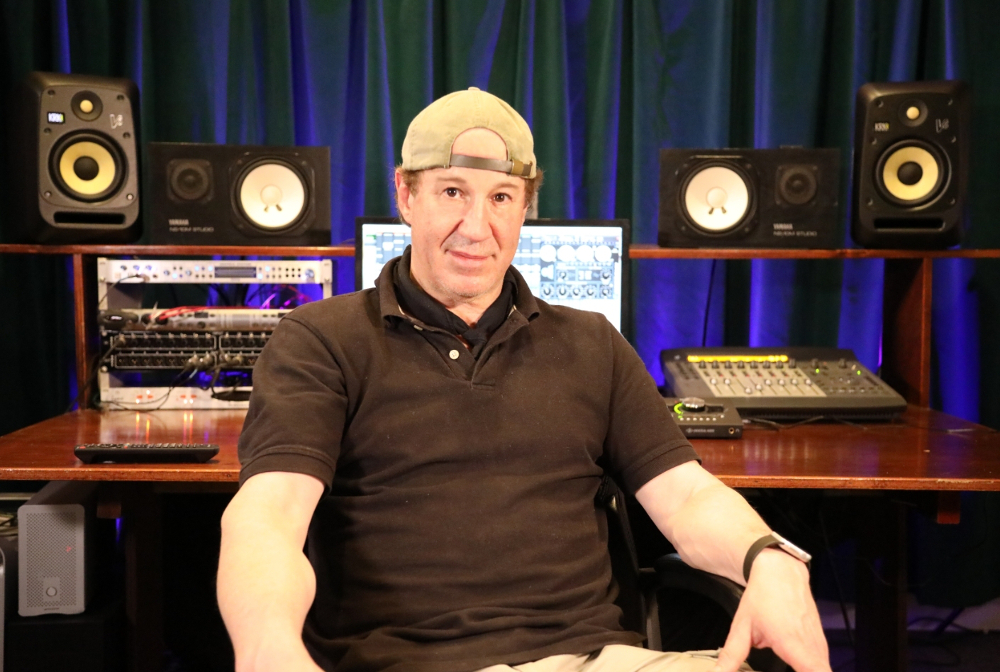
A compression obsession. That’s what was building up inside a young audio engineer named Dave Derr, slowly but surely shaping a mind for dynamics until his concept was converted to reality: the Empirical Labs Distressor.
Derr’s fascination went hand in hand with the special magic that he experienced early on in the studio when compression was applied correctly. “Besides getting proper mix balances, and frequency shaping of the tracks a.k.a. equalization, compression is one of those things that can turn a bunch of tracks into a record,” Derr explains. “It is also one of the most intangible and initially, mystical processes used by all major engineers. In my musician days, I remember engineers putting compression on something and it going from Ehhh, to YEAH!… but I didn’t really know what it was doing.
“My go-to compressor analogy is a little person in a box with a volume knob, who turns things down when they get too loud, and up when they get to soft,” he continues. “But in reality, a compressor works many times faster, and can fundamentally change the ‘character’ of a track, or even a full mix. The terms ‘limiters’ and ‘compressors’ are often used interchangeably, and do overlap a great deal, but limiters generally are faster and much higher in ratio. The Distressor and Arousor, with their wide range of control, can behave as either.”
Derr graduated from being a studio client to owning his own small facility in Garfield, NJ, in the late 1980’s. Parallel to that, of course, he was building up his gear design chops as part of a talented Eventide team that would go on to heavily influence audio, both in and out of the box (visit this article for an in-depth exploration of their journey during unique time period).
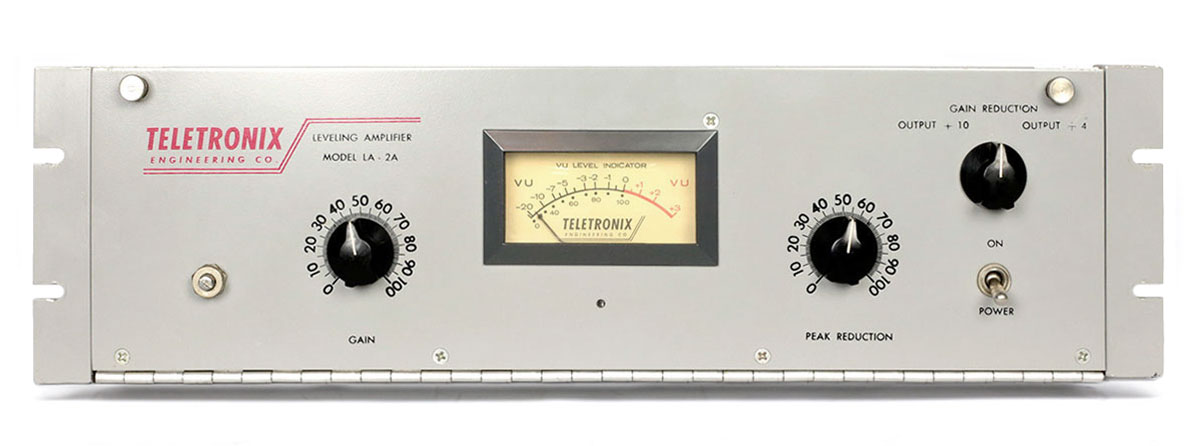
That’s when he started honing in not just on what compressors did, but the different characteristics of various units. “Most compressors do an adequate job of leveling signals, evening them out so nothing gets too loud or soft,” says Derr. “But I became a fanatic about ‘mojo compressors’ after getting a few specific compressors in my studio around 1989. Most notably was the Gain Brain I — a pair of UREI 1176LNs and an LA2A — which were all strongly suggested by the other more experienced engineer at my studio, John Patterson.
“They didn’t just compress or limit. They were FUN, and added excitement, presence and size. Instruments, voices, and room mics suddenly started to sound ‘professional’ and seemed to just fit into mixes in a way I heard on my favorite records. These mojo boxes helped me understand the importance of compression, immediately improving the quality of my recordings, setting me on the course to create something modern, with more versatility, consistency, and reliability.”
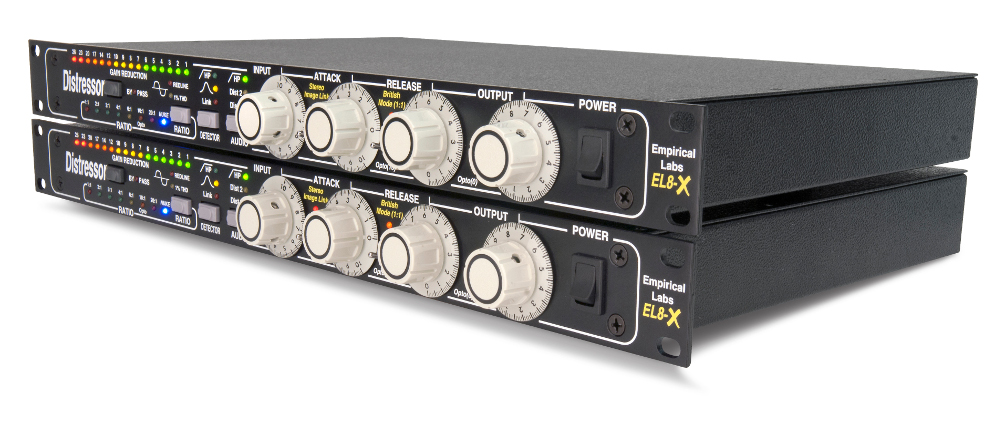
Influenced by these “Character Compressors” — now “Classic Compressors” — that almost immediately improved the sound of his own recordings, Derr hit the workbench and designed his own. The result would be the Distressor, a remarkably versatile compressor that would go on to be a mark of distinction for the thousands of facilities that obtained one.
Although the Distressor stands as an undisputed classic today, initial reaction to Derr’s imaginative unit was, well, compressed. “The Distressor was initially sold in 1995, and only one here, and one there, at first,” he recalls. “The initial reception was really not that thrilling! In 1996, we got lucky when George Peterson pushed for a review in Mix Magazine, one of the most important music publications of the day, and the Distressor sales slowly started to climb.
“A few well-known engineer/producers also started being seen with them, such as George Massenburg, whom I had luckily met many years before, and Mutt Lange, both who were kind enough to give a compressor from an unknown company a try. Slowly with the help of our Distributor, Gil Griffith, and the promotional help of a few key folks such as Fletcher at Mercenary audio, the sales climbed into the dozens, and then the hundreds, and by 1999, into the thousands.”
Spurred on by some hardware refinements along the way, plus consistent word of mouth, the Distressor’s fan base grew out into virtually every corner of music production. It’s sound, ease of use, and novel features like Opto, Sidechain EQ, and later on, the Brit Mode, helped the Distressor to create its own niche as an affordable high-end compressor.
“It got a buzz as the ‘Swiss Army knife, Desert Island compressor’ with its wide range of ratios and controls,” Derr says. “I think this versatility is a big part of what keeps it a ubiquitous tool, going on three decades now. And as we move further into an all digital age, the Distressor should maintain relevance as a tracking device, getting one into the box with some magic and mojo.”
Ready for fresh directions on the Distressor? Derr is happy to provide some of the special insights he’s gained from the untold thousands of hours he’s spent with the unit, as well as ones he’s been tipped off on by enthusiastic users.
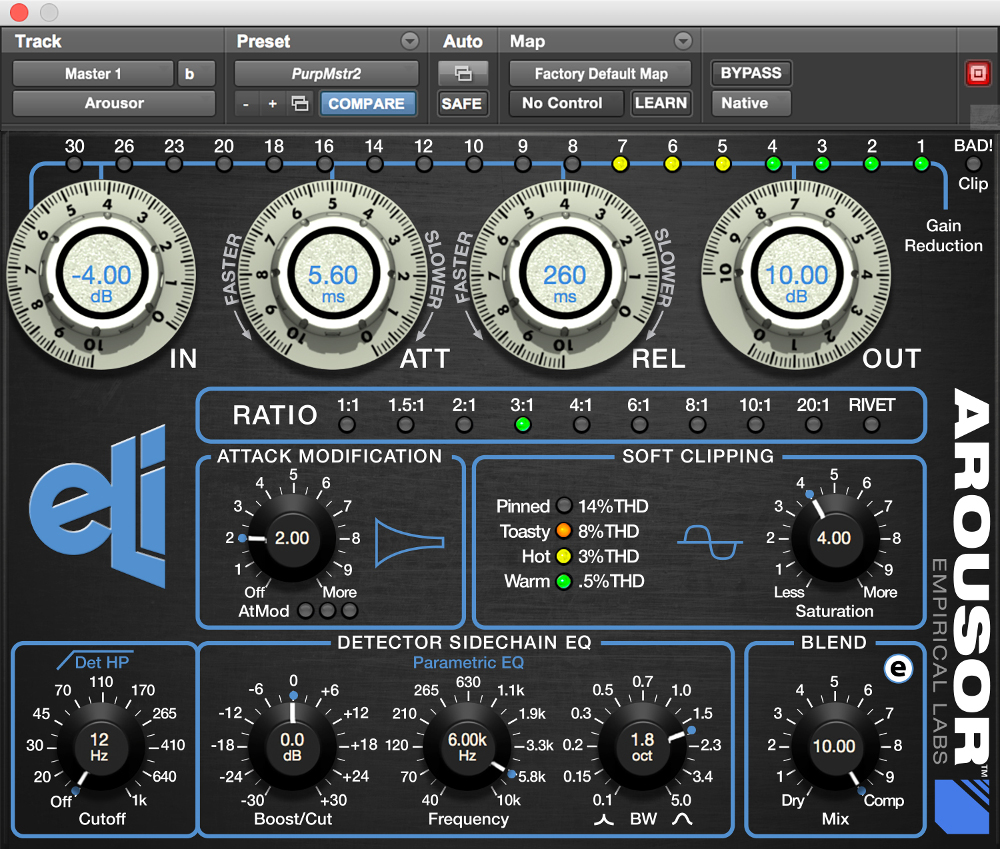
But first, a Derr disclaimer: “I should point out I am not a professional hit-making recording engineer, so my thoughts here are a bit like asking a race car designer how to win the Indianapolis 500,” he states. “But hopefully, I can at least point some readers in the right direction, provide places to start, and a few new tricks. Most of the suggestions here apply equally to our Arousor plugin, which parallels the Distressor in the digital domain, as does the Universal Audio UAD plugin.
“It is important to treat recording and mixing as two different processes, especially when first starting out. Since you cannot undo compression, one should often use less compression while recording, leaving lots of the dynamics intact by using a lower ratio and slower attack. This gives the mixdown engineer much more control and options.”
Vocals
“Vocals are actually a pretty easy source to compress, and the Distressor is a vocal favorite among thousands of engineers. As all but the highest ratios of the Distressor have a knee, it is hard to overdo things and sound unnatural. My favorite ratios are 4:1 and 6:1 as they have a large knee, but over about 8dB of compression, starts to really grab and hold a vocal in place. The Distressor’s knee and crafted attack makes the first 6dB of compression invisible.
“While tracking I usually keep the attack above 5 so it doesn’t squash the transients, and on a really dynamic vocal hitting up to 12dB of compression on peaks. If you have a singer with great control and mic technique, using a lower ratio — even 2:1 — can work smoothly and super safely during recording. On pop records, one will often jump to higher ratios and nail the vocal in place at mix time, keeping every syllable present and intelligible.
“The 10:1 Opto mode is a favorite on vocals, as it too has a huge knee, but with a slow release tail. The slow tail keeps the compressor from sucking up the breaths unnaturally. The suggested attack on 10 will keep the transients and consonants of the voice. The suggested Opto settings (Attack 10, Rel 0) were tailored after the UREI LA2A.
“While tracking, I tend to play things safe and save the extended functions like Distortion modes and sidechain EQ for mixdowns. The Sidechain midrange boost can do nice things on a bright or ‘essy’ vocal, controlling fricatives and sibilance very smoothly. Both the Audio HP and Detector HP can keep P’s and pops from pumping the compressor unnaturally. A large diaphragm mic can put out 40Hz on a P or breath, which can make the syllable after the offending P or breath drop out of site from compression, unless filtered out.”
Bass
Many folks find the Distressor their go-to bass compressor. We incorporate a little ‘sponge’ circuit which prevents the nasty and crackly threshold distortion most compressors exhibit with faster attacks on the bass. Ratios from 2:1 to 6:1 work so effortlessly. Again start with attack on 5 or higher while tracking, release at 4, or to taste. It’s a bit dangerous to go much above 8dB while tracking, as you can start to lose any fade on the long notes. Opto mode is very friendly on bass, and safe even while tracking.
“The Distortion modes are a blast on bass, and you can do drastic things with the Brit Mode, using a high ratio, fast attack (3) and release.”
Percussion
This is one of the most fun sources to Distress. From a single track of wood blocks, to a subgroup of percussion, like congas, to percussion loops, the Distressor is so easy to use to manipulate the transients and the sustain. If you have pointy attacks that jump out, speed the attack up (CCW). If the sustain needs some lengthening, make the Release faster (also CCW). Need some ambience? Go to a high ratio like 20:1 and grind in 10-16dB of compression to bring up the room between the notes using a faster attack and release.”
Tambourine
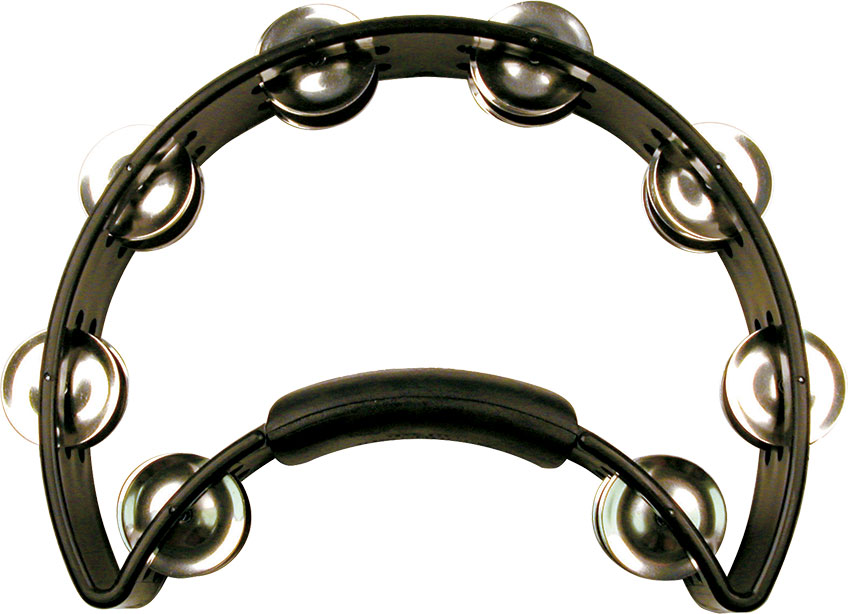
“This is such a strange source if not played and recorded properly. I used the tamborine as a test source for ‘attack handling’ on both the Distressor and the Arousor. Often the clack of the tamborine hitting the hand jumps out, once dropped into a track. A fast attack (3) and higher ratio can skim those peaks off, and even the overall tone. Overdoing it can kill things, so be careful of more than 8 dB of compression on the peaks, especially while recording. All this being said, a well-played tamborine recorded with some air — the mic well over a foot away… maybe even several feet — can sound great with very little or no compression at all, depending on the context and part.
Grand Piano
A tough one. In commercial music, quite a bit of compression can be used to tame the front edge of the hammers, and add sustain. To me, it often sounds obvious, but fine in context. Even way back in the Beatle days, they could use up to 20dB of compression on piano, making it sit in a nice little spot. I often tend toward the ‘peak-skimming’ thing, a medium-to-high ratio, with a fast attack (3.5) and release (3), maybe 6dB of compression that comes and goes very quickly. You are basically using the Distressor as a musical peak limiter.
“If the piano is being played softly, a slower attack can work. It all depends on context, and taste. You may use little or no compression on a classical piano recording. But if you have a piano that you just hear the front edge once dropped in a mix, some fast compression can smooth it out and allow you to bring the average piano level up.”
Drums
Who doesn’t use a Distressor on drums? Ha! Thousands of major records have Distressors all over the drums. Because of the attack shape, the knee, and the wide range of parameters, it is very easy to use in all kinds of places on a typical drum set. You may find it improves anything you put it on.
“One quick and easy way to add attack and size to a drum kit is to put two Distressors across the stereo drum buss, and add 6-14 dB of compression on the peaks. Try 6:1, Att 8, Rel 3. It ties the whole kit together. High ratios and much more compression can be used if you submix this in parallel.
“Compressed cymbals can be a problem. Sometimes it is best to send the cymbals and overheads to a different buss so they don’t get splashy from the compression, but other times, it just requires turning down the cymbals before it hits the Distressors on the drum buss. While tracking, feed the drummer some compressed cymbals, and strongly encourage him not to smash them. Cymbals are all alone up there, and bleed into everything. Hearing the cymbals compressed with the kit can help a drummer get a great balance from the start.”
Plucked Instruments
This was another key test source during development. Plucks can have huge front peaks that make a compressor clamp down, causing a hole right after the pluck. Many digital compressor plugins seem to suffer from this. I spent hundreds of hours with plucked instruments, from bass, to acoustic guitar, to oud, to ukelele, etc… The original detector circuit was tweaked further working with these plucked sources.”
As a Buss Compressor
On a Master Buss, one usually wants to keep the transients, to keep a mix from sounding smashed. I always recommend setting the attack to 8 – 10, and using the 2:1 ratio as a starting point. Our plugiin version of the Distressor, the Arousor, added many features to make it even more useful as a buss compressor.
The Different Forms of Stereo Linking
The original Distressor used a sum and phase dependant Stereo Linking, but allowed the stereo image to shift. In the X version, the EL8-X, an Image Link switch was added that summed the gain control signals between two or more units. The user ends up with three ways to link: 1) the original Phase Link, 2) the Image Link, and 3) a combination of the two that locks the image but takes into account out-of-phase material between two Distressors, especially low frequency content that is out of phase.
— David Weiss
Please note: When you buy products through links on this page, we may earn an affiliate commission.


