Make Your Studio “Fail Safe”: 3 Steps to Avoiding Data Disasters
Hard drive failure is not a question of “if” but “when”. Make sure your most valuable projects are protected.
If the hard drive of your studio computer fails right now, how long would it take you to be up and running again?
If the answer is any longer than 10 minutes, then you are losing money. As we all know, it is not a matter of “if” a hard drive fails, but a matter of when the hard drive fails.
Unfortunately, keeping up-to-date backups seems to be one of those things we all know we have to do, but many of us keep postponing it anyway.
Maintaining a backup strategy is not the most interesting thing to do in a recording studio, but it is something which is crucial and necessary—no matter the size of your operation.
Here’s the good news: If you think backups are something that difficult to do or maintain, just keep reading to learn a three-step backup strategy that will get you covered, even in the event of catastrophic failure. All you need is a couple of extra hard drives and an affordable piece of software.
We Need Backup
For the purposes of this post, we’ll be assuming that your computer has two different hard drives: One containing the operating system and all your programs and plugins, and another one that is used to actually record to and store all your audio and session files.
This is a common configuration, and it tends to offer the most stable setup because the hard drive in charge of writing all the audio files is not the same one running the operating system and DAW.
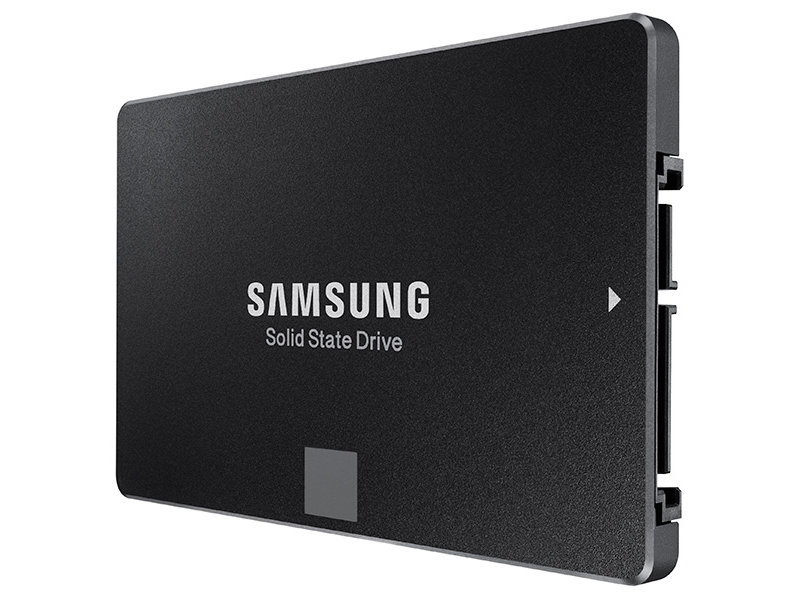
This also allows you to economize, using more expensive solid state hard drives (SSD) only for the the OS and DAW (which require less space), where they can offer the most improvement in speed and responsiveness of the overall system.
By the way, if you aren’t using an SSD as your boot drive, please do yourself a favor and go and buy one as soon as possible! You are missing one of the most powerful and affordable upgrades you can do to your computer. Fortunately, cloning your existing drive is very easy, as we’ll soon discover.
If you use more than two drives as part of your normal system already (maybe you have another HD to store the libraries and samples for your virtual instruments), you will just need to take that into account as well.
It is a common error to think that you only need a backup for the projects and audio files, assuming you can always reinstall the OS and all the software again. Well, while this is true enough, if you need to cancel a session because your computer won’t boot, you’ll be losing that day’s income—and potentially losing a good deal of credibility with the client.
For the unprepared, hard drive failure can be a major credibility killer, and a costly occurrence, even in your best-case scenario.
It’s better to have a spare hard drive with an exact copy of your OS and audio software ready to continue where the other one left off. That’s why we’ll be including both the system and the project files hard drives in the backup process.
The 3-2-1 backup strategy
You’ve probably heard the saying “a digital file does not exist unless it is stored in three different places”.
This is the founding idea of the 3-2-1 backup strategy, adopted by many institutions including the United States Government, as discussed in this paper by the United States Computer Emergency Readiness Team (US-CERT, Homeland Security).
The idea of the 3-2-1 strategy is to have 3 different copies of your information, 2 of which are local but on two different physical devices, and at least 1 offsite copy. Sounds like a lot of work, but as we’ll see in the following sections, it is actually very simple to implement.
The first copy of your data is the information stored in your existing hard drives (your computer hard drive and the project files on the hard drive you use to record).
Then, you want a local copy of these, in case of failure or accidental data loss (corrupted sessions, anyone?) where you need quick access to the backup so you can be up and running again in no time. Preferably, this should be in an external hard drive, instead of in another HD inside the same computer.
The third, offsite copy, is to prevent major events. We all think here about catastrophic floods or fires that destroy everything (knock on wood), but there are other less doomsday-esque scenarios, like theft of the computer equipment, that could also mean the loss of all the information (knock on wood again).
The hardware you will need
Continuing with our example, you will need a couple of external hard drives. Preferably a 3.5” that will be your local backup, and a second 2.5” drive that you can take with you for your offsite backup. (The offsite backup can also be done on the cloud, more details on that later).
How much space should these hard drives have? We will be creating a couple of partitions on each of them, one for the operating system and one for the project files, so just add up the amount of space in your current hard drives, and that will give you a good starting point.
You’ll want to have a little more wiggle room for future data, so try to go a little over that amount so you’ll have room to grow the system. If you go for considerably more data than you currently need, this will also allow you to create versions of the backups, if your backup software supports it.
For example, let’s say you have a system HD that’s 500GB and a project file HD that is 1TB. You can aim for 2TB drives, 4TB, or even more, as the prices of storage drives are getting cheaper every day. If you use a third drive in your studio to store all your samples and virtual instruments, you’ll want to take that into account as well.
A quick online search will identify a lot of different options for drives, starting at around $50 for 1TB drives, and for a few extra bucks you’ll enter the 2TB and 4TB realms. Just make sure you buy hard drives that are compatible with your OS (Windows, Mac) or that can be formatted to be compatible.
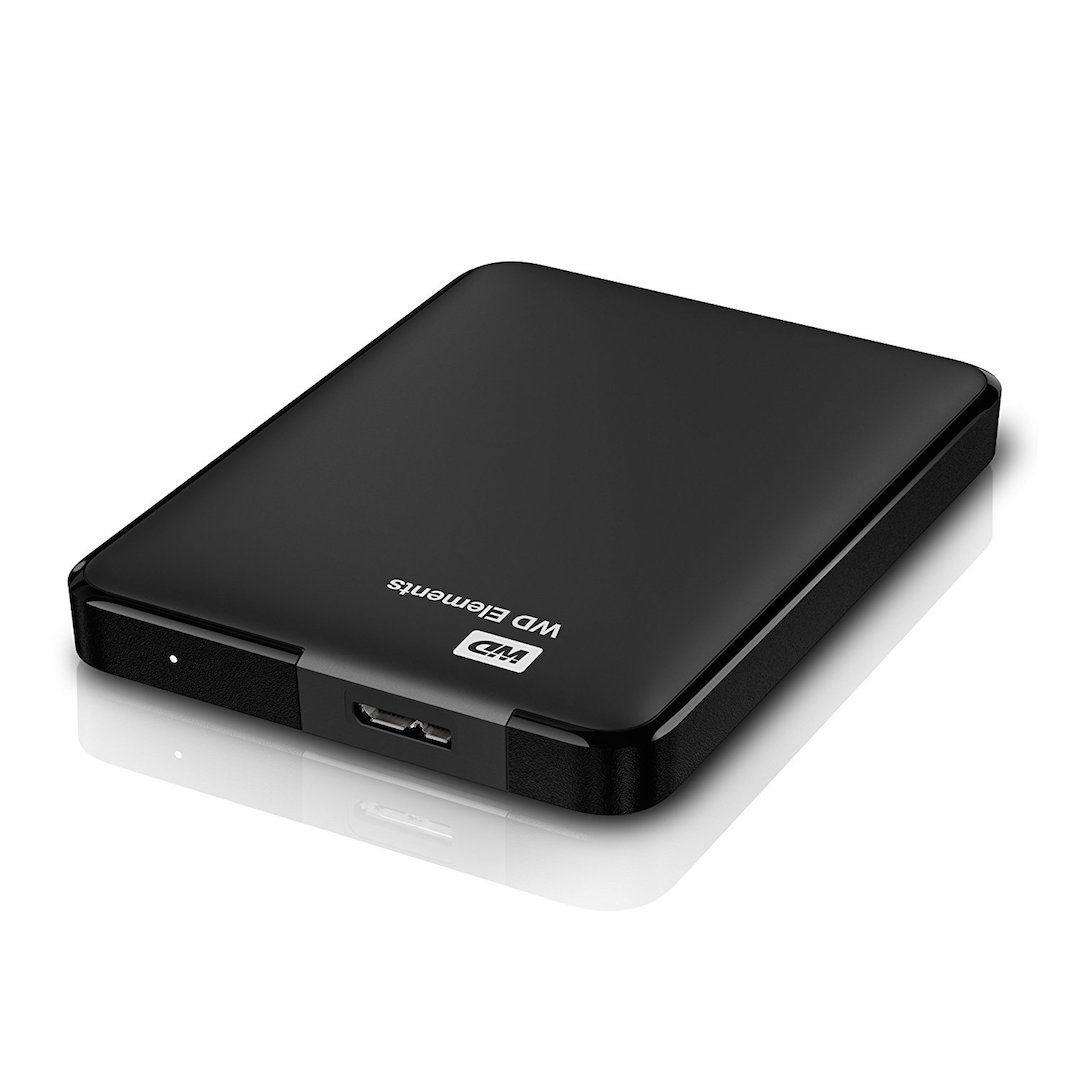
The WD Elements Portable is available in different versions (desktop and portable) and capacities, starting at $52.99 for the 1TB portable version
Another option is to go with an external docking station and cheaper internal hard drives, which will allow some flexibility in the future if you need to buy more space, while reducing the price of the drives needed. Even with the expense of having to buy a docking station up front, this can end up being more cost effective If you go through a significant amount of data and backups each year.
I’ve used this Orico dual bay docking station without a hint of a problem for more than a year and a half now.
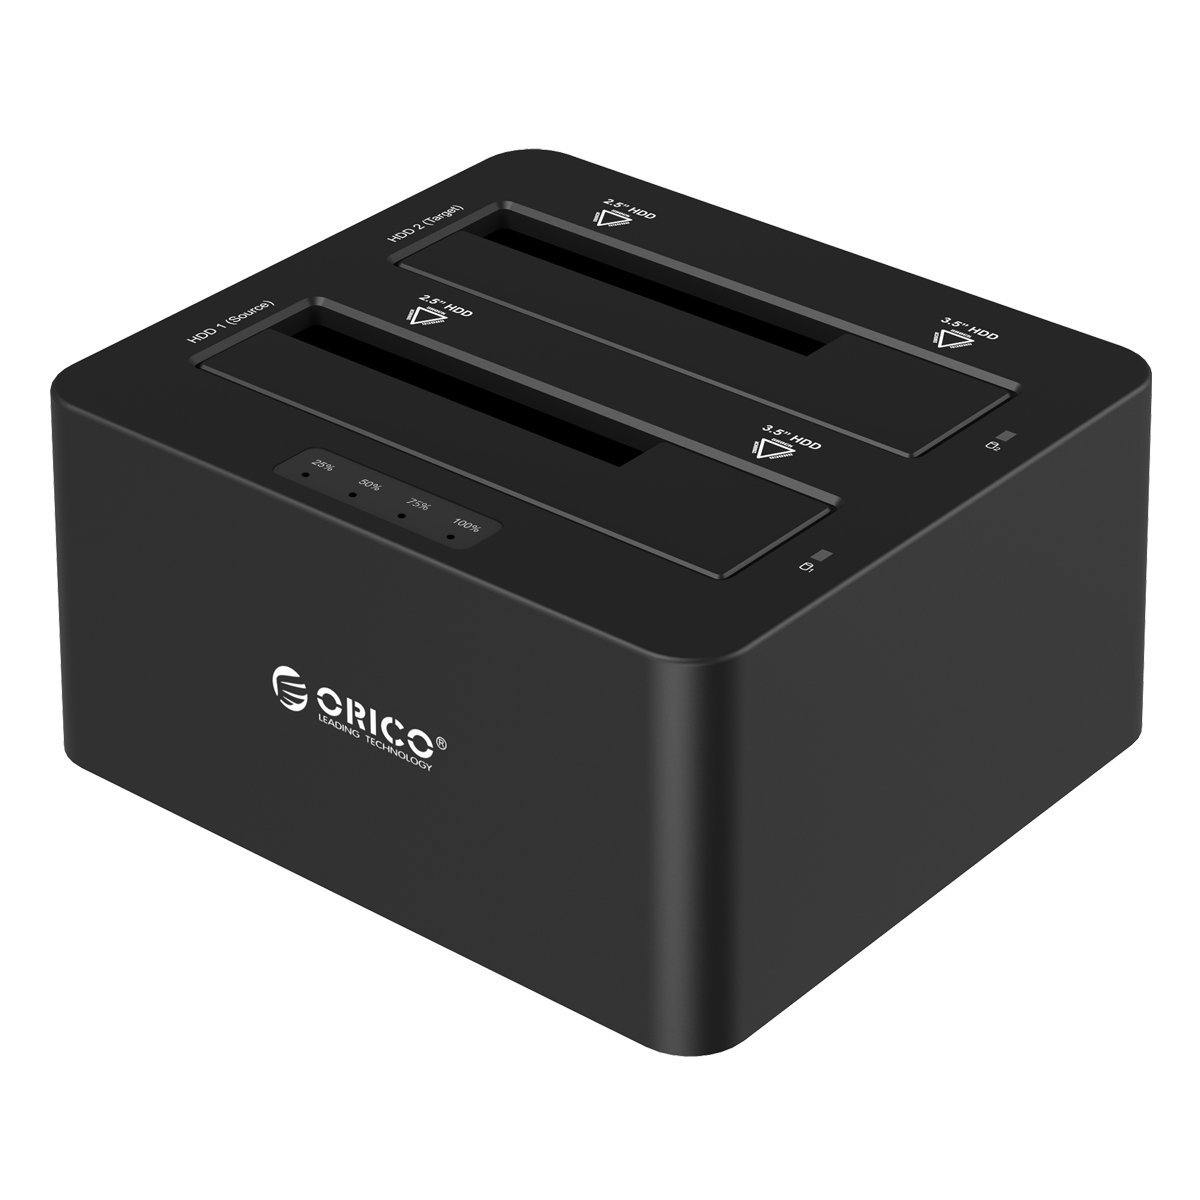
Docking stations can reduce costs over time for studios that go through large quantities of data each year.
Once you have the drives, you’ll want to create two partitions on each drive. This will allow you to backup both the system and project files HDs to the same drive, once for the local backup (on the 3.5″ HD) and again for your offsite backup (on the 2.5″ HD).
The actual name of each partition does not really matter; you can go with something like BKP_L_OS and BKP_L_PROJECTS for the local backup partitions, and replace the _L_ for “local” with _O_ for the “offsite” hard drive, or any other naming scheme that you prefer.
If you use a third drive for your samples and instruments, you may want to create a third partition for that, or use a separate drive, depending on how much data you need to store.
Periodicity is key: The three steps to good backup
So, how often do you need to do these backups? It depends on how often the information changes.
In our example, you’ll probably want to do a daily backup of the project files, and usually, a weekly backup of the system drive will be more than enough.
To reduce the amount of time needed for backups, it pays to use software that allows you to run incremental backups. This means that every time you run the backup, the software only copies any new or modified files from the last time the backup was run, instead of copying all the files all over again.
So, at the end of each day, you implement the first step of the backup strategy, which is to create a local copy of all the project files.
This will take from less than 30 seconds to something like 10 min, depending on the bit depth and sample rate of your audio, and the type of session you had that day. (Was it a mix, a recording with just a couple of mics, or a 6 piece band recording with 24 channels?)To cut down on time even further, this step can be performed twice a day, once during the lunch break, and once again at the end of the day. This can be especially useful if you multitracked a whole band and need to leave the studio shortly after wrapping up for the day.
The second step of the strategy is replicating the same information to the offsite backup HD, also once or twice a day. This can be done remotely. More on that in a moment. Once again, the amount of time needed will vary, but this can be easily set in motion while doing some other tasks at the end of the day.
Finally, the third step consists of doing a weekly clone of your OS drive to both the local and offsite hard drives. I like to do this third step at the end of the week, and it has become some kind of routine that gives a sense of closure to the week.
Depending on your amount of work and your workflow, you may need to change the periodicity of some of these three steps, but this backup strategy will get you covered in most of the scenarios you might possibly encounter.
Setting Everything in Motion with CCC
There are a lot of programs that allow you to do backups, and the specific one you use really doesn’t matter as long as you maintain a regular backup practice. For this example, I’ll be using Carbon Copy Cloner for Mac (https://bombich.com), but you may prefer a different program.
Carbon Copy Cloner (CCC for short) was originally conceived to replicate full drives, sector-by-sector, creating a clone of the original HD. The software also offers other useful functions, like partial and incremental backups, scheduling, backup to remote computers, and much more. You can even do a backup to a remote Mac with it, by selecting the destination “Remote Macintosh”. For the peace of mind CCC brings to the table, 34 euros sounds like a bargain.
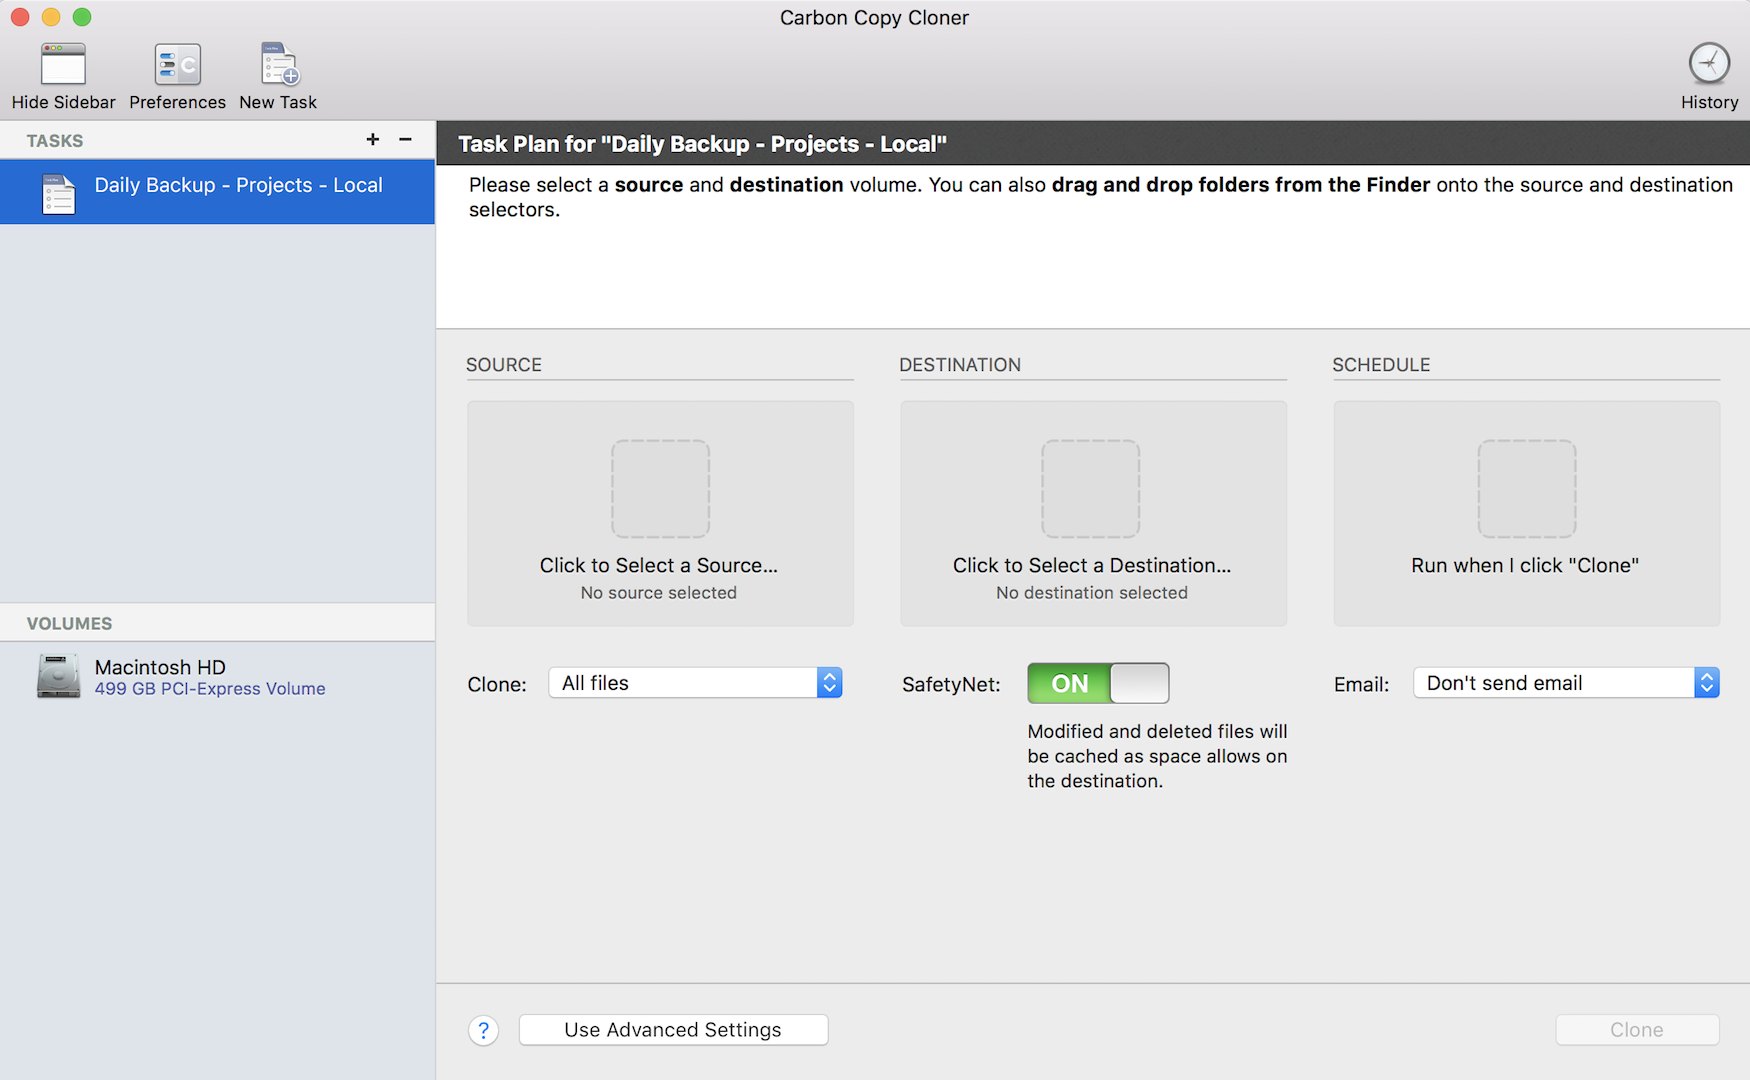
Although it has some really powerful features under the hood, CCC provides a very simple and straightforward interface when launched:
Just select the “Source” of the backup (the drive or folder you want to copy), the “Destination” (where they’ll be copied to), your “Schedule” (when the backup will be performed), and then click “Clone” to get the backup started.
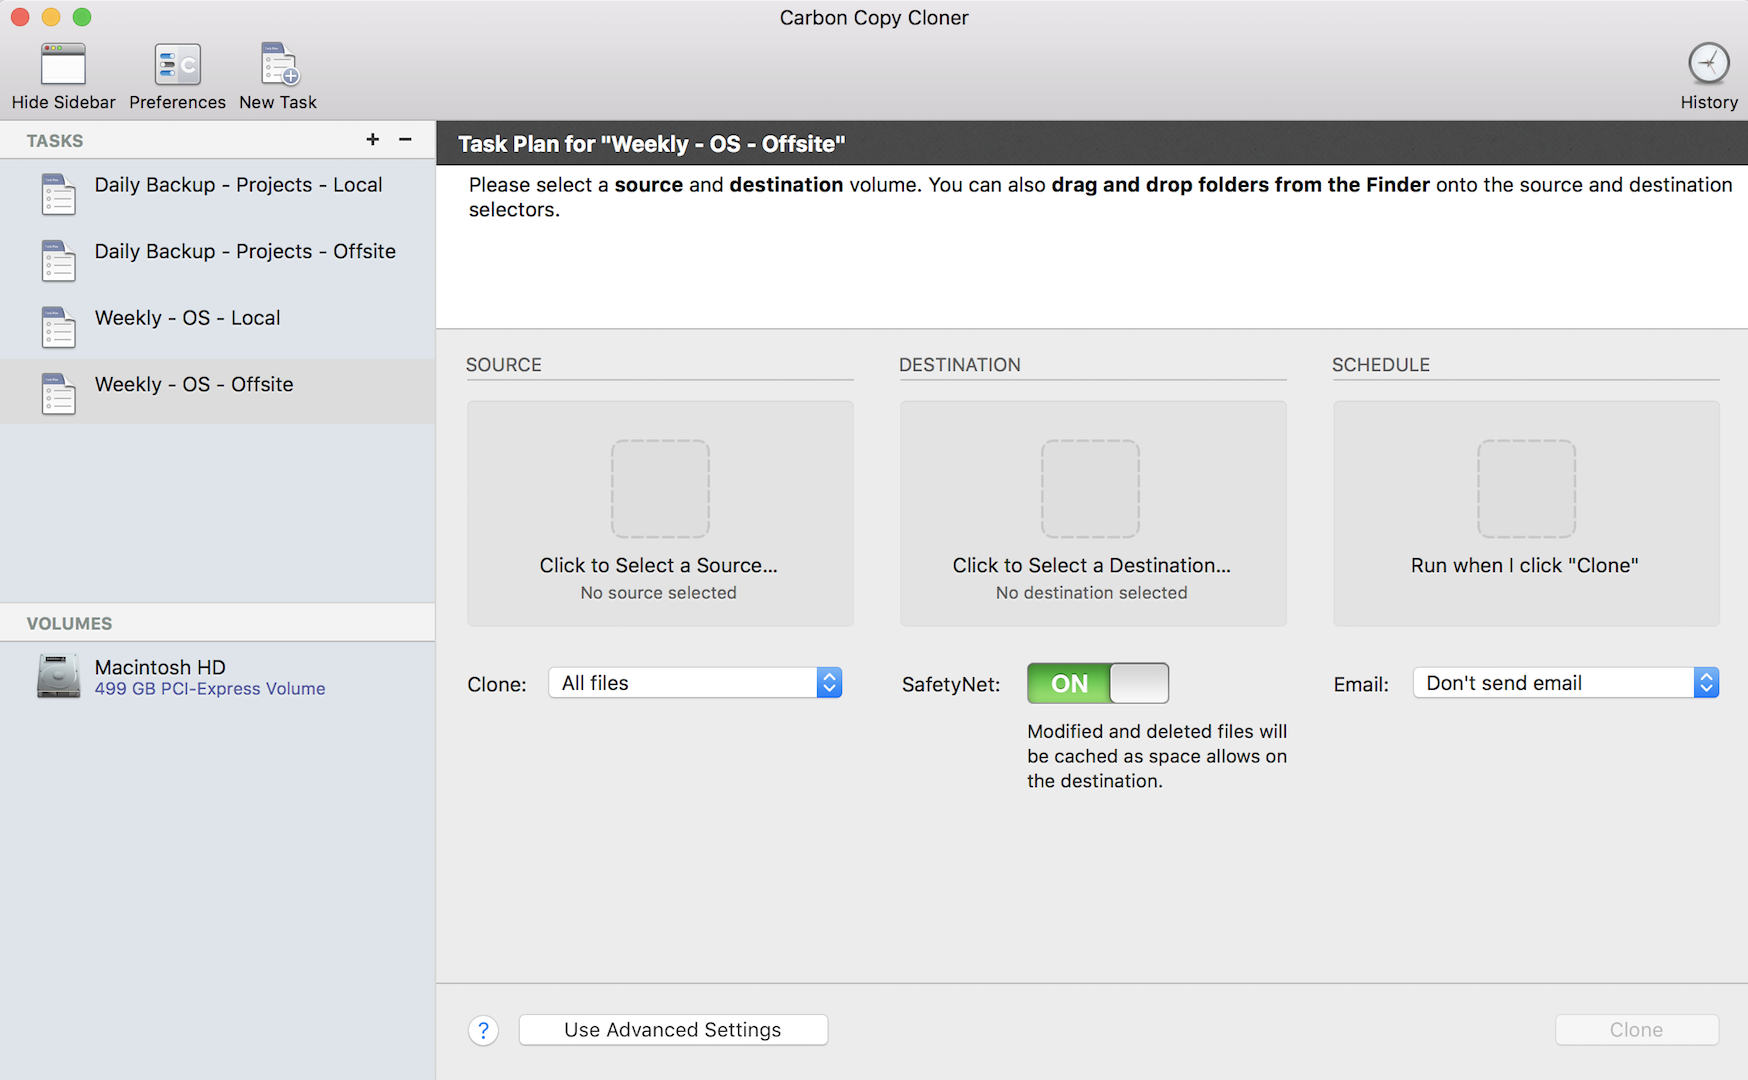
The “Tasks” sidebar allows to save different presets for the behavior of CCC, and we’ll be using one task for each of the three steps of the backup strategy.
In the image above, we’ve created a “Daily Backup – Projects – Local” for our first step. Here you’ll want to select your project files hard drive as your source, the partition BKP_L_PROJECTS as your destination, and the time when you want this task to be performed.
You can also manually launch the backup by selecting “Run when I click clone”, and there are also the options of scheduling it to run automatically on a daily/weekly/monthly basis, or when the destination drive is connected to the computer.
Once you have this preset configured, just use the “plus” sign to create a second task for the second step of your backup process. We named this one “Daily Backup – Projects – Offsite”. Here you’ll select the same source project files HD, but the destination will be BKP_O_PROJECTS.
If you select the option “Run when the destination is connected” for each of these tasks, you just need to connect each drive to the computer in order to get the backup started automatically.
Finally, the third step of the backup strategy —doing a backup of the OS drive to both local and offsite drives— can be performed, you guessed it, with a couple of additional tasks: “Weekly – OS – Local” and “Weekly – OS – Offsite”.
Just select your operating system drive for these, the appropriate destination partition (BKP_L_OS or BKP_O_OS), schedule, and you are ready to go.
The great thing about CCC is that with the default options, the backups of your operating system should be bootable, so you can just boot up from one of your backups if your computer refuses to start up with the internal drive one day. The “should” part of the previous sentence is there because, as with any backup, you should try it out and make sure that it actually works before relying on it. A backup without testing is like having no backup at all.
This is also a great way to clone your existing drive to a new SSD drive to help increase the speed and reliability of your system, or in case you want to try out new versions of your OS or DAW before committing to them on your production computer. You can even use it to replicate the same default DAW and plugins installation across different workstations in a big studio, or to create a portable OS that you can boot up from almost anywhere you go.
In the Cloud
These days, your offsite backup disk can easily be replaced with a backup in the cloud. Depending on the service, these usually cost about as much as buying a new hard drive each year at the time of writing.
For $50 per year, there is the unlimited storage option from, Backblaze, the $72 unlimited space plan from Carbonite, or the $70 2TB plan from iDrive.
When thinking about hiring one of these services, just bear in mind the following points:
1. Cloud backup should not replace all your backups, just your offsite backup. You still want a quickly-accessible local backup to be able to restore any data loss in a short period of time.
2.Make sure all your information is encrypted, not only at the destination, but also during the transfer.
3. Test, in advance, the procedure for restoring a file or a whole drive.
4. Remember that the company can always go out of business (like Copy.com, CubaDrive or the personal branch of Crashplan, which I used for several years), so have a contingency plan in place for this.
Do you use any other backup strategies? Any cool tricks you’d like to share? Please use the comments section below to tell us!
Please note: When you buy products through links on this page, we may earn an affiliate commission.


